Truly Reversible Travelling Cables

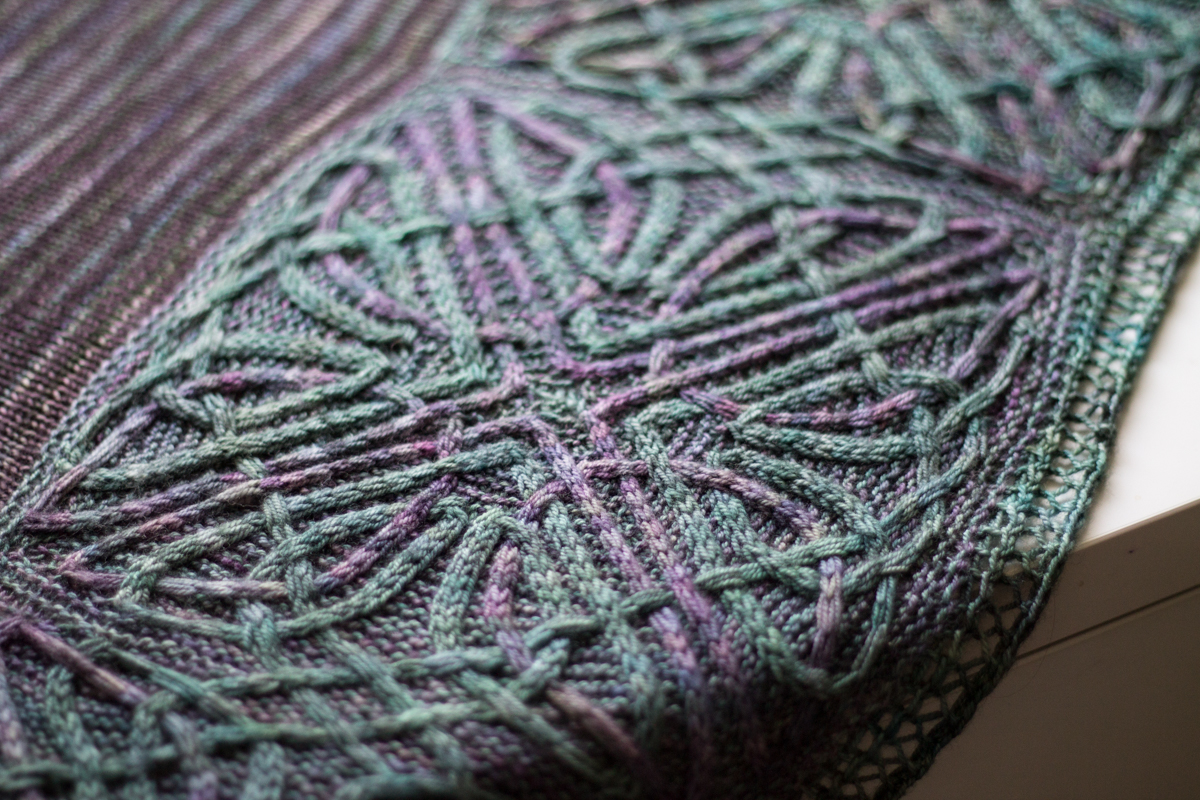
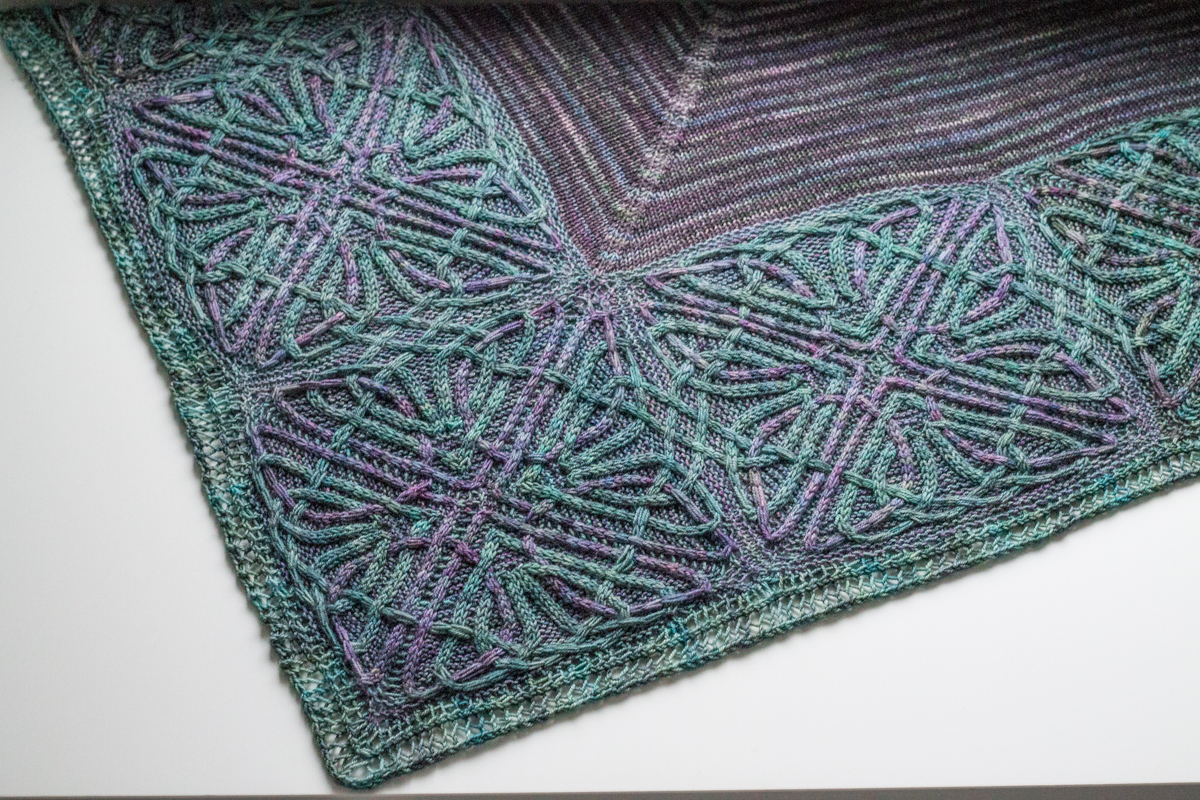
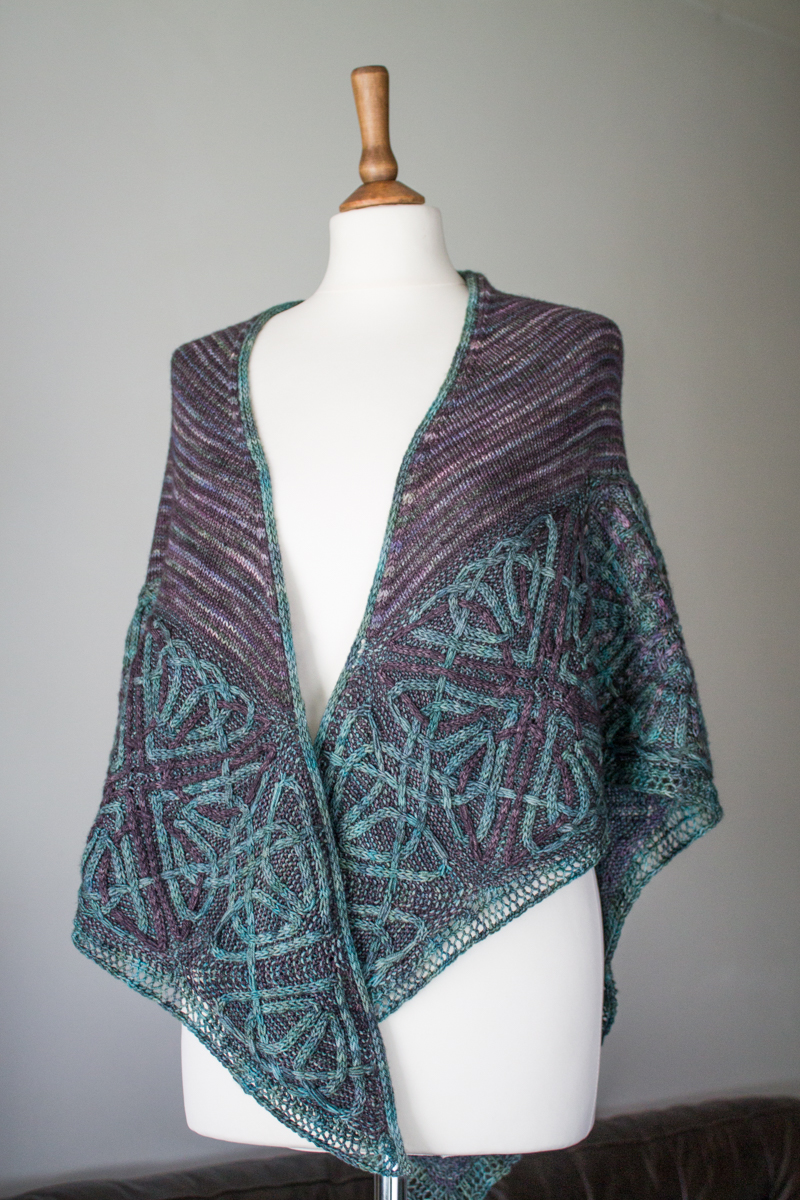
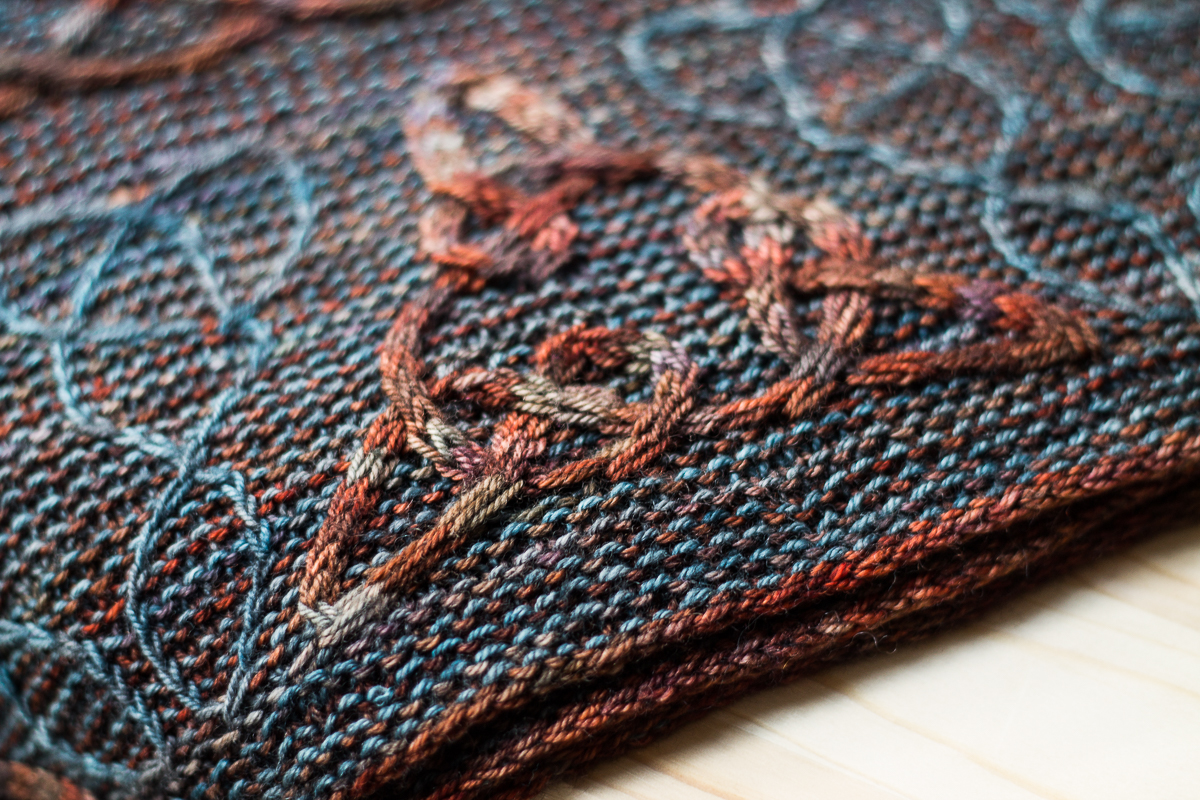
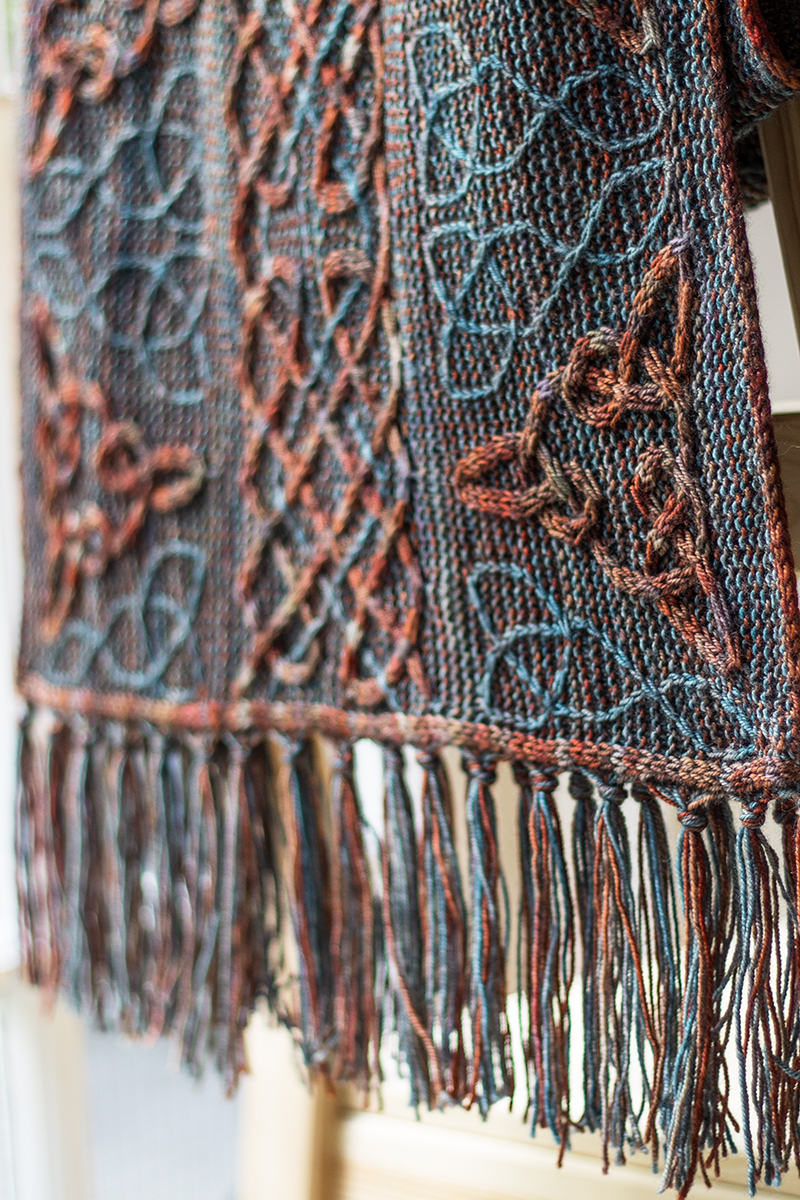
Edinburgh Yarn Festival 2018 was absolutely wonderful (if exhausting!) - thanks so much to everyone who visited my stall and came to say hi. This year for EYF I teamed up with Scottish hand-dyer DyeNinja to create a scarf design which we sold in kits containing pattern + yarn (I have some remaining available here on my website).

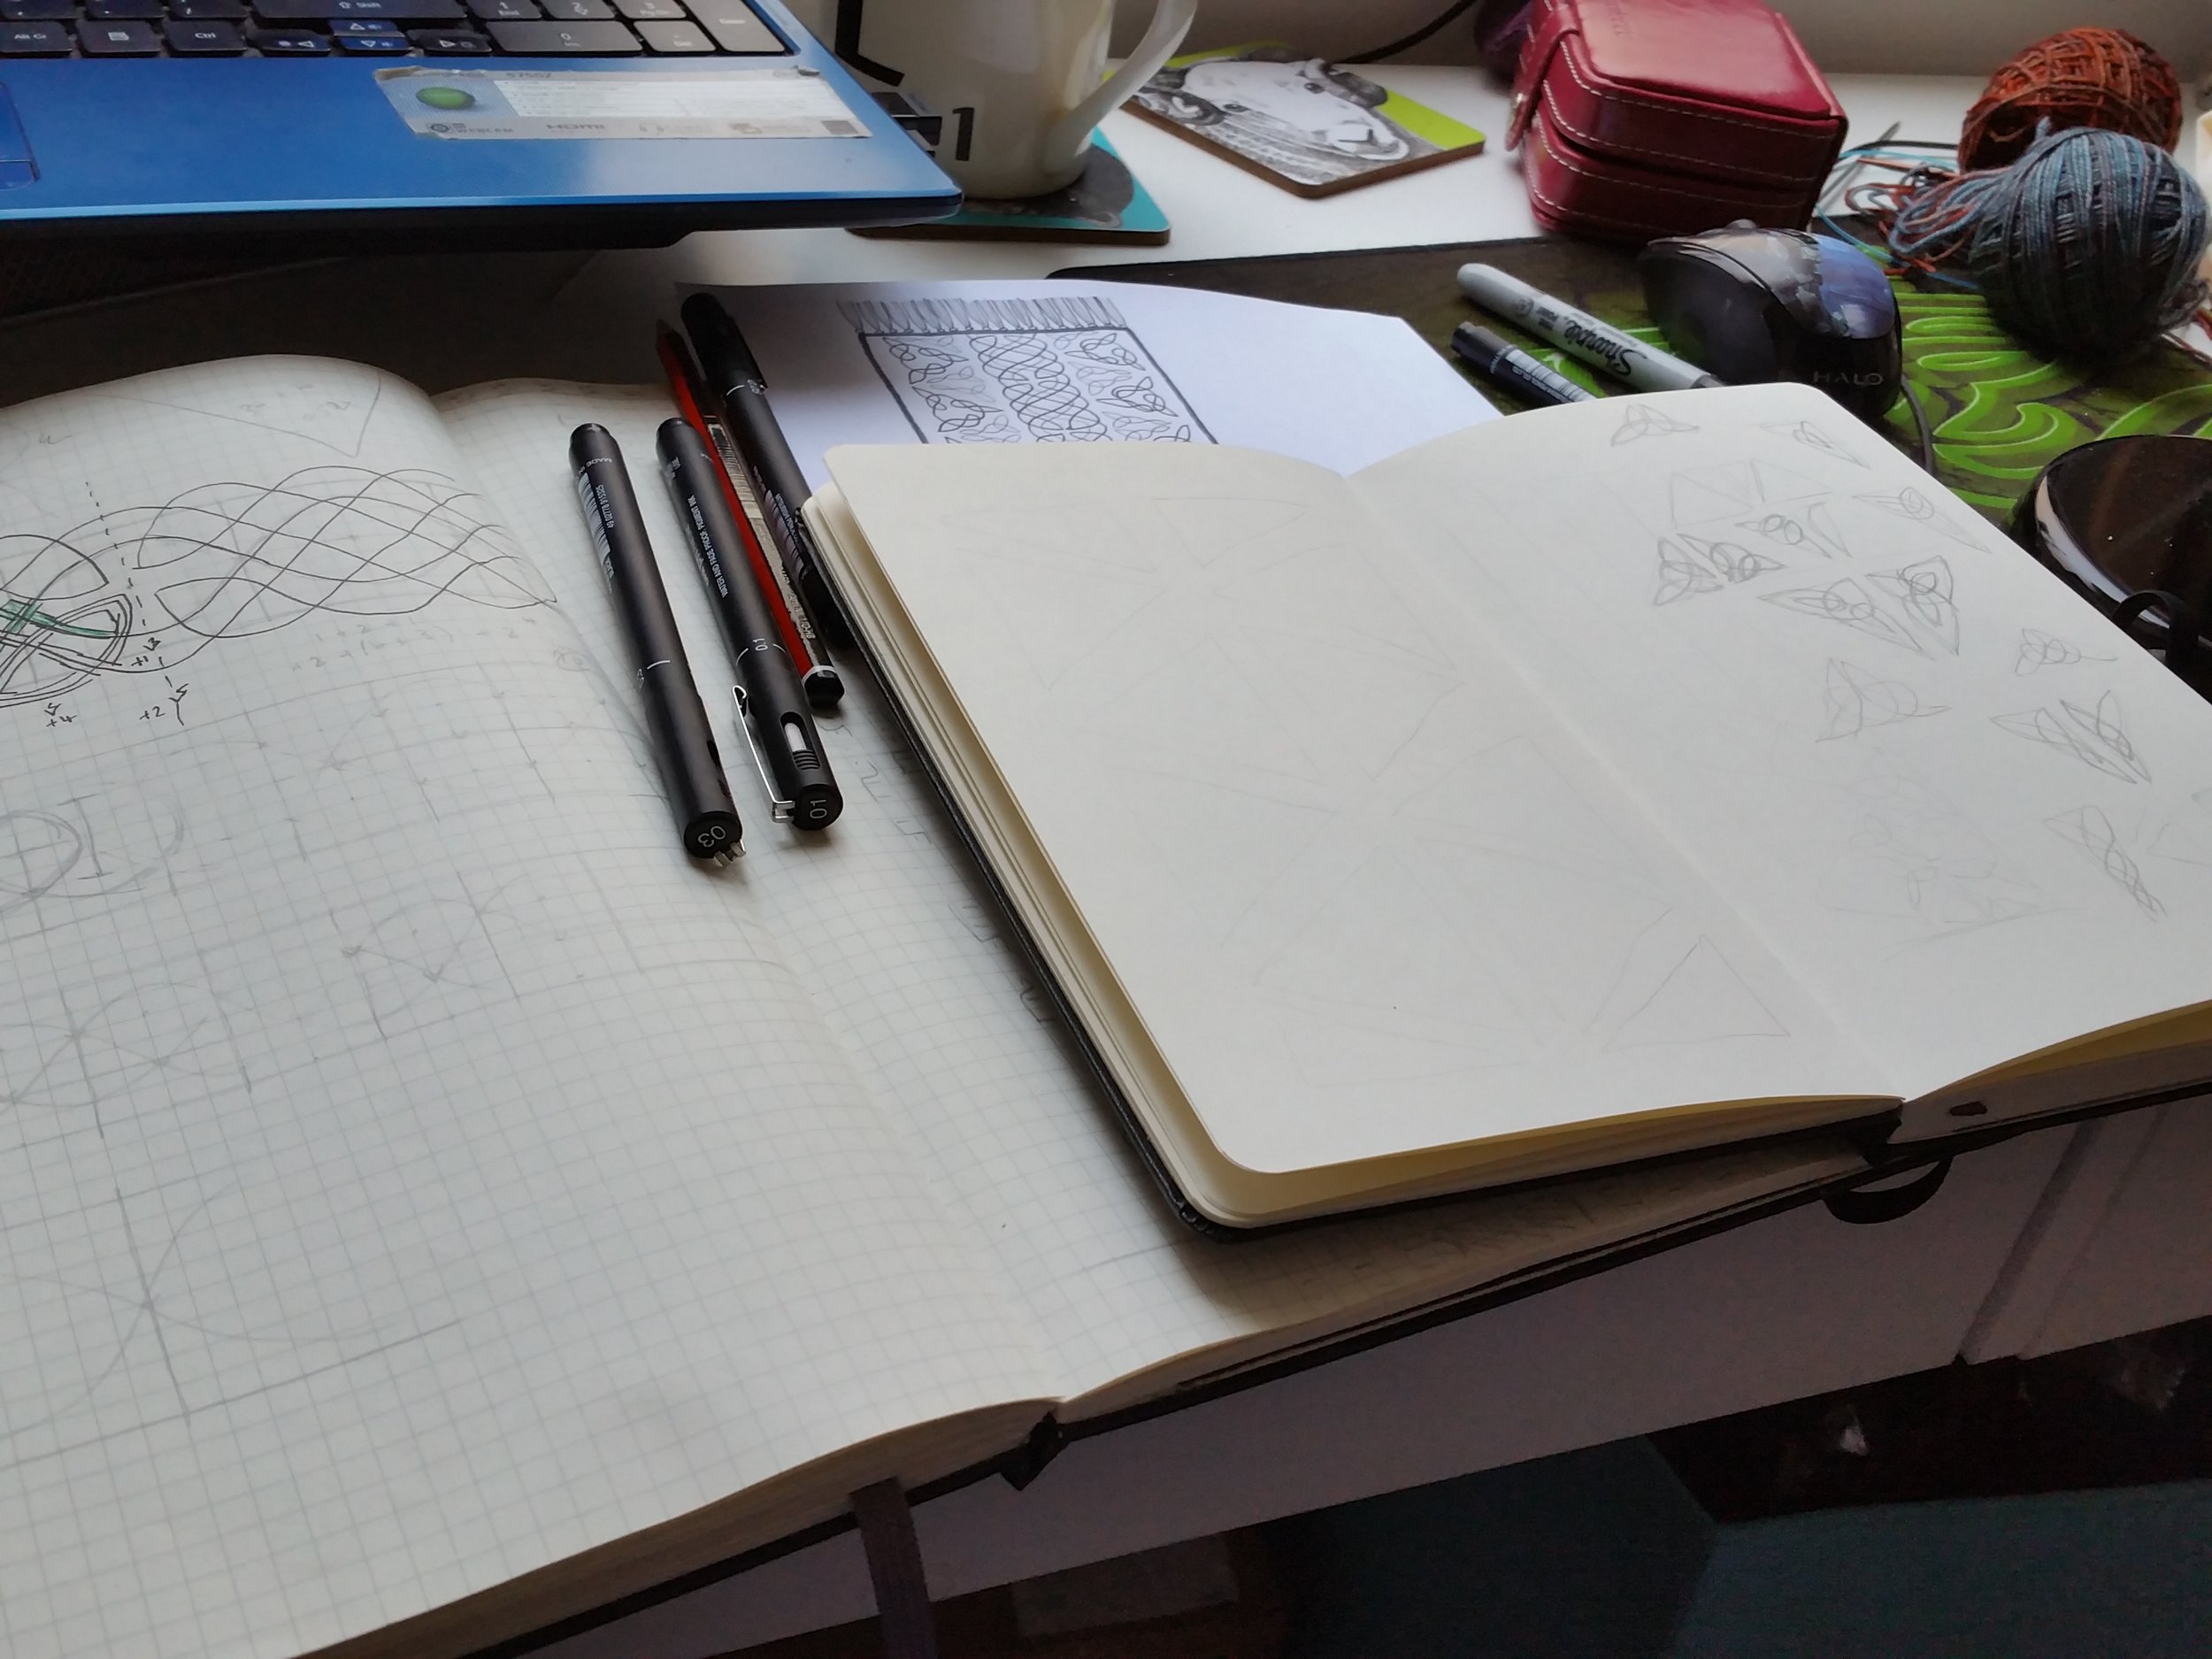
The Bain scarf is pretty special, because it's the first design I've made using what may (or may not!) be a new technique for reversible cables. This is a technique that I've had in development for a pretty long time - I wanted to talk a little bit about where the initial idea came from, and the long process of bringing it into reality.

I should begin by saying that, as far as I'm aware, I haven't invented anything radically new here - I think I've just taken existing techniques and put them together in a possibly new way. I think there's an element of double-knitting (the cable columns could be though of as double-knitted tubes - with the background fabric moving through the middle of each tube as the cable travels across it) - however the fabric itself is not double-knitted. The simplest way that I can think of it and describe it is as three layers - the double-knitted cable columns, and the single-knitted background fabric. Obviously the background fabric needs to be reversible for the pattern to be totally, truly reversible - I've used garter stitch in this design but any other reversible fabric like seed stitch or rib, for example, would work too.

I first had the idea for this technique whilst working on Illuminated Knits. All of the designs in Illuminated Knits make use of slipped-stitch cabling, with alternating single-round stripes; the slipped stitches make the colours in the cable contrast against the striped background (giving the effect of colourwork without having to use stranded knitting or intarsia).

Lindisfarne shawl, right side and wrong side

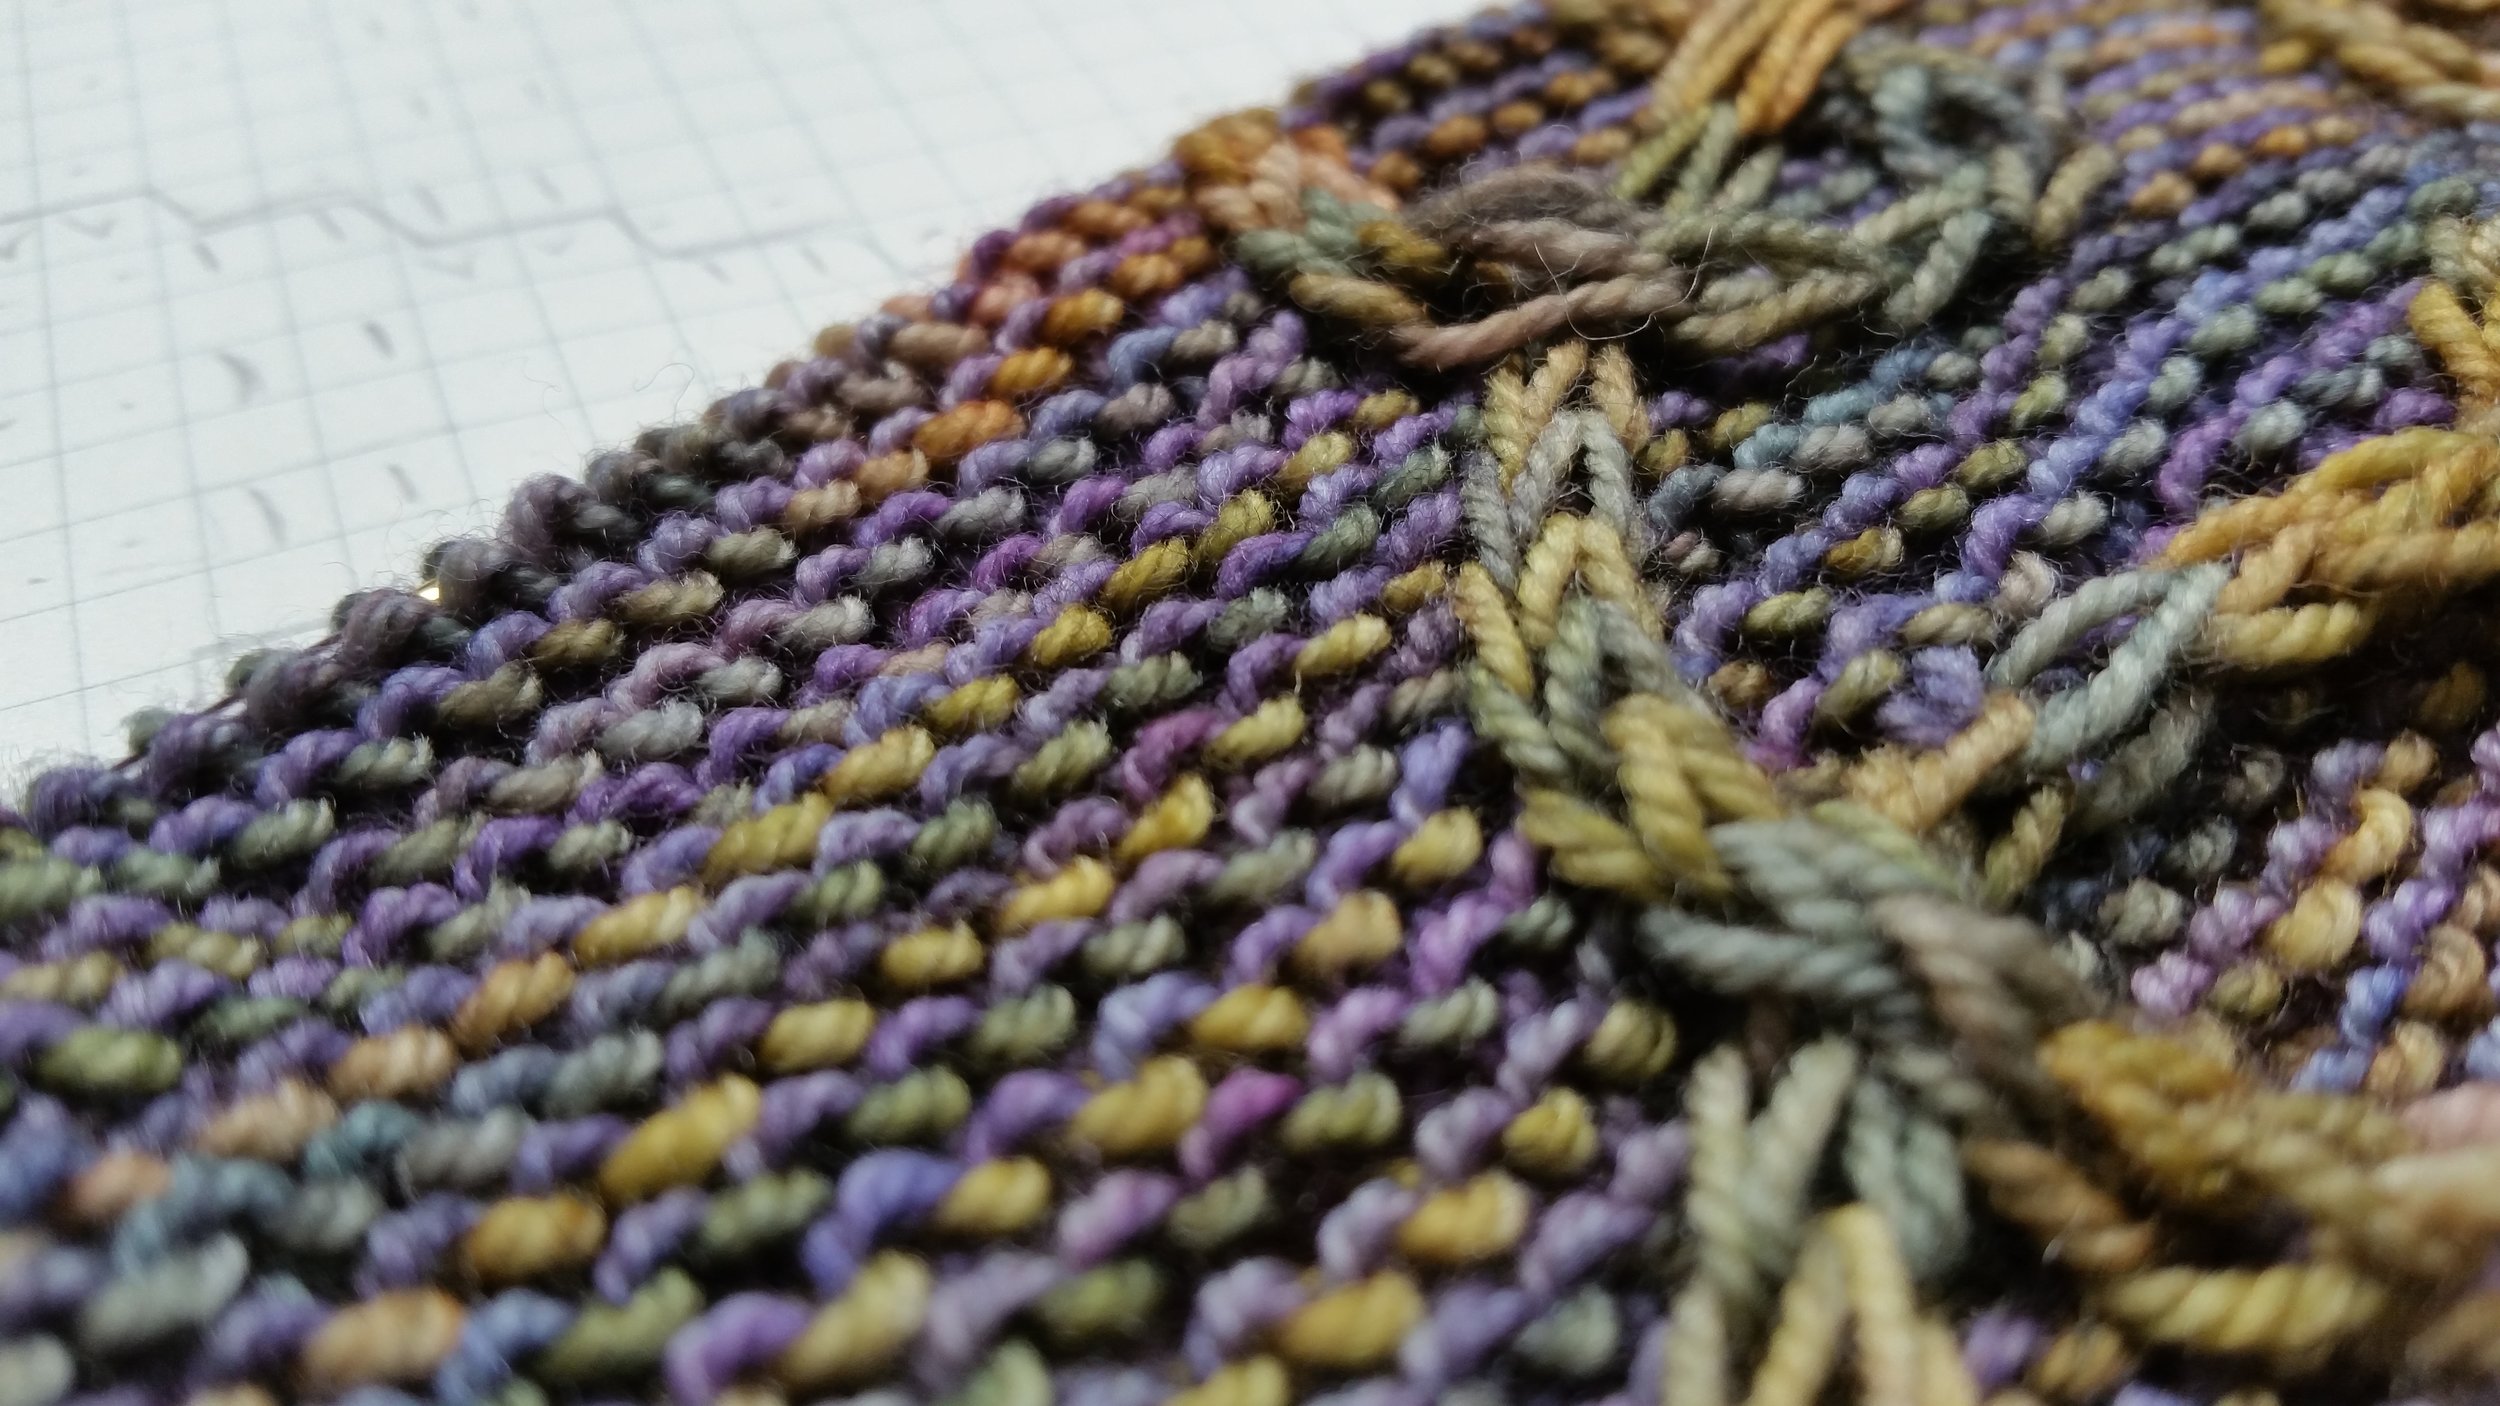
An additional benefit of slipped-stitch fabric is that the wrong-side of the work looks very neat - instead of the floated strands of yarn that you would see in stranded knitting, the wrong-side of slipped-stitch cable fabric simply shows the stripes of the two different colours of yarn, and a very slight impression of a ridge where the cables are travelling across the right-side of the fabric. The strands of yarn that run across the backs of the slipped stitches are somewhat visible on the wrong-side, but nowhere near as prominent as you might expect - the structure of the cabled fabric seems to pull together on either side of the cable, so that the strands close up and shorten to some extent.

Close-up of the wrong side of Lindisfarne

One day, as I was musing over the pleasing neatness of the wrong-side of this type of fabric, I had a light-bulb moment - if I were to place cables on the wrong-side of this fabric, running parallel to the ridges created by the cables on the right-side, the ridges might be hidden and become even more difficult to see, creating a completely reversible fabric.

Consider the following diagrams, which illustrate the basic arrangement underpinning this concept.

For RS (or Side 1) rows: p4, k2, sl2wyif, p4. For WS (or Side 2) rows: p4, k2, sl2wyif, p4.

Side 1 - p4, k2, sl2wyif, p4.

Side 2 - p4, k2, sl2wyif, p4.

The fabric is reverse garter st, with a column of 4 sts which appears as a 2 stitch wide column on each side (for illustrative purposes, I've highlighted each half of the column as different colours, but hopefully you can see that when knitted all in the same colour yarn, the fabric will look identical on each side). I've exaggerated the length of the strand running in front of the slipped stitches, however as noted before, in practise the cable column draws together and shortens this strand - making it almost completely invisible. As you work, and as the stitches increase in distance from their initial beginning on the needle, the cable columns helpfully shift from being side-by-side (as they are on the needle) to being perfectly in line with each other in the finished work.

(Incidentally, once you understand this concept, you should be able to see that this arrangement can be used for cables of other thicknesses too, for example the thinner, twisted stitch cables that run along the sides of Bain - which use columns of 2 sts, that appear as 1 st on each side).

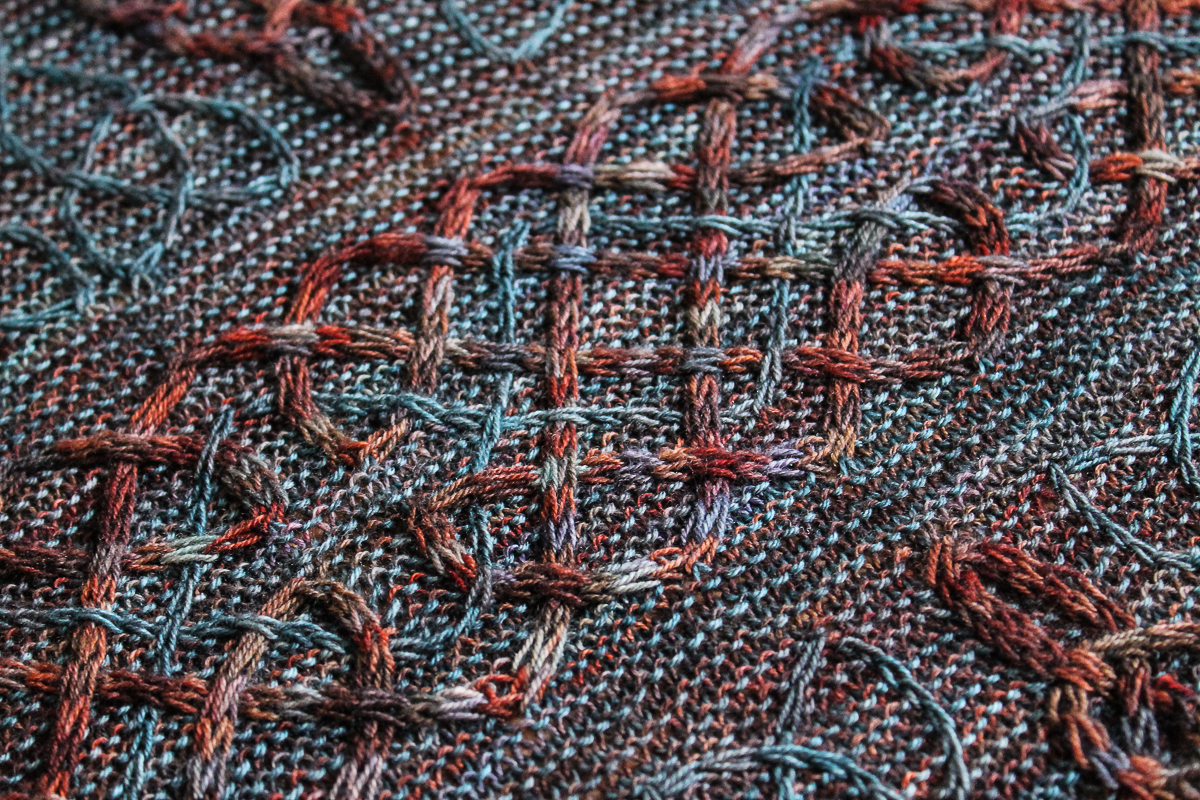
I've drawn in some arrows to show where a couple of these slwyif strands are in the Bain scarf. I'm stretching out the fabric slightly with my fingers in an attempt to make these strands more visible... :

This was my first trial swatch of this technique (back in 2016!), when I was still trying to understand if it was possible (and if anyone else had done it before - this was less a case of wanting to be the first, and more a case of hoping someone else had already done the work of figuring out how to chart and write it!):

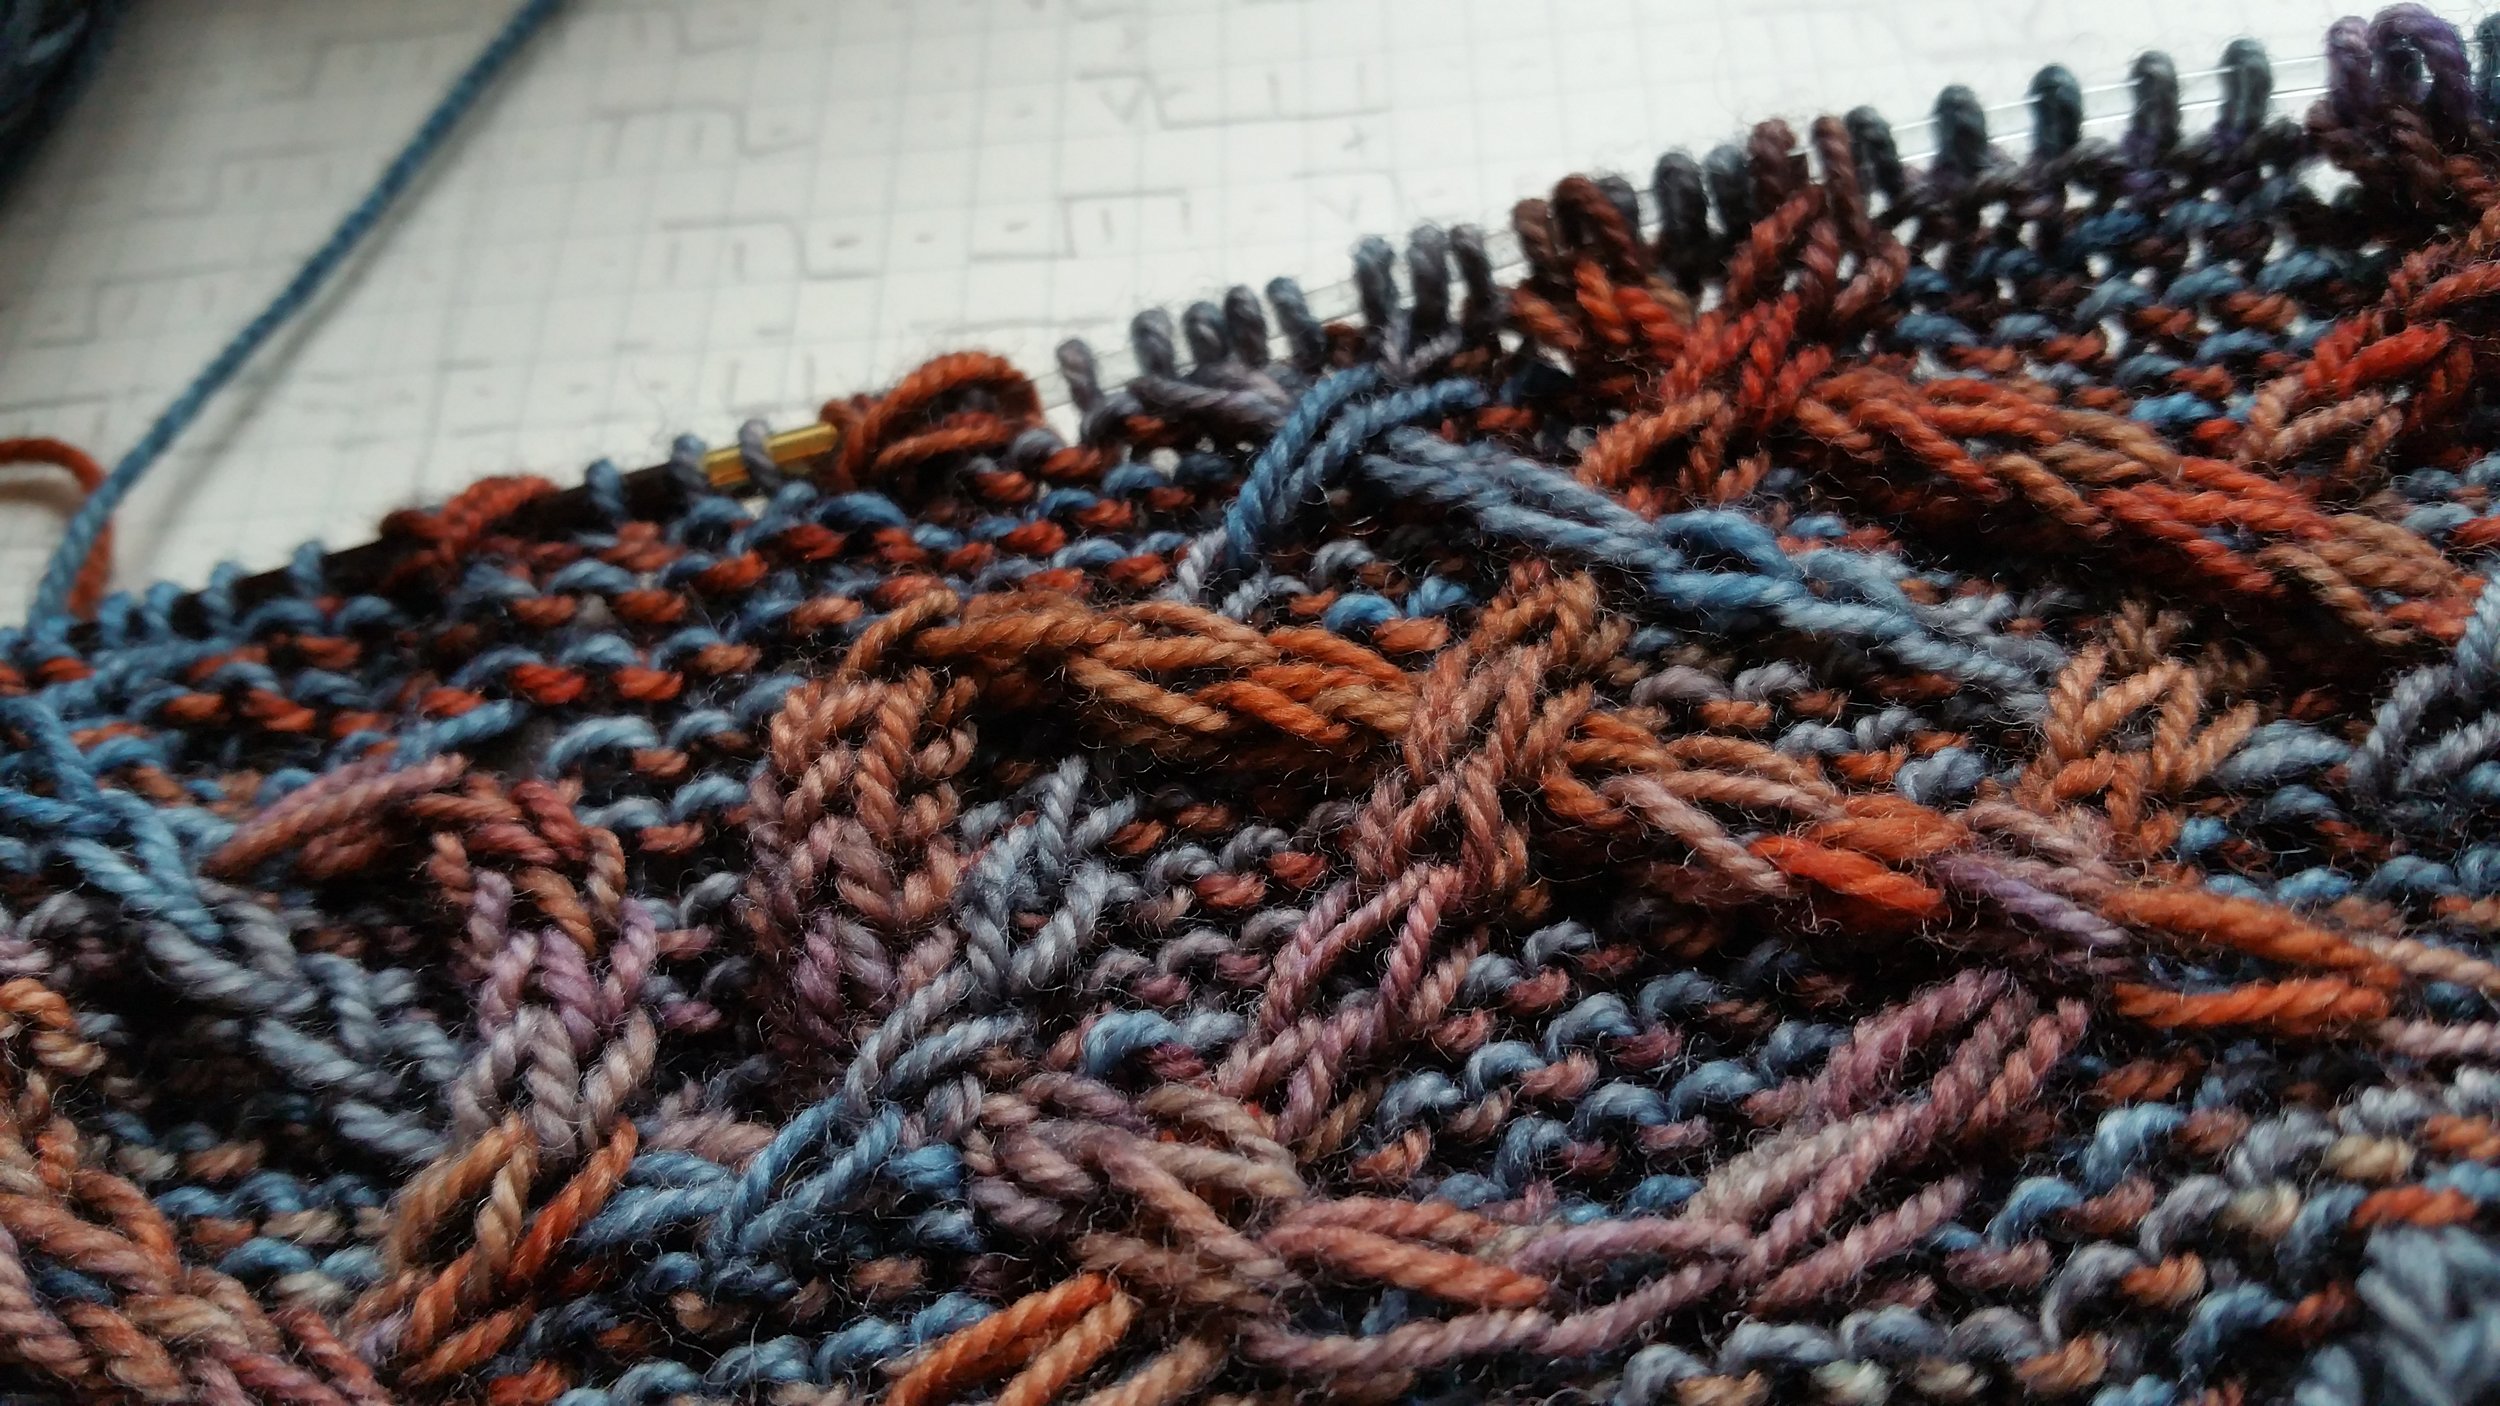
Having the initial light-bulb moment was one thing - working it out into something that I could knit (and, just as importantly, actually describe and chart so that others could knit it too) was another thing entirely! I realised early on that whilst this reversible effect is very easy to achieve with straight columns of stitches (as pictured in the diagram above), the problem of making those stitches travel as cables over a background fabric was much more complex. The crucial thing here is that the background fabric needs to travel in-between the cable columns.

The way that I managed to get this to work (after a lot of trial and error!) was to stagger the movement of the cables in such a way that the background fabric is only moving through one section of the double-knitted cable column on each row. On the next row the other half of the cable column moves, and the background fabric has completed its pass through the cable column. This is hard to expain in words but makes sense once knitted - it also has a pleasant symmetry to it, returning the stitches back to their original arrangement in the cable column. I decided to go with a basic 'resting' arrangement of k2, sl2 for each column - this is the configuration that the stitches return to after crossing over the background fabric. It should be noted that there are various configurations that would work - this was just the one that I chose and decided to stick to, for consistency.

The one remaining piece of the puzzle that I needed to work out was how to get closed-loop increases and decreases to function within this technique (these are the 1-into-5/5-into-1 stitches that I use heavily in my work, and which allow Celtic-style knotwork to be knitted). This actually ended up being easier than I had anticipated - I had already worked out that certain movements needed to be staggered across consecutive rows, so I tried this with the increases and decreases and found that it worked perfectly, as long as the stitches had already been rearranged into the correct position. Because this technique uses a lot of slipped-stitches, more 'rest' rows need to be built in between the cabling rows, to give the fabric enough vertical height (slipped-stitches pull fabric inwards vertically, so extra rows are required). These rest rows provide the perfect opportunity to manoeuvre stitches into the right position for things like increases/decreases and more complicated cable stitches.

Once I understood how the technique could be used, and had proved to myself that it was knittable, the final challenge was to get it into a format that other knitters could understand. The solution I eventually arrived at was to chart both sides of the pattern, and read the chart for each side from right-to-left. So, even though the work is knitted flat, each side is presented separately in the charts (and in the written versions of the charts). This seemed to be the most intuitive was to go about it, as there is no right or wrong side - just 2 different sides which are mirror images of each other. I did initially try to chart the whole thing in one - this actually makes more sense from the perspective of a designer, because I could clearly see how the cables lined up between each side. However, it would have involved showing the cables from only one side, so I would have needed to use different symbols for the second side, and the second side rows would have had to be read from left-to-right. I didn't want it to be too overwhelming for the knitter, so went with the option that seemed to be easier to knit from. It was a relief to send it out to my test-knitters and find that they could follow the charts and understand what was going on!

I'm really excited about this technique, and I'm looking forward to using it in further designs. I have a lot of ideas about possible applications. I think, perhaps most intriguingly, this could be used with single-rnd stripes (as I used in Illuminated Knits), to make reversible cables which are different colours on each side. It certainly opens up a lots of possibilities and I can't wait to explore them.

These short video clips show both sides of the scarf, and a close-up of the reversible cables:

Durrow shawl

durrow-mid-res-1 It's been a while in the making, but I'm pleased to announce the third design in the Illuminated Knits collection is finally here - the Durrow shawl!
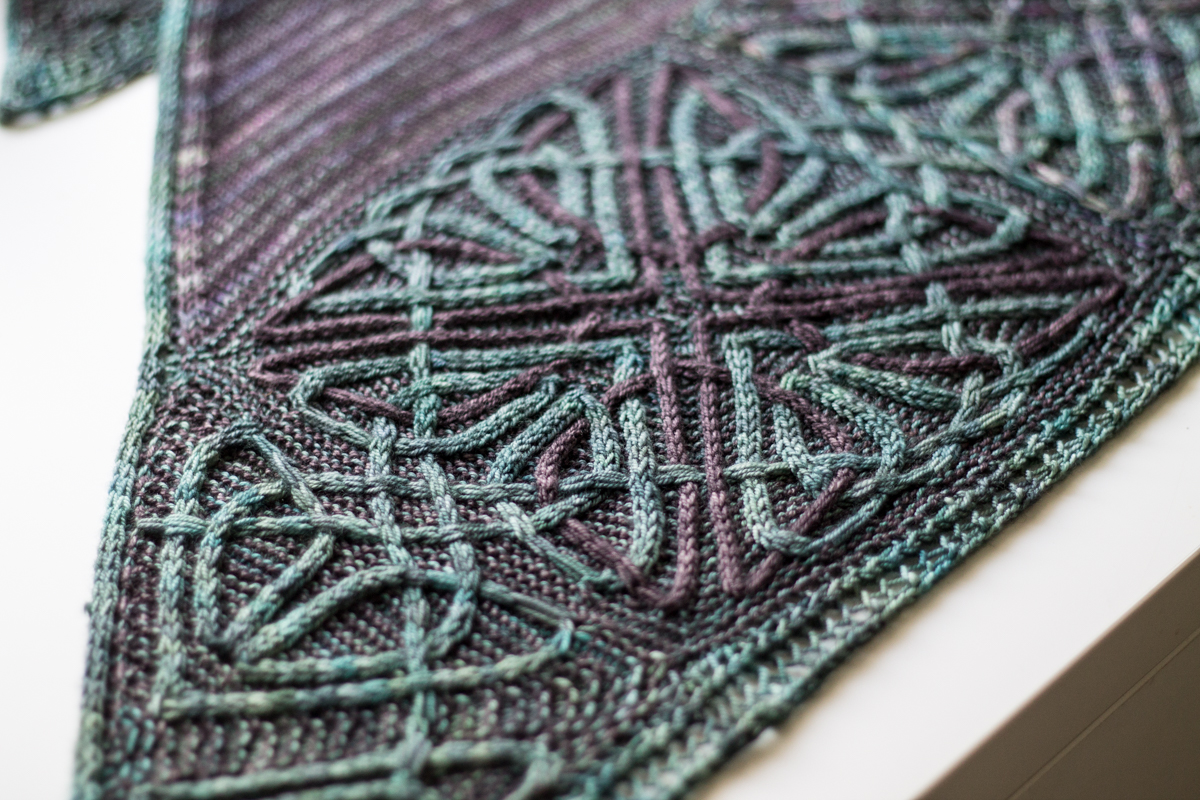
This design took several months to conceptualise and bring into reality. I think it might be fair to say that it's the most complex design I've ever created - both in terms of the cable pattern itself, and the knitting required to achieve it. I'm very happy with the end result though, and glad that I persevered even when it was completely refusing to make sense!

In keeping with the other designs in the Illuminated Knits collection, Durrow uses a technique of cables mixed with slip stitches to create a contrast colour design - I love this technique, because it gives you the chance to play around with different colours without actually having to use stranded knitting or intarsia. The colour-work is as simple as striping the colours on each round, and remembering to slip stitches when necessary (like mosaic knitting). This is the technique that I also used in the Iona blanket and Lindisfarne shawl.
One slightly finicky thing about this technique is that it does draw the fabric in a little bit (vertically, because of the slipped stitches), and so the fabric becomes much denser as a result. Because cable knitting also a tendency to do this (particularly the type of complex cables I use, where the rate of horizontal travel can be quite extreme), I decided to only use this technique when working in the round. Why? Because when you work in the round, you can change colours on every round, so the contrasting stitches only need to be slipped over one round. When you use this technique whilst knitting flat, you can only really change colours every 2 rows (so that your yarn ends up in the right place to strand up the side), so the contrasting stitches have to be slipped over 2 rows instead - creating even more pull-in and a denser fabric (there are ways of getting around this, so that you can knit flat whilst changing colours on every row, instead of every other row - however this is a bit complicated to describe and not something I wanted to do throughout an entire design; I have used it a little bit in this pattern though... more on that in a bit!).
So, with these constraints in mind, I began to think about how I could use this slipped stitch colour technique in a triangular shawl. It is possible to knit a triangle shape entirely in the round (if from the centre out, for example. by concentrating increases at three evenly spaced points on each round); however, this will produce something more like an equilateral triangle, not the right-angled shape more commonly made (and worn!) by knitters. After a lot of head-scratching, I realised that this problem could be solved by making a border out of modular squares (which can be knitted in the round), with picked up stitches for the body (which can be knitted flat, and shaped like a traditional right-angled triangular shawl).

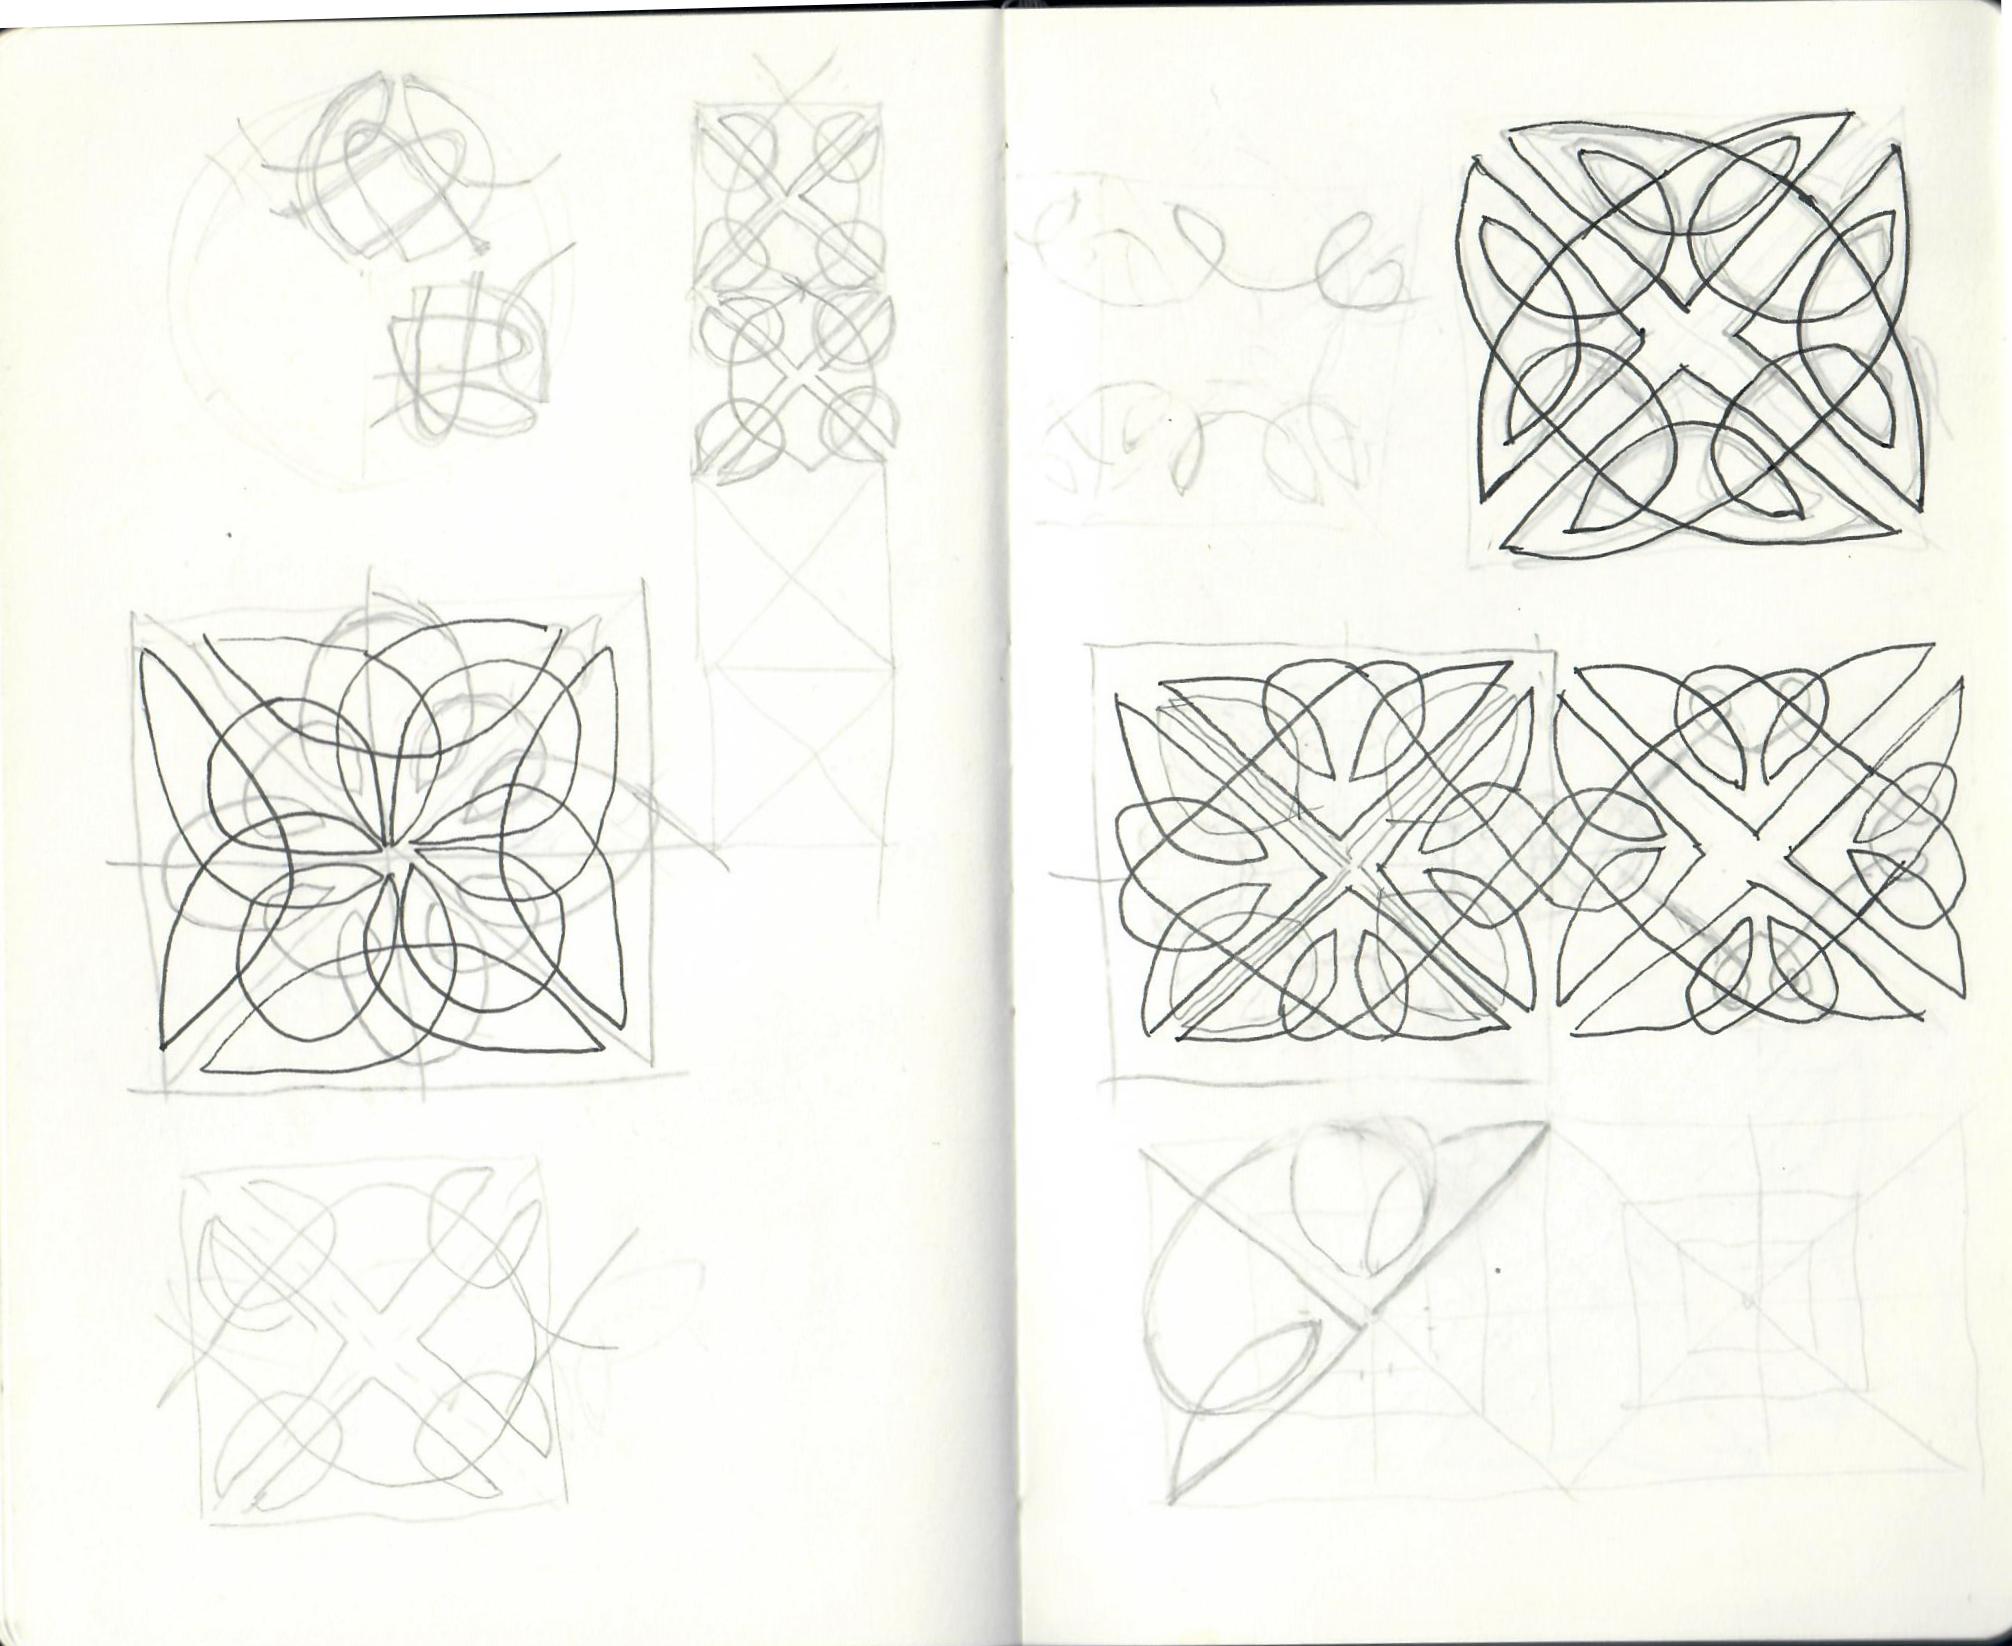
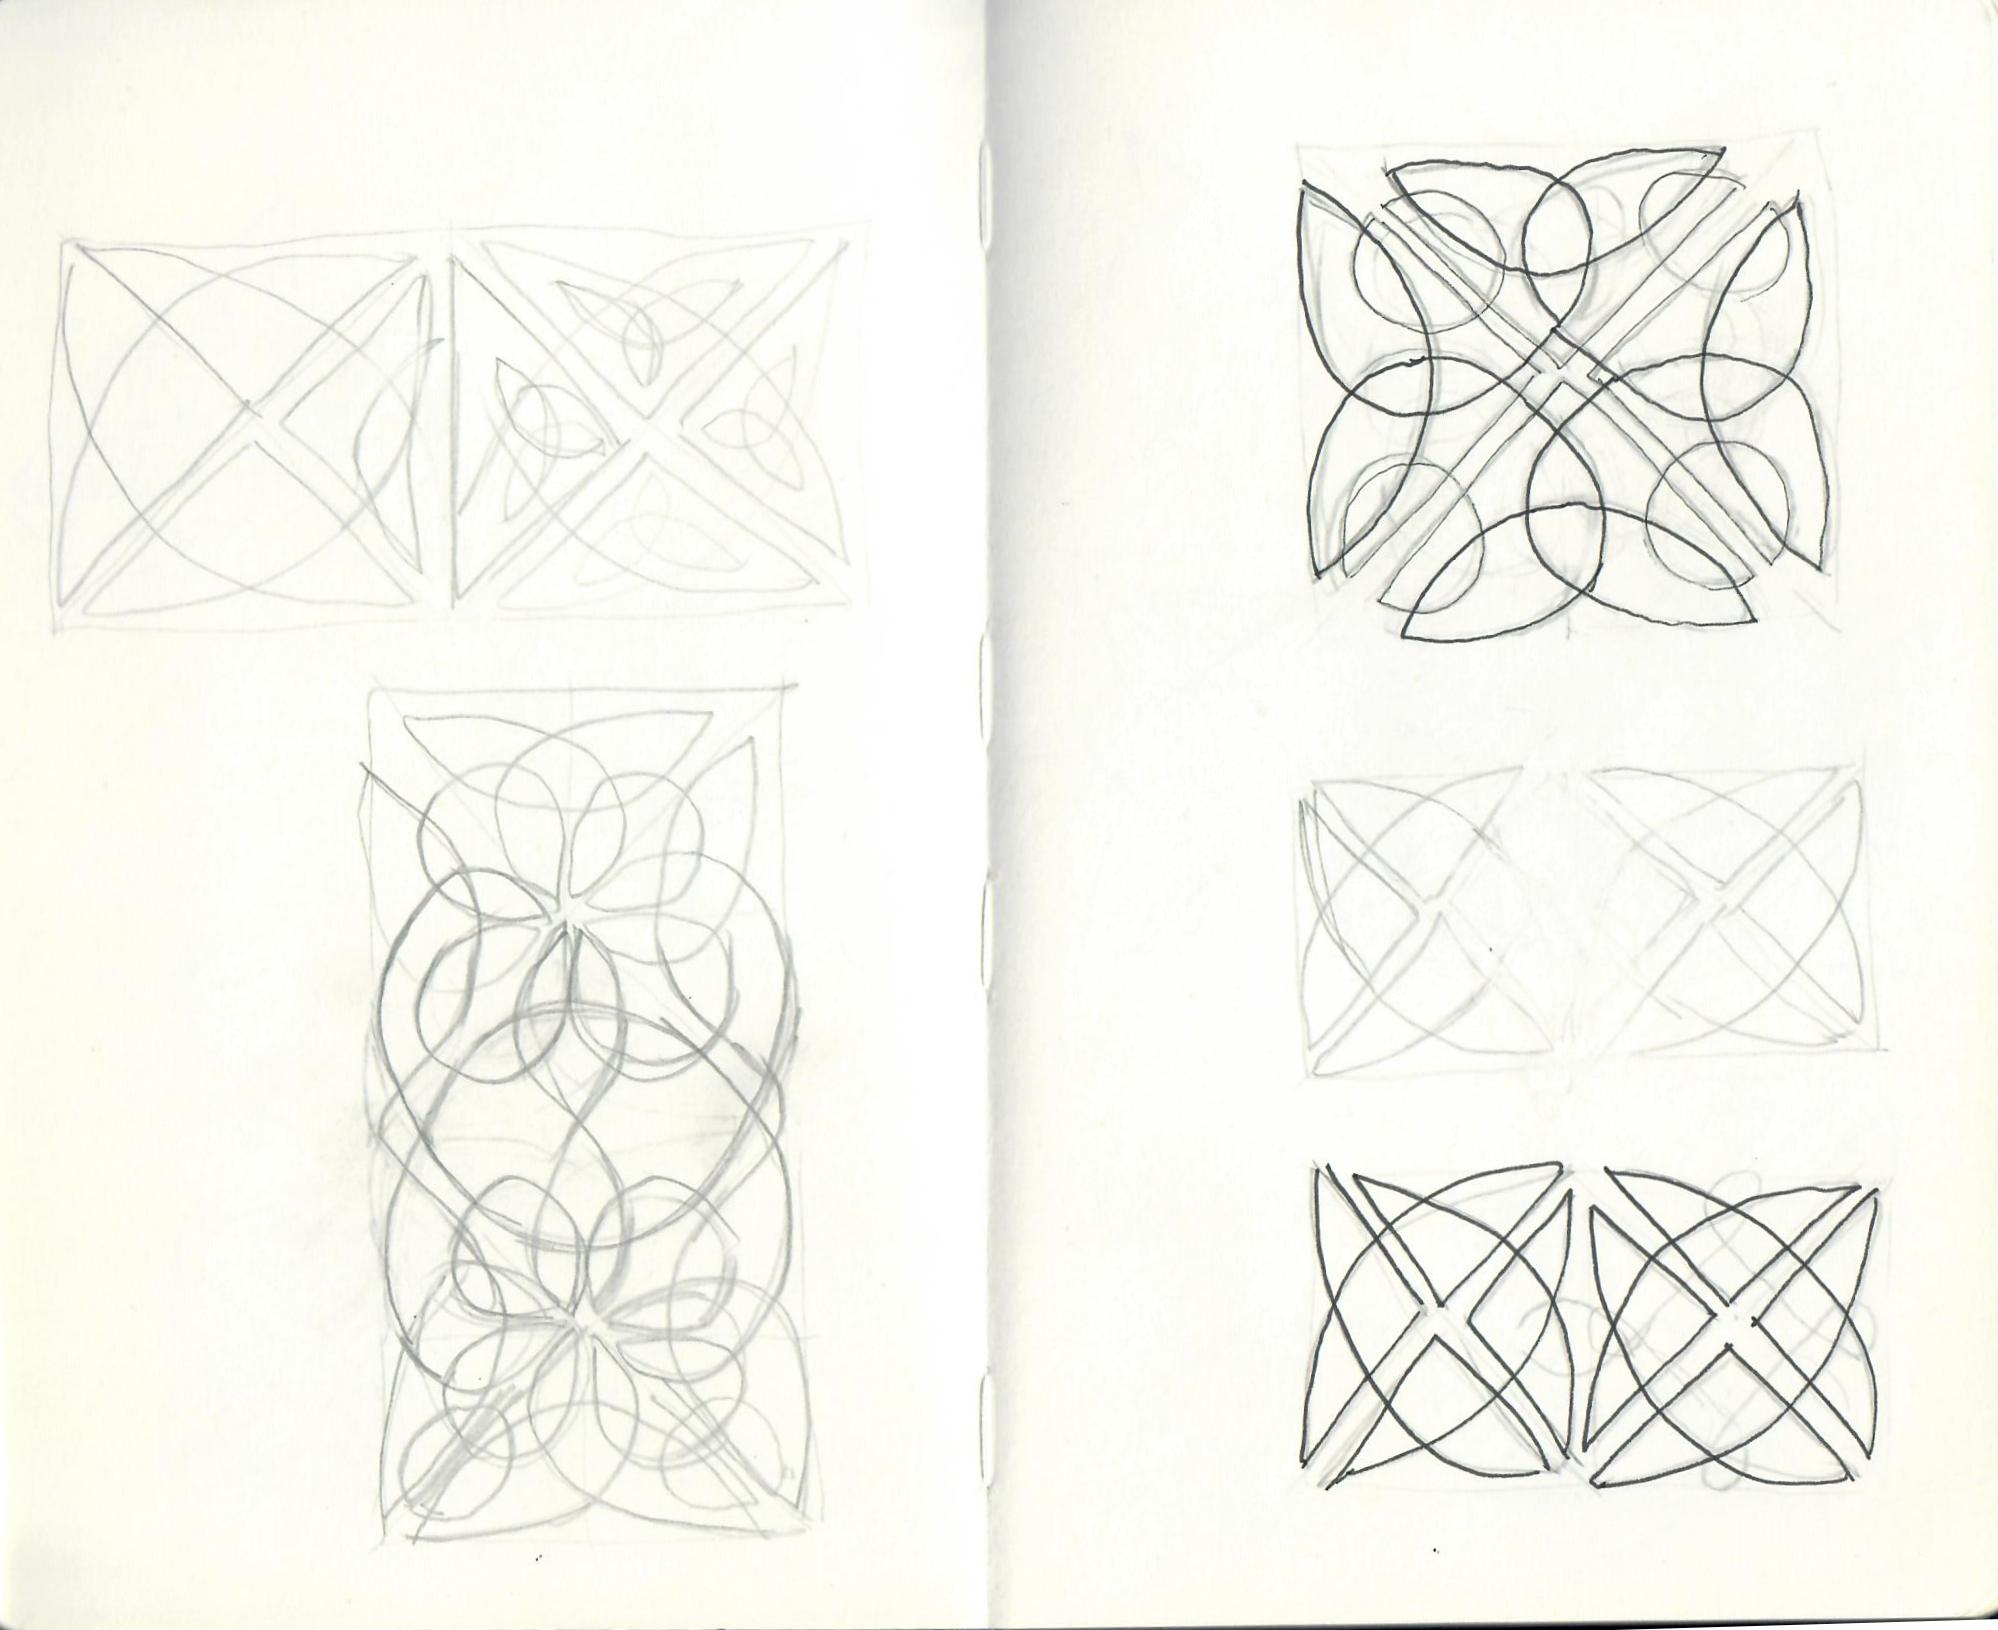
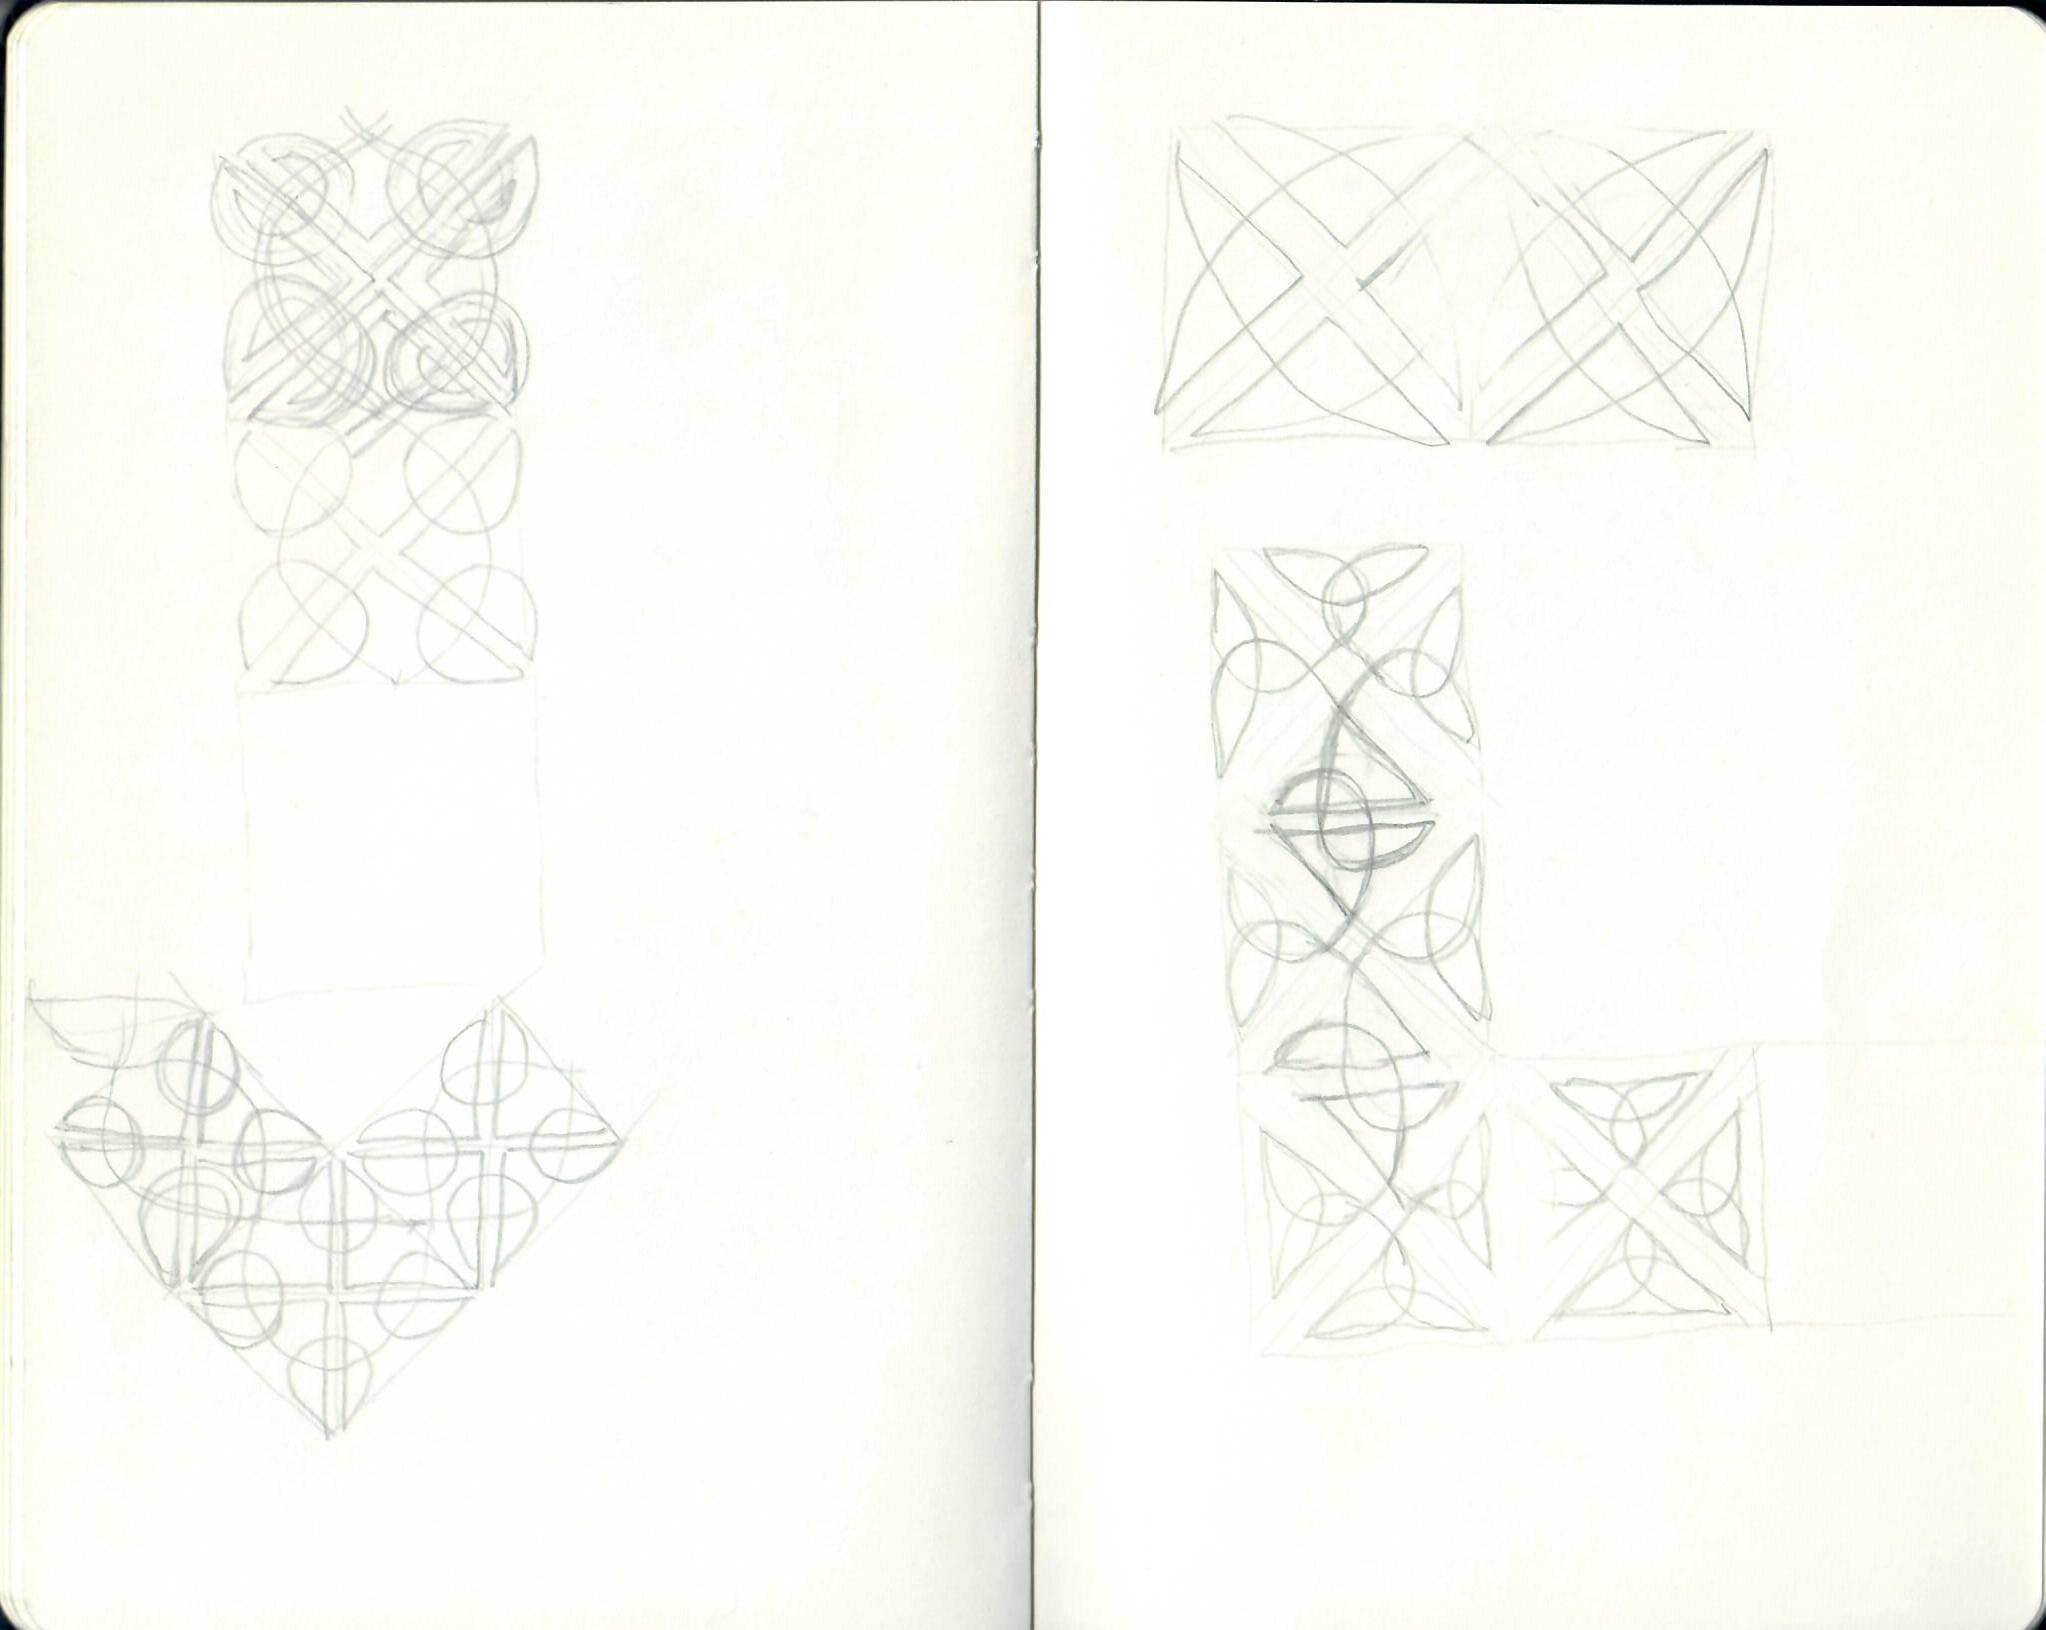
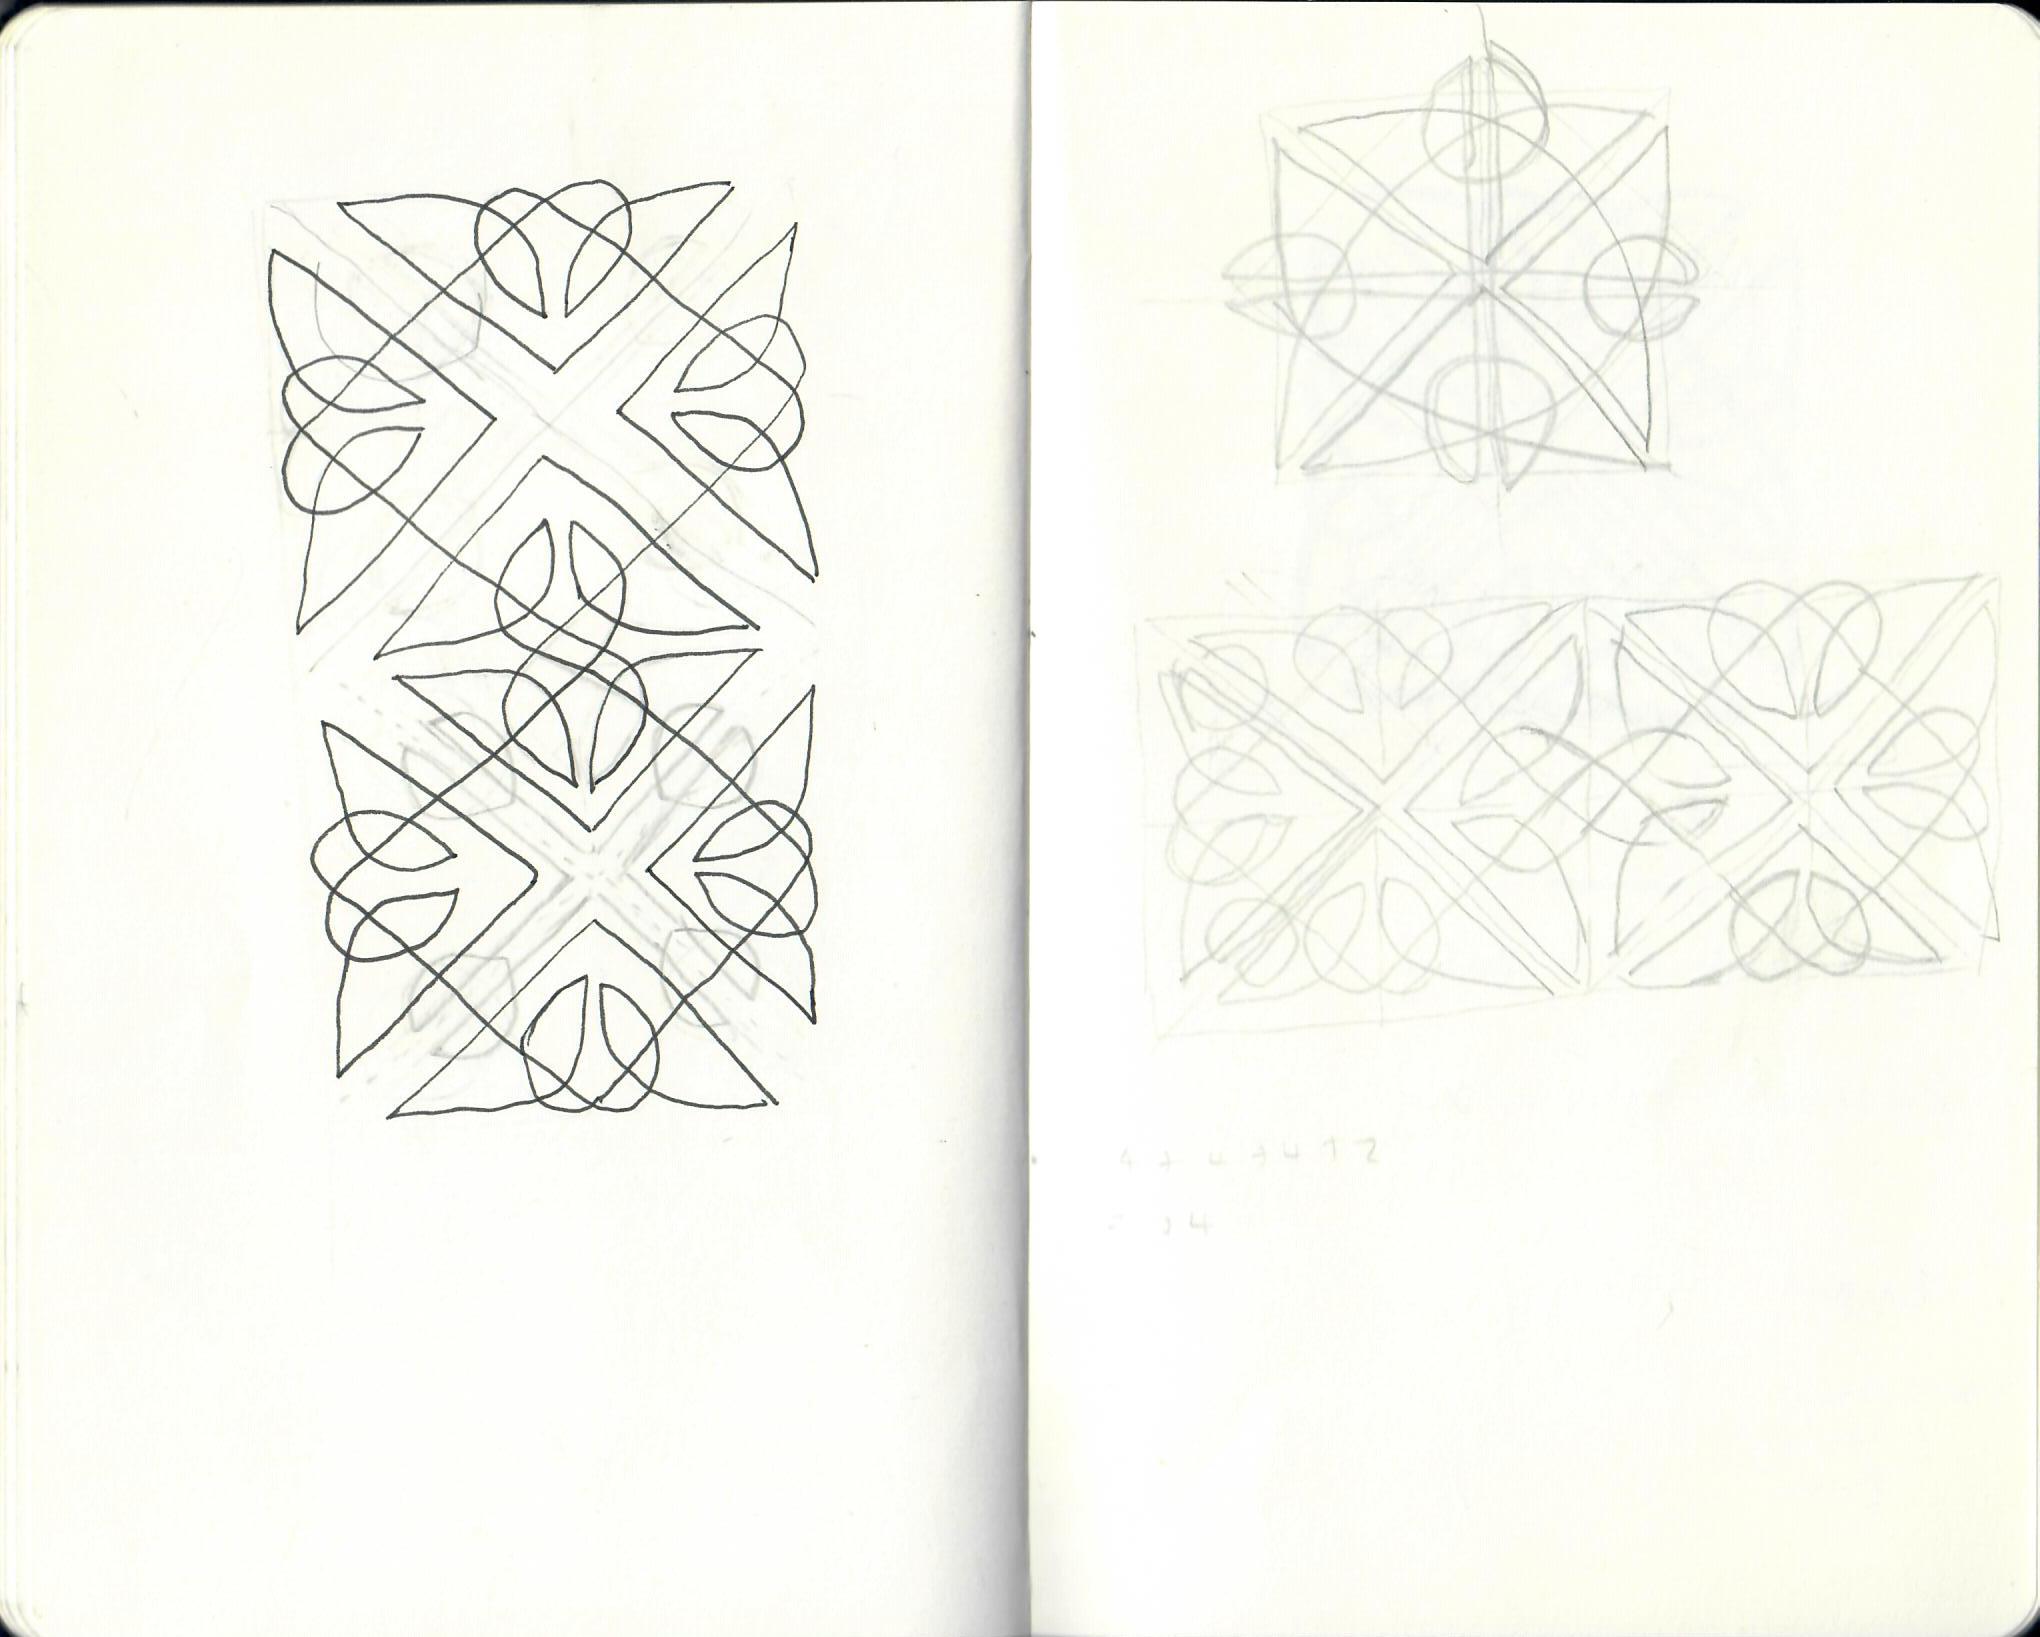
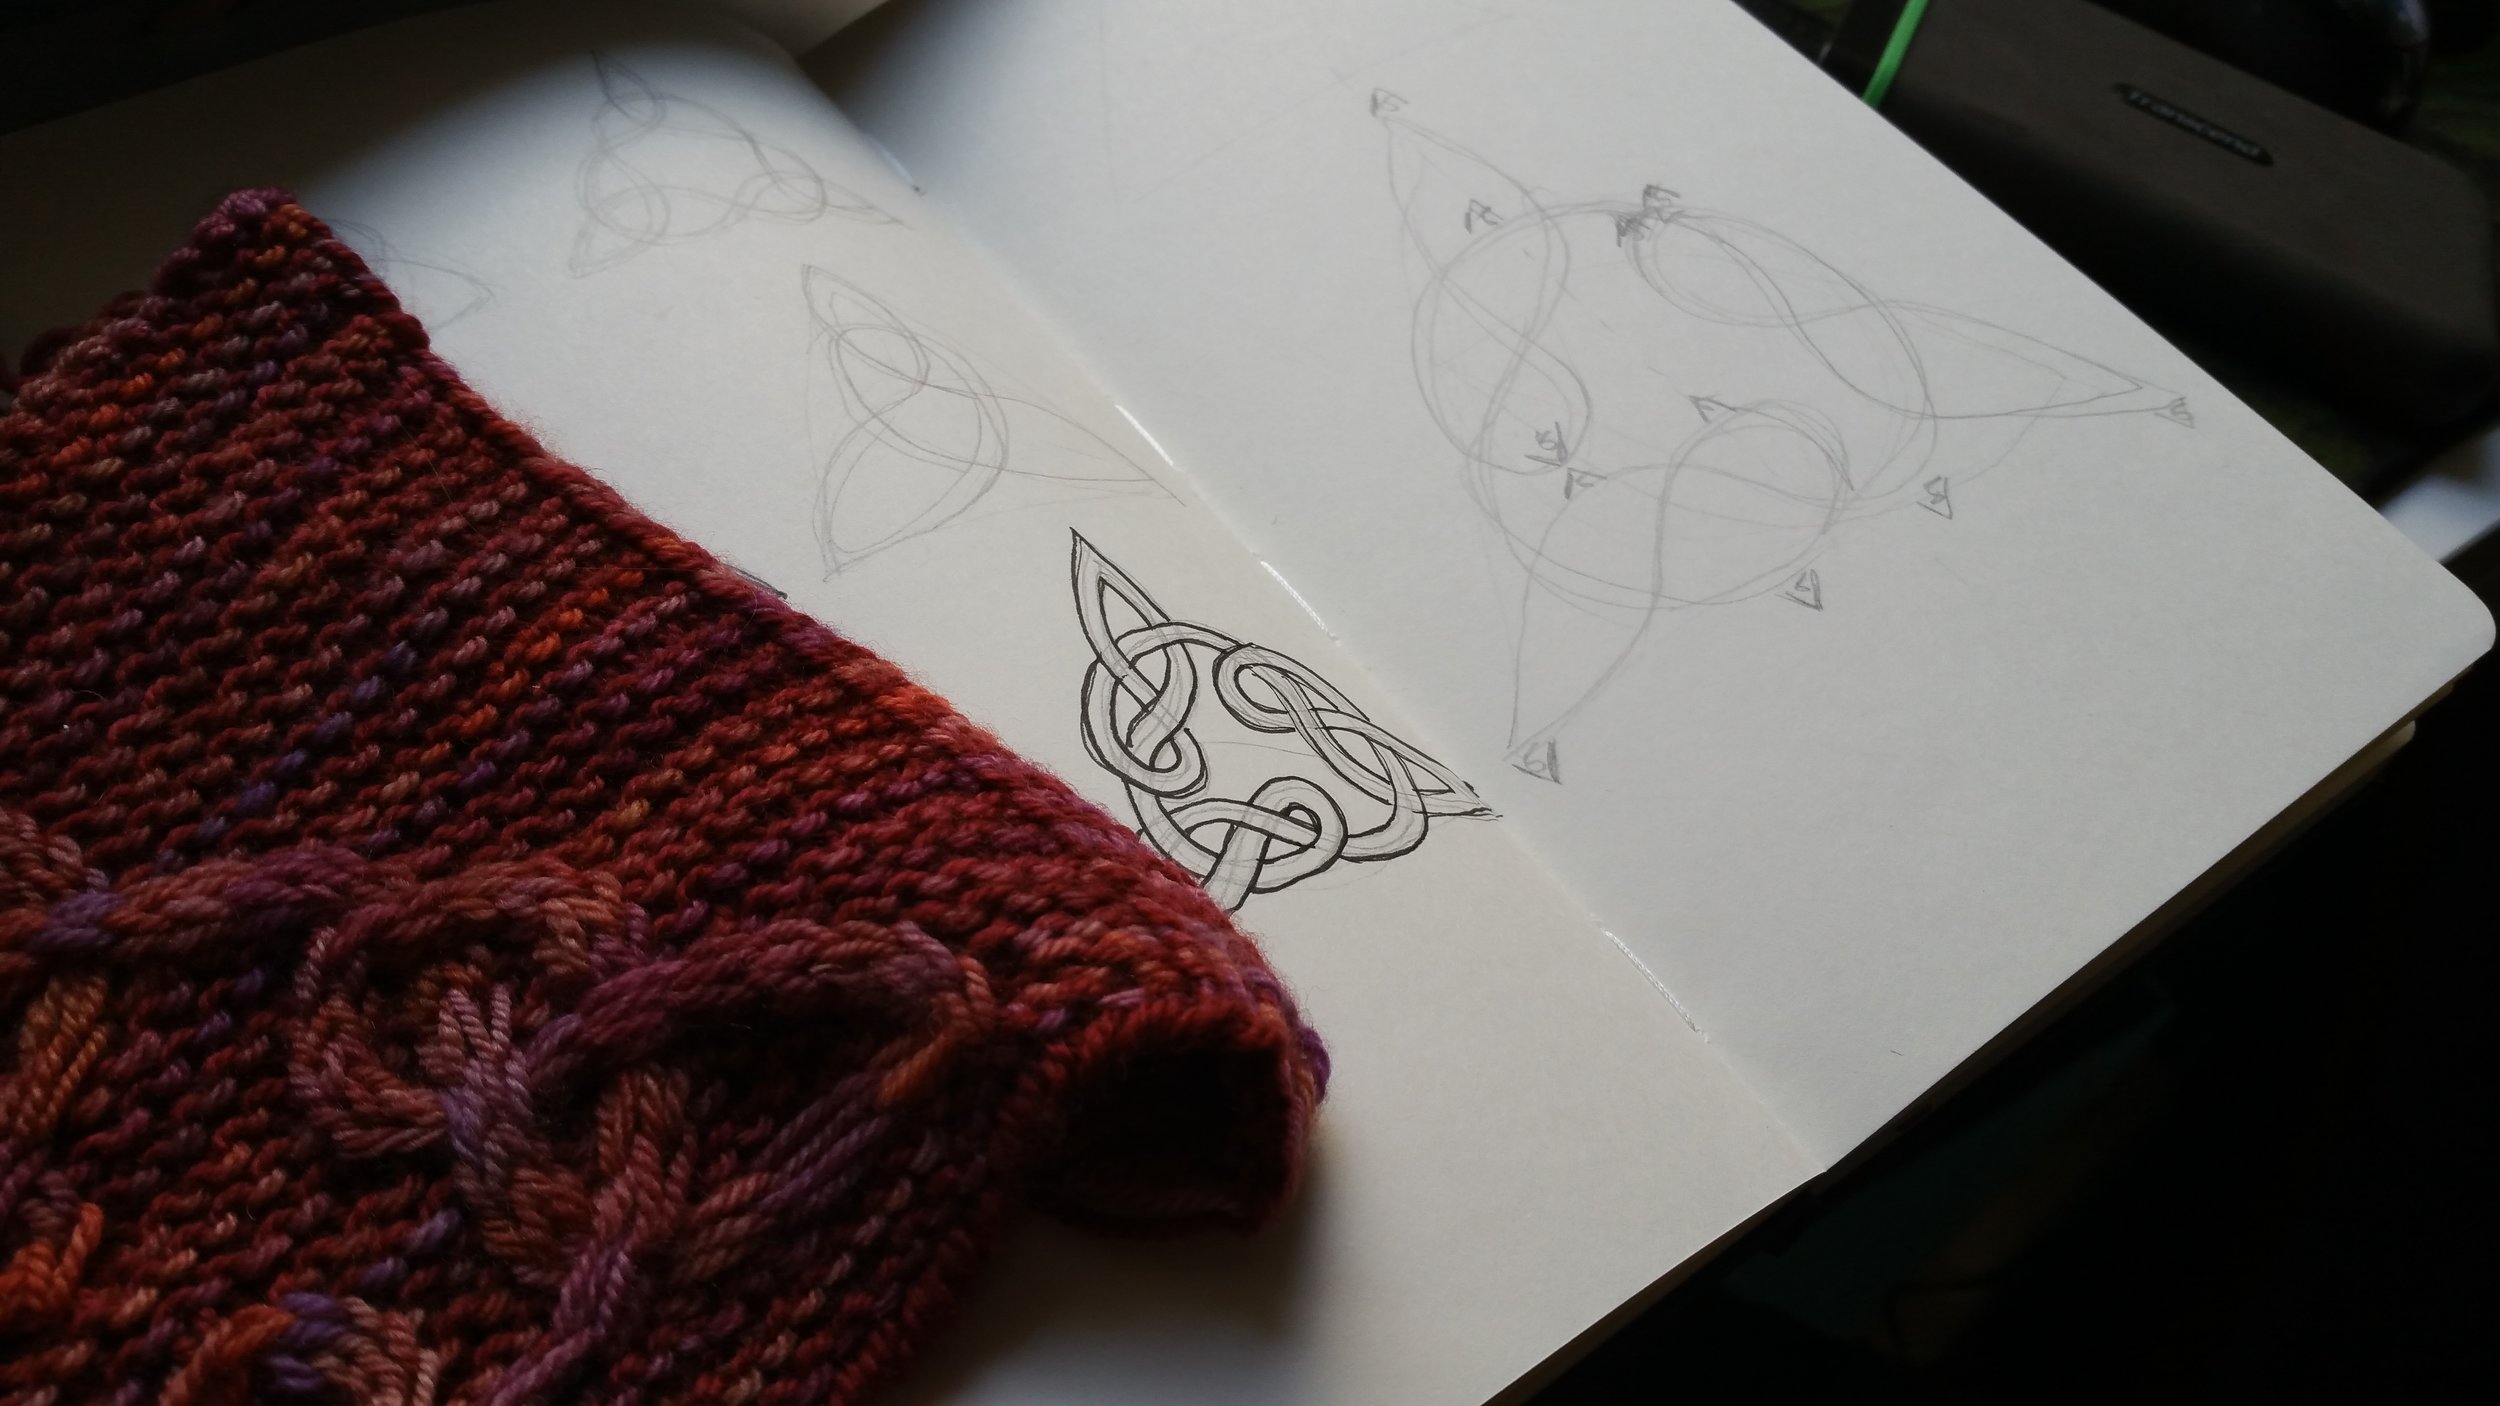
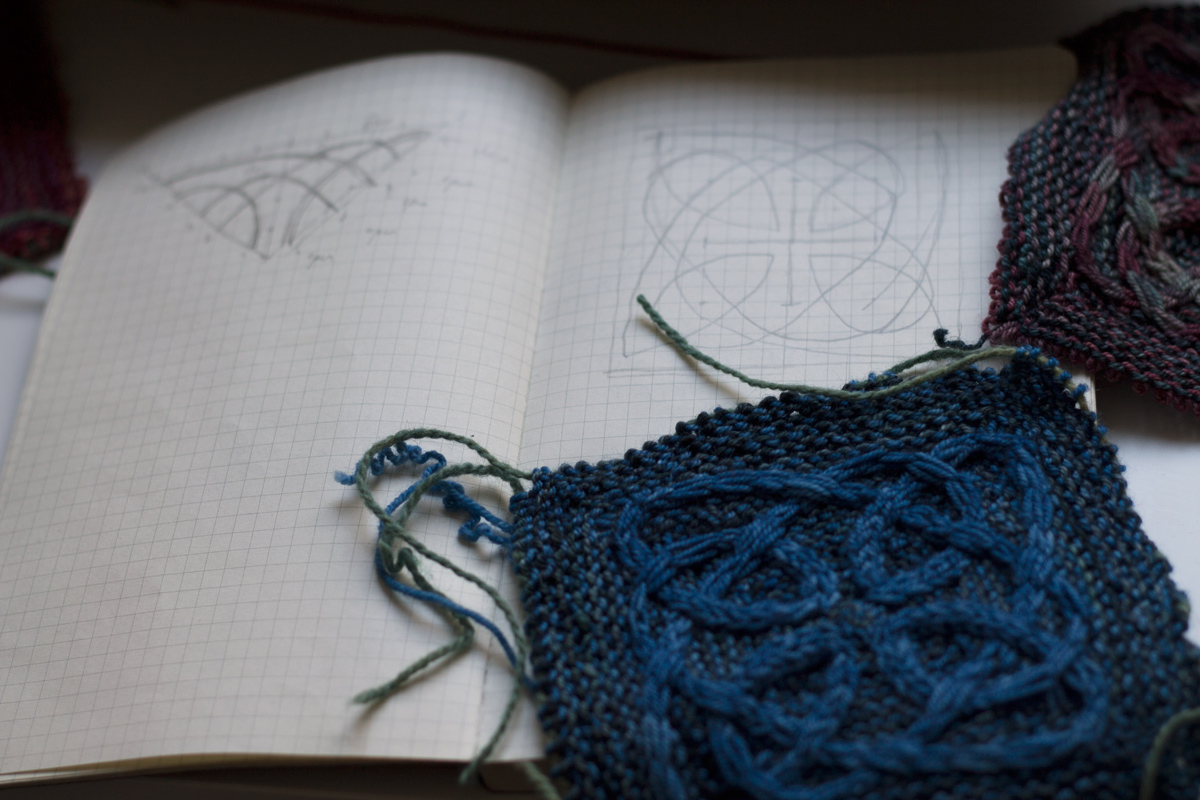
Here are some of my notebook sketches that show my efforts to work out a suitable square knot for the border (I wanted to use two different coloured cable strands, so I was trying to figure out one knot that could flow across the entire border, and then another self-contained background knot that only occurs once in each square):

I realised that I could make the cable pattern flow all the way across the border if I alternated centre-out and centre-in squares. This helps to avoid the half-stitch jog (illustrated by Joni Coniglio) that will occur if you try to graft/pick up and knit stitches from pieces of knitting where the direction of knitting is opposite. Alternating centre-out and centre-in means that the direction of knitting across the squares, at the edges, is always maintained and so the cable flow perfectly. This picture probably shows it more clearly than I can describe:

durrow-mid-res-13

The squares on the far left and far right are both knitted centre-out; then the live stitches at the edges have been used, along with 2 provisional cast-ons, to start the middle square which is knitted from the outside to the centre. If you look closely at the edges of the middle square, you should be able to see how the main cable (in turquoise) flows seamlessly across all of the squares.

Also, you can see in the above photo how I've used slightly different colours for the background yarn of each square; this creates a nice gradient-type effect, and is one of the fun possibilities that arises from working the border in a series of modular squares. However, I think the border would also look lovely with only one background colour (the main reason I used three was simply because I couldn't choose between them!).

This construction schematic shows the order of centre-out and centre-in squares, with the arrows showing the direction of knitting:

durrow-construction

You may remember earlier, when I was describing the problem with using this slipped stitch technique whilst knitting flat... well, I ran into this problem when trying to design knots for the corners (the corners are the bits at either end of the border, shown in both the above and the following schematics):

durrow-schematic

I decided to only continue the main cable pattern to the corners, and drop the self-contained background cable (a sacrifice to try to keep the level of complexity down! It would have been possible to include the background cable too, but I tried knitting it myself and nearly tore my hair out, so I figured other knitters might also find it a bit frustrating). The difficulty arises because these corners need to be knitted flat (you start from the outside and work decreases inwards to make the right-angle triangle shape, rather like the body of the shawl but in miniature). So, to get the working yarn to end up in the right place so that you can change colour every row (instead of every 2 rows), you need to work 2 RS rows followed by 2 WS rows. This makes some WS cables necessary, but I was able to write the pattern in such a way that these are kept to a minimum.

durrow-mid-res-15

After the border has been knitted, and the body picked up along the edges and worked upwards with decreases towards the neck edge, the top edge is finished with an i-cord cast-off and the outer border edge is finished with a lace edging (both visible in the above photo).

durrow-mid-res-5

After spending so long on perfecting the design of this shawl, I felt a sense of melancholy (mixed with a bit of relief!) when I cast off the last stitch. It always feels a bit strange to finish such a large and complex project, but I'm looking forward to diving into my next (and final) Illuminated Knits design.

I will be exhibiting the sample of Durrow (along with most of my other knitted samples!) at the upcoming Edinburgh Yarn Festival (March 10th and 11th). I'll be at stand J1 in the marketplace, so please come and say hi if you see me!

Save

Lindisfarne shawl

Yesterday I was really pleased to finally be able to launch Lindisfarne, the second pattern in Illuminated Knits...

Lindisfarne is a large rectangular shawl, with an interesting construction. It's worked in the round, with a steek, then cut open at the end to produce fringed edges.

lindisfarne-mid-res-22

The shawl is worked from one side to the other, starting with a provisional cast-on and the edges are finished with an i-cord cast-off.

lindisfarne-mid-res-4

Like the first pattern in Illuminated Knits (the Iona blanket), this pattern makes extensive use of slipped-stitch cable colourwork. I've really fallen in love with this technique, because it makes it so easy to get the effects of colourwork without having to resort to stranded knitting or intarsia (having devoted so much time to working with cables and lace, I'm a woefully underdeveloped colourwork knitter, all fingers and thumbs!). I took the technique a bit further with this design, by incorporating cable patterns in both of the shades used to stripe the background. The heavier weight cables are in Malabrigo Sock Marte and the delicate twisted stitch cables are in Malabrigo Sock Persia.

lindisfarne-mid-res-13

In the central braid that runs down the length of the shawl, the twisted stitch cables wind in and out of the heavier cables. This is one of those marvellous knitting tricks that looks like it would involve fiddling around in a hopeless tangle with lots of balls of yarn at once - but magically, there is still only one strand of yarn being used on each round. I also managed to write the pattern in such a way that there are quite a few rest rounds - most of the cabling takes place on rounds where Marte is the main yarn, and the cables are worked for the twisted stitch cables by simply slipping them into position. On the next round, all that's required is to k tbl.

lindisfarne-mid-res-16

Above is a close-up of the fringe, after the steek has been cut and unravelled, blocked and then neatly knotted at regular intervals. I really love the effect of the two shades of yarn mingled together; it really gives the effect of a piece that has been woven, rather than knitted.

Another benefit of using slipped-stitch colourwork is that the back of the shawl looks really neat - just like striped garter stitch. There's something very satisfying about looking on the reverse side of a complex multi-coloured piece, and being surprised by the complete lack of floats!

As with the Iona blanket, this design was an absolute monster to design, plan, knit and write up - it was several months in the making and went through a lot of permutations before settling into its final form. Originally I had envisaged the shawl being covered in a repeating pattern of triangular knots, inspired by a knot from the Lindisfarne manuscript. It was quite late in the design process when I suddenly had the vision of the central braid, with the twisted stitch cables lacing in and out. I had to rewrite the design to fit it in, but I think it was worth it in the end!

Here's a few pics of the design in progress (note my utter inability to settle on a colour scheme!):


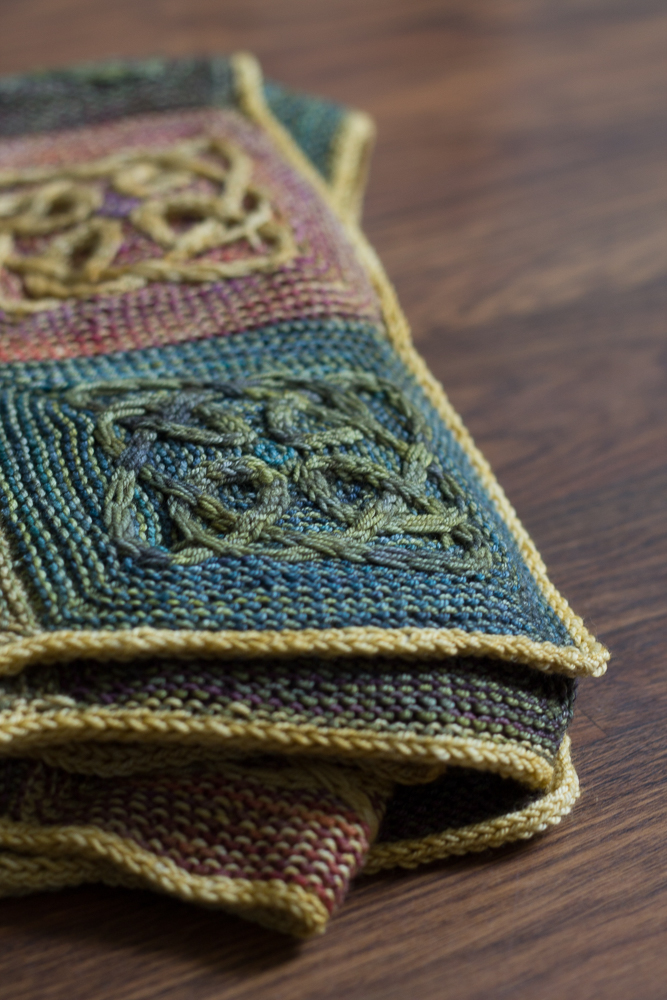
Iona blanket + Illuminated Knits

I'm delighted to announce the release of a new blanket pattern - Iona! IMG_7982

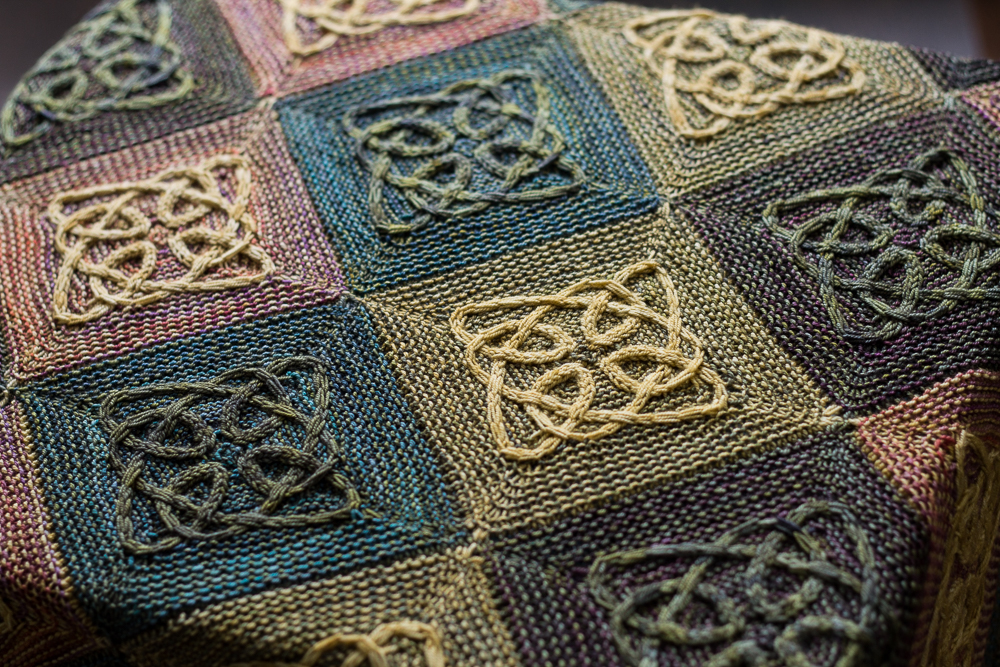
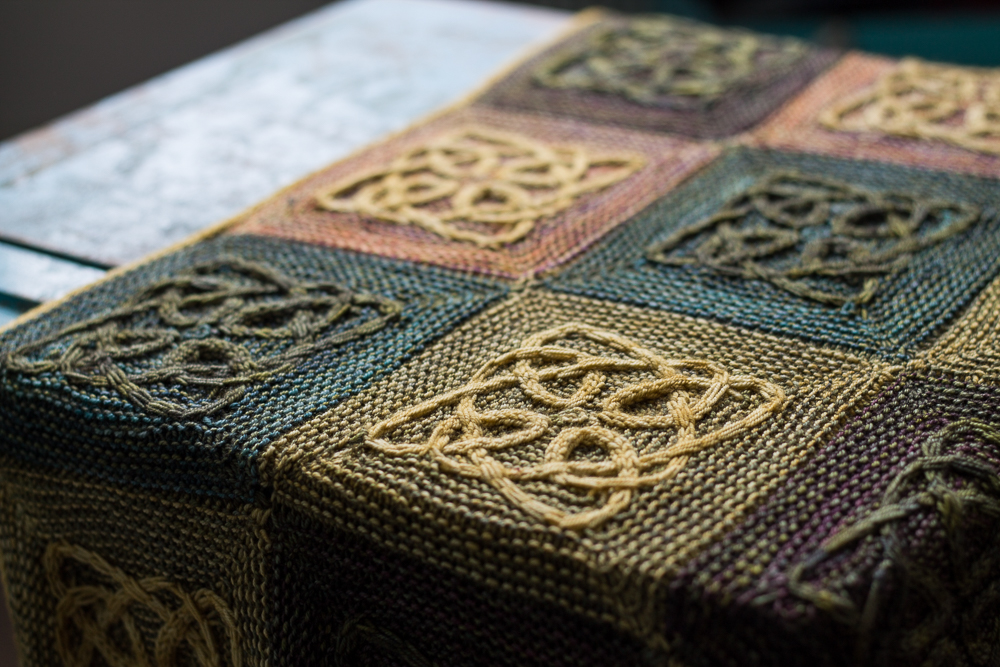
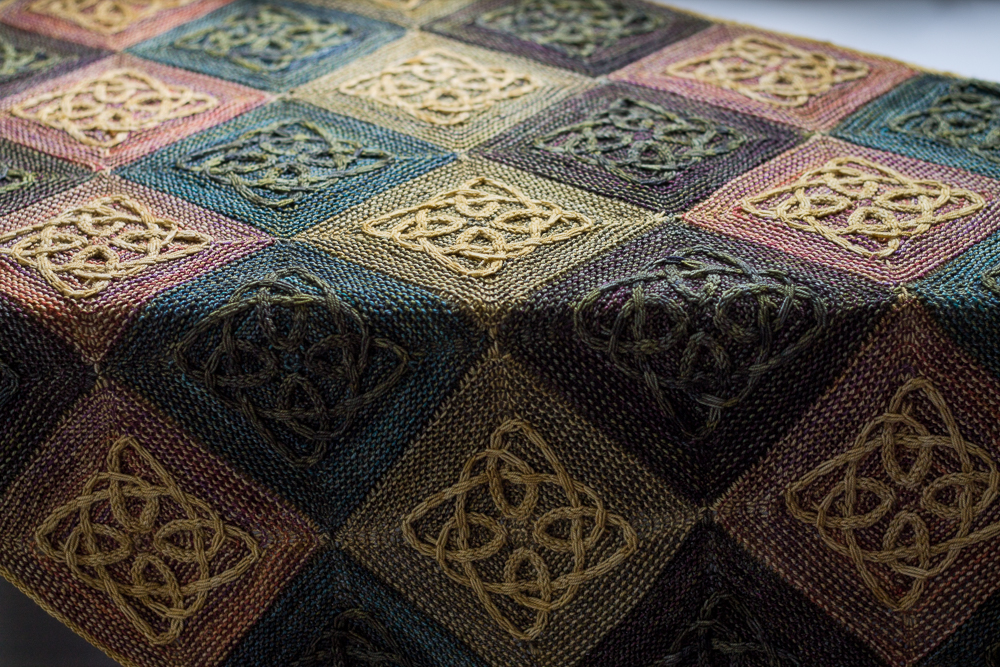
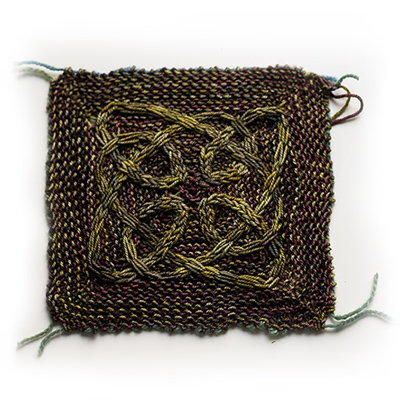
This blanket was inspired by the richly decorated carpet pages of illuminated manuscripts; it's assembled from individual squares, worked separately in the round from the centre out, and then attached with a three-needle cast-off or seamed together.

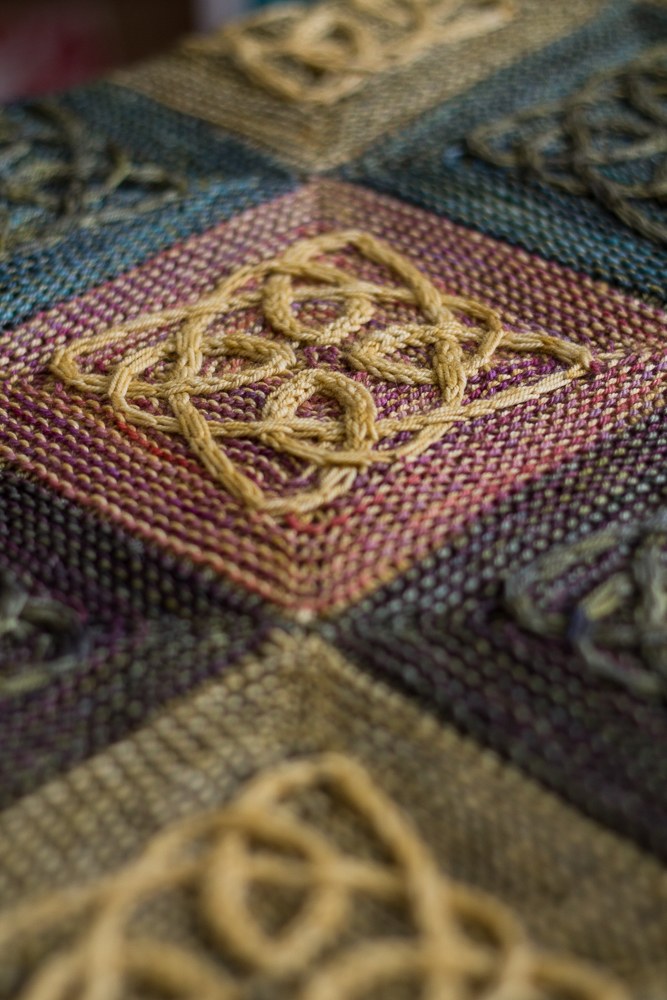
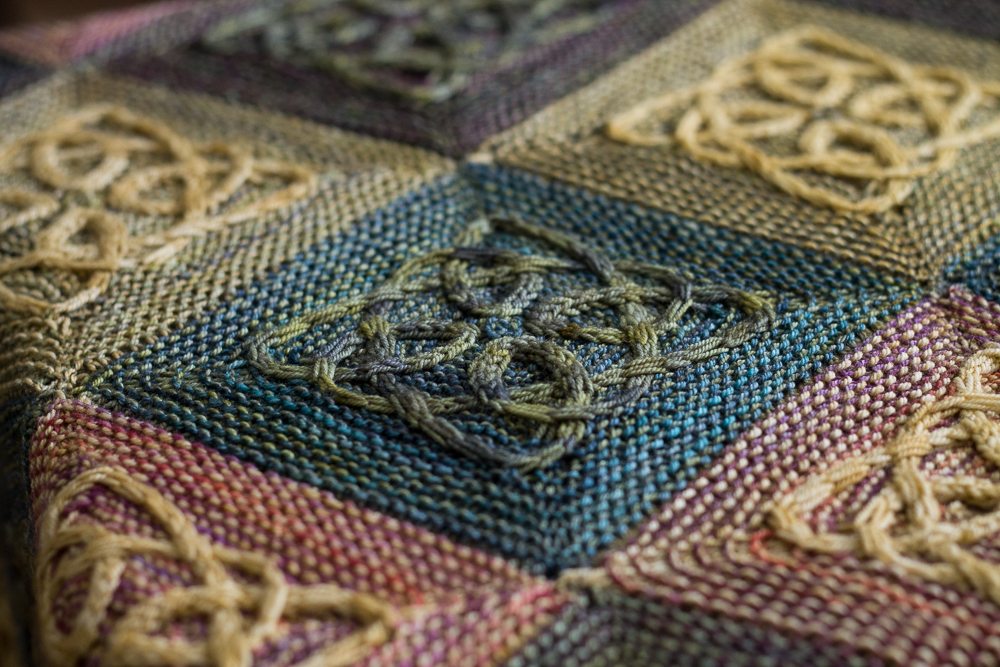
The contrasting colourwork effect is achieved by striping yarns of two different colours, and slipping the cabled stitches on every other round.

Whilst the cable pattern that forms the Celtic knot was certainly a challenge to design, I think it was actually more difficult to decide on the colours to use in the blanket! The pattern uses Malabrigo Sock, which comes in a gorgeous array of variegated and semi-solid shades. I love how the subtle changes in colour evoke a faded wash of ink - perfect for a design inspired by illuminated manuscripts.

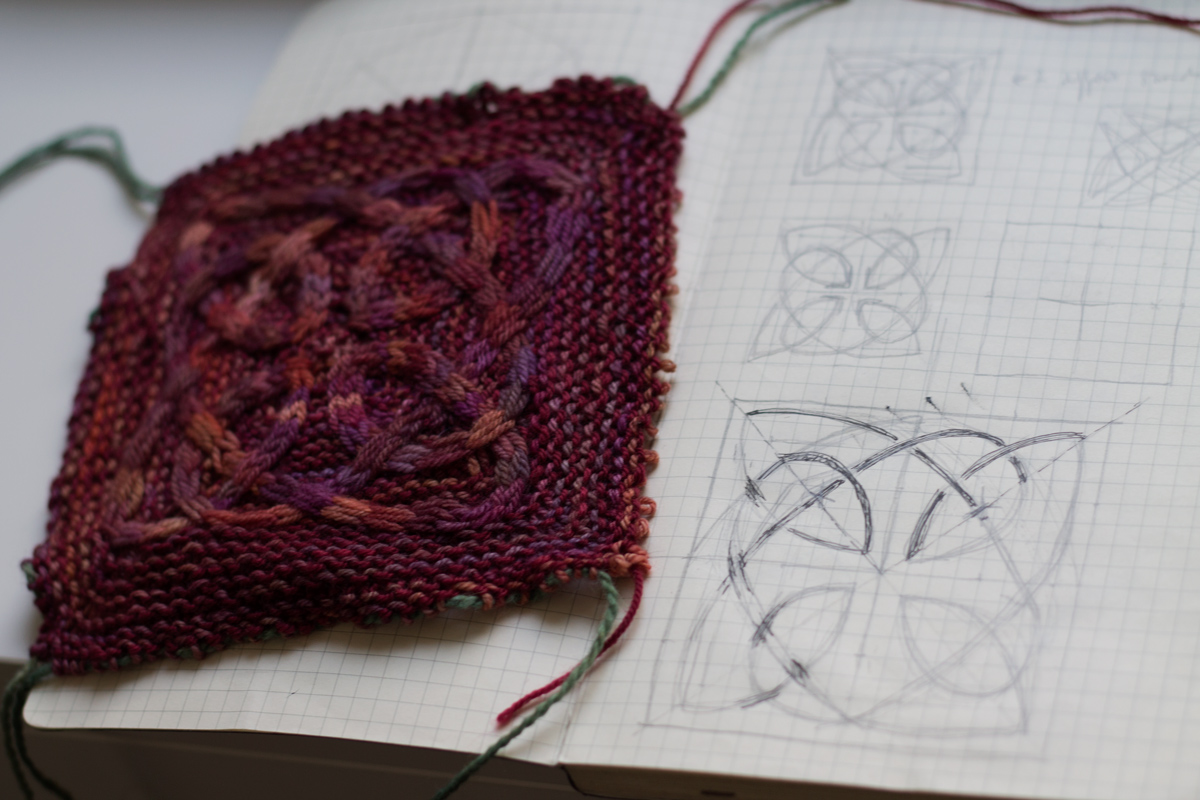
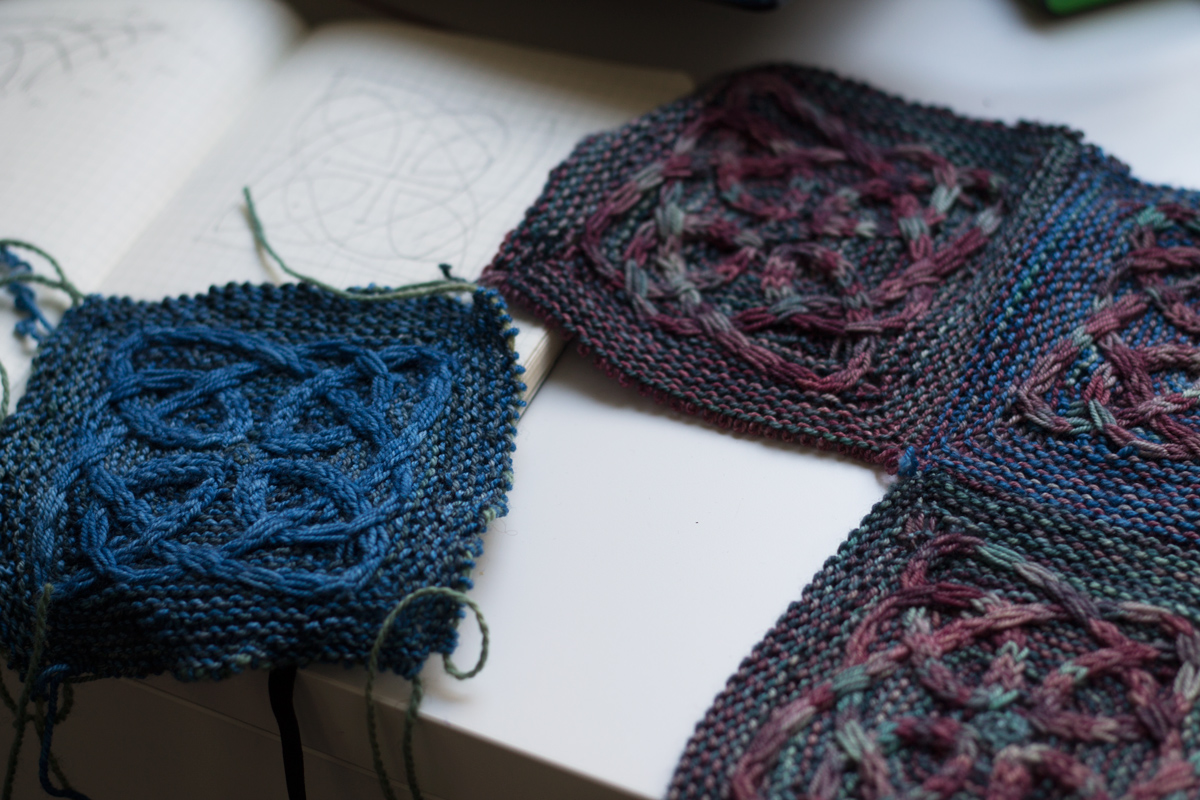
Here are some of my original colour choices (along with some early sketches of the knot that I scribbled in my faithful Moleskine notebook!)

iona-blog-3

iona-blog-2

iona-blog-1

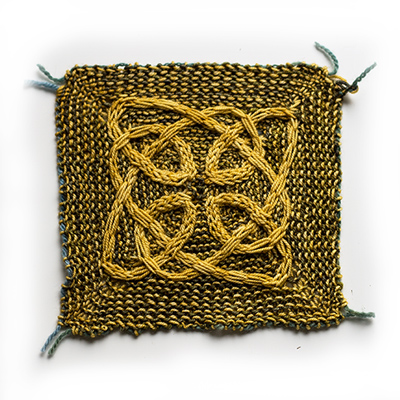
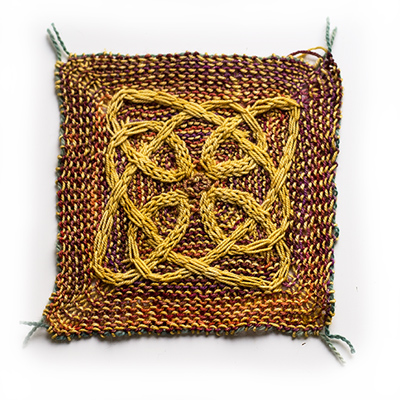
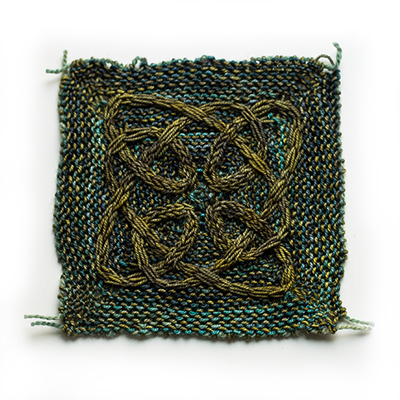
After a lot of swatching, sketching and playing around with coloured pencils, I finally settled on a colour scheme that uses 5 colours for 4 differently arranged squares: Turner (green); Ochre (golden-yellow); Archangel (pink-purple-orange); Aguas (blue-green) and Rayon Vert (purple-green).

Once I'd decided on the colours, it was a lot of fun to work on the individual squares and watch the blanket slowly growing. I particularly love how the shade 'Ochre' really pops in contrast to the other colours - I used this shade  for the i-cord edging that completes the blanket.

e-book-coverIona is the first pattern in Illuminated Knits - a mini-collection of designs inspired by the rich colours and decorations of Celtic illuminated manuscripts and using beautiful shades of Malabrigo yarn.

The collection will feature three accessory patterns (including the Iona blanket) and one garment pattern. It’s available to pre-order now as an e-book for £8.50 and you will receive the patterns as they are released over the coming months.

If you’d prefer to wait until all the patterns are released before buying the e-book, you can sign up to my newsletter to be notified when the collection is complete!