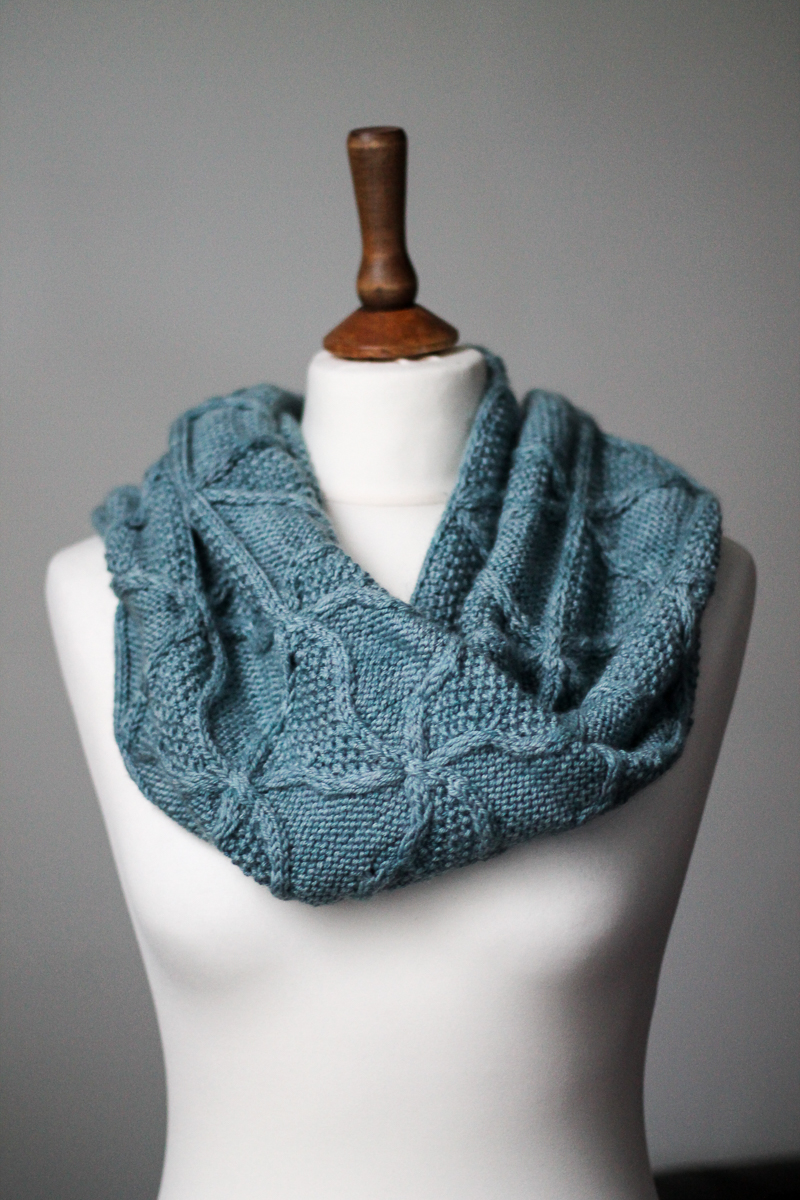
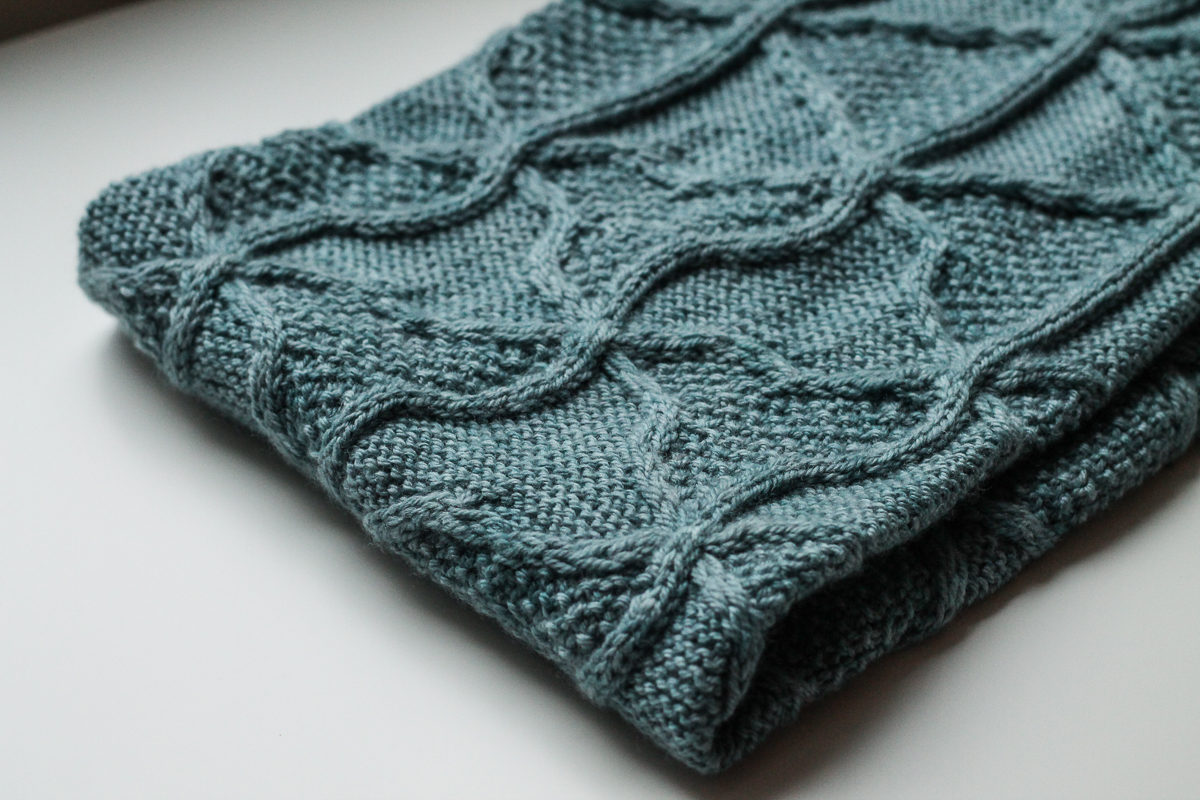
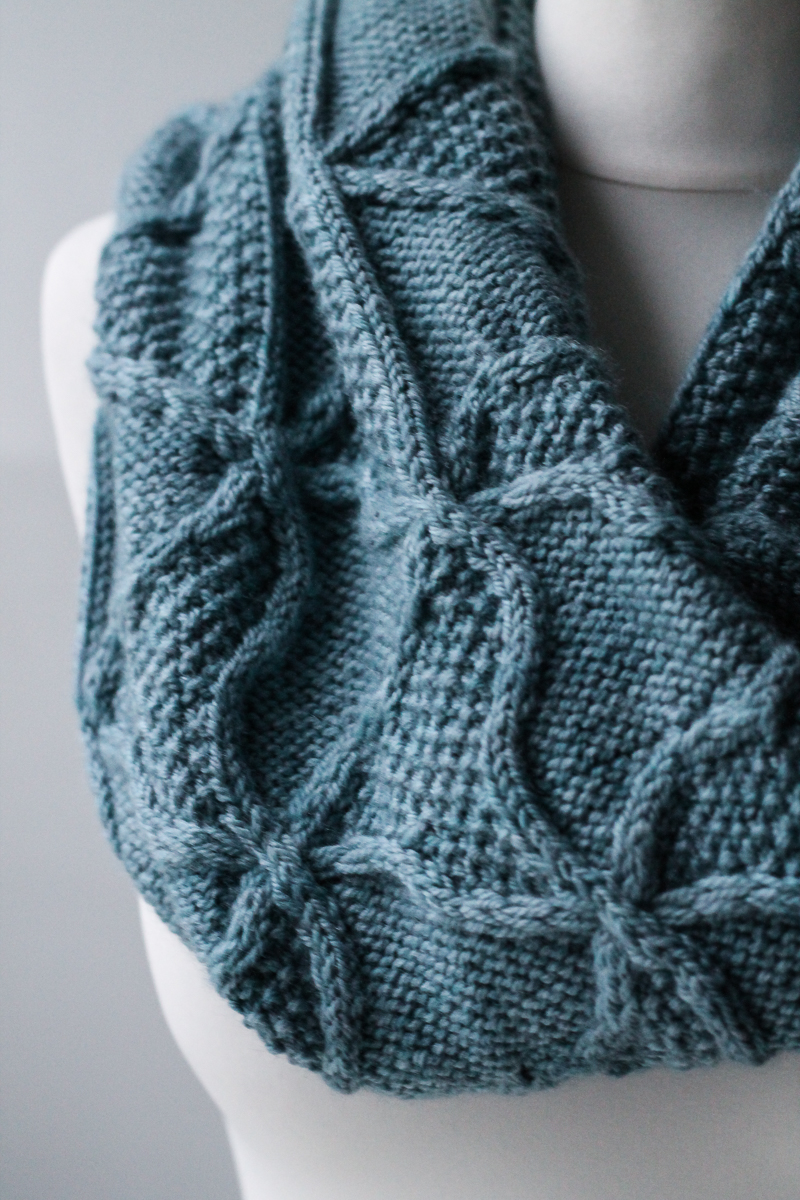
Newgrange Shawl: Design inspiration

This post was originally featured on Carol Feller’s blog in the run-up to the launch of Echoes of Heather and Stone; I have reproduced it here to mark the release today of Newgrange as a single-download pattern.

As a designer, I've spent a lot of time creating knitting patterns that reflect my interest in Celtic and Pictish art, particularly interlacing knot-work (I find the process of translating knot-work into cable-knitting to be fascinating and absorbing). This is a style of art that dates from around 500-800 AD and is represented most visibly in Scotland by the enigmatic Pictish symbol stones, and in Ireland by the high crosses. The links between Scottish and Irish art run deep, and stretch far back into history - even further back than the Early Medieval period, to the Neolithic, thousands of years ago.

The Neolithic era (commonly known as the stone age, which occurred in the British isles around 4000 to 2500 BC) saw the construction of standing stones, stone circles and large chambered tombs situated like hills in the landscape, often with a meaningful and deliberate orientation towards a particular celestial event such as the setting of of the sun at the winter solstice; these monuments can be found all across the British Isles, and also in neighbouring Brittanny (in the north-west of France). They sometimes bear decorative carvings: cup-and-ring marks (concave scooped-out hollows, often accompanied with concentric rings), spirals and rectilinear inter-filling, zig-zags and other abstract geometric shapes. This style of rock art is seen all across the British Isles and Brittany, and whilst there is no way of knowing what was intended to be communicated (there is no surviving written language from this period), the visual similarities are difficult to ignore, even when taking into account certain regional variations. For example, when you compare the rock art in the chambered tomb at Gavrinis, Brittany, to the magnificent kerbstones of the chambered tomb at Newgrange, Ireland, and then also to the Westray stone, from Orkney [4], you get the sense of different artists communicating the same sort of idea, in a similar style, with individual flourishes. There are also some structural similarities shared between Maeshowe, a chambered tomb in Orkney, and Newgrange; both have a winter solstice alignment (sunset and sunrise, respectively), so that the rays of the sun shine down the central passageway to illuminate the back wall (at Newgrange, this alignment is further emphasised with a carving of an intricate triple-spiral maze motif, positioned to catch the sun's light). It's interesting to note that these are areas that are all quite distant from each other, geographically speaking (Orkney to Newgrange is about 400 miles, as the crow flies, and Newgrange to Gavrinis is another 450).

Newgrange Spiral Art. Photo Origin: https://www.newgrange.com/tri-spiral.htm

Newgrange Spiral Art. Photo Origin: https://www.newgrange.com/tri-spiral.htm

Neolithic rock art is also found in the landscape, for example at Achnabreck in Scotland, where a large rocky expanse in the ground is covered in cup-and-ring marks, with beautiful concentric circles radiating out like ripples in water. These markings are found all across the British Isles, on natural rock formations, hiding in plain sight, and are more common than you may expect - if you're out hiking, it's worth examining Ordnance Survey maps, which will often indicate the locations of even very minor examples of cup-and-ring marks (although finding them can be a challenge, if you don't know exactly where to look!). Those who lived in these lands thousands of years ago left enduring marks upon the world around them, which can still be seen to this day. Examples of Neolithic structures and art are still being discovered - there has been a very recent discovery in Ireland of a chambered tomb similar to Newgrange.

There are many interpretations of the meaning and intent behind Neolithic rock art - of course, with no written records from this era, these can only be educated guesswork without any definite certainty. One idea that I find particularly intriguing is the concept of entoptic phenomena. These are the geometric shapes and patterns that we 'see' without really seeing, for example when rubbing our eyes, or when in a drowsy half-awake half-asleep state. They are not hallucinations, exactly, but rather seem to emanate directly from the structures of the nervous system, visual cortex and the inner workings of the eye. They are consistent globally across all cultures (unlike hallucinations) and the shapes that they take are reflected in rock art across the world - spirals, concentric circles, grids, dots, zig-zags, lattices. They can be deliberately induced by invoking 'threshold consciousness' - through meditation, sleep deprivation, light deprivation, certain psychoactive substances, hyperventilation and various other means. There are theories that the great chambered tombs, including Newgrange and Maeshowe, may have been used for ritual activities, in addition to housing the bones of the dead. Perhaps it's not too much of a stretch to imagine that entoptic phenomena could have been a side-effect (or even a goal?) of these rituals (performed in dark, cave-like places, with flickering light) and that the accompanying rock art could be a depiction of these strange shapes, that seem to arise from within the very structures of our minds.

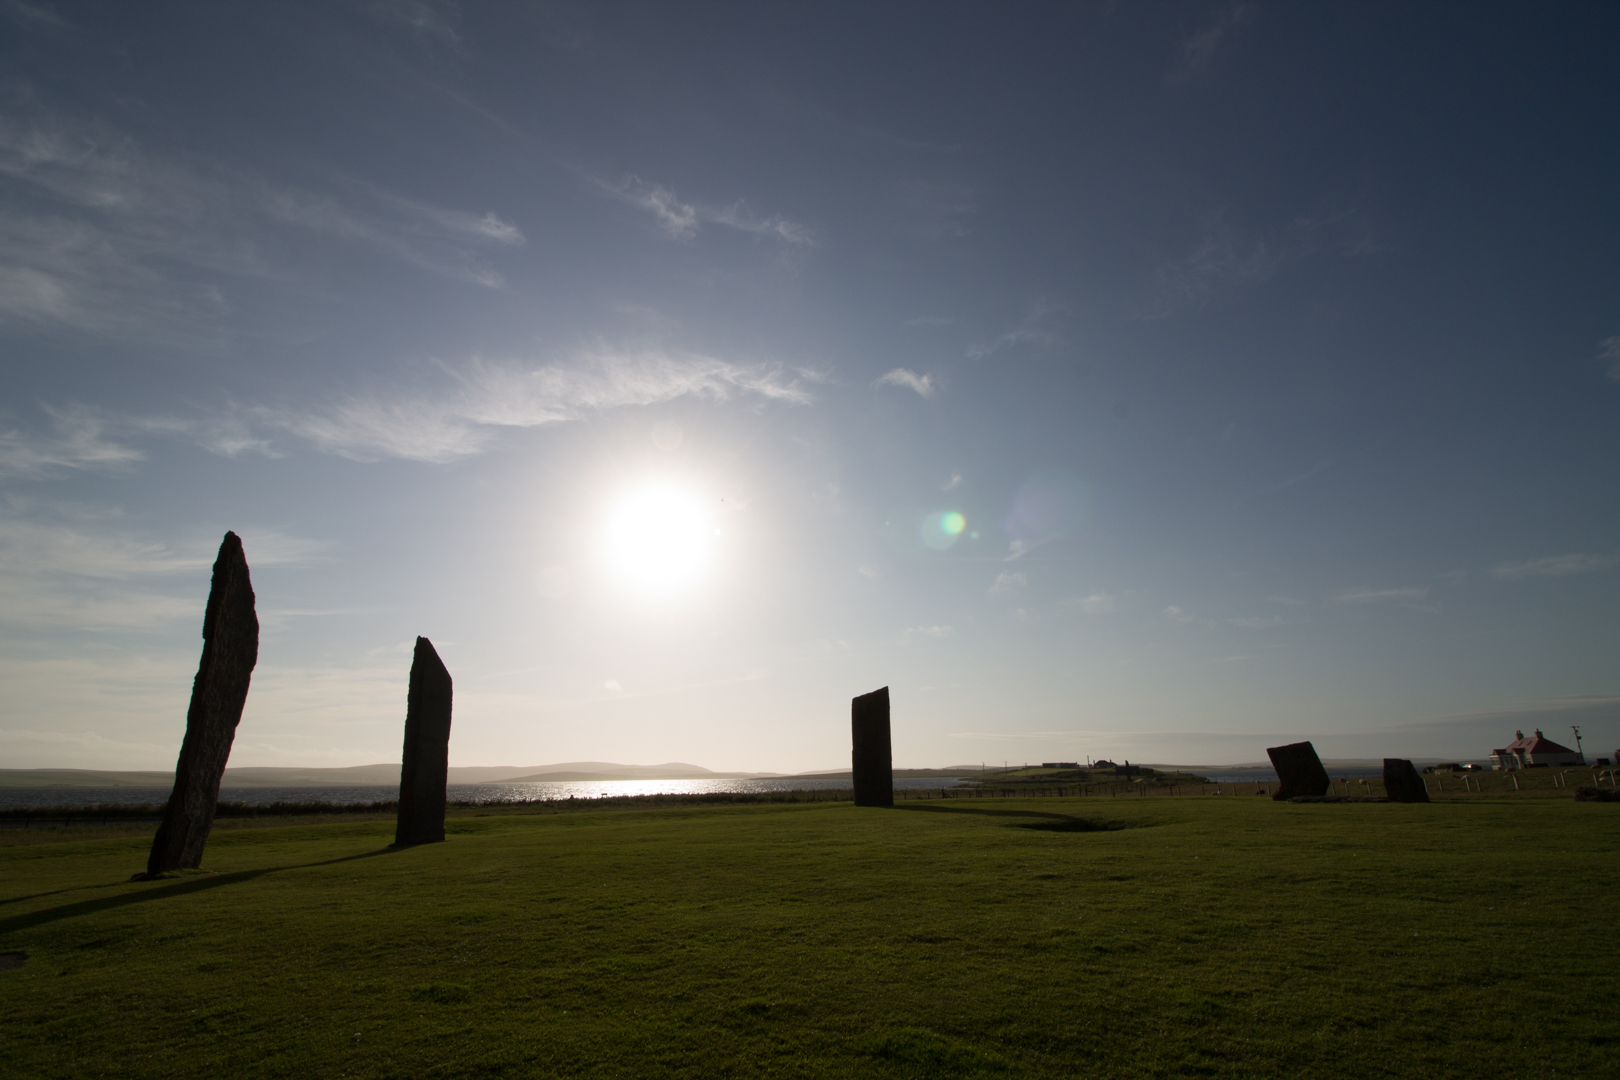
Standing Stones of Stenness, Orkney

Standing Stones of Stenness, Orkney

I grew up in Orkney, where Neolithic structures are everywhere, and are a dominating feature of the landscape. I took all of this for granted as a child, assuming that it was normal for there to be several-thousand-year-old structures dotted around everywhere - it was only as I got older that I began to realise the significance of these monuments. In Orkney, there is also an intriguing blurring-together of history, perhaps most famously seen at Maeshowe, which was broken into by Norse intruders sometime in the 12th century. These Norsemen left a huge collection of runic graffiti (mostly quite humorous) inscribed on the walls of the ancient tomb. Maeshowe is possibly as famous for this graffiti as it is for being 'a masterpiece of Neolithic engineering' (as described by Historic Environment Scotland). Orkney also has some examples of Pictish art: some symbol stones (a new one was discovered recently) and jewellery; although, what happened to the Orkney Picts when the Vikings arrived is something of a mystery - they may have all been killed, or enslaved, or subsumed into the Norse culture. My interest in the Pictish history of Orkney led me to seek out further examples of Pictish art once I moved to mainland Scotland. I also retained an interest in the Neolithic period, and was particularly fascinated to find other areas with high concentrations of Neolithic monuments. I have personally visited many of these sites, as a pilgrimage of sorts: Kilmartin, Callanish, Achnabreck and many more in Scotland, Avebury and Stonehenge in England, Newgrange in Ireland, and many of the sites in Brittany, including Gavrinis and Carnac (one of the largest collections of grouped standing stones in the world).

Decorated kerbstone at Newgrange, Ireland

Decorated kerbstone at Newgrange, Ireland

Out of all of the symbols found in Neolithic rock art, spirals are particularly interesting because they suggest a link between this ancient art and the more recent (indeed, practically modern by comparison) Celtic Insular art. An older style of Celtic art (the La Tene style, approx. 500 to 100 BC) is characterised by heavy use of spiral motifs and curvilinear forms - these are used extensively, much more so than interlacing knot-work (which is what most people think of when they hear the words 'Celtic art'). The Celtic triskele (triple-spiral) symbol bears an initial visual similarity to the (much older) triple-spiral at Newgrange, however it could be argued that, whilst the Celtic version has a pleasing balance, elegance and harmony, the Newgrange triple-spiral is more geometrically complex and also poses an interesting maze-problem, according to the interpretation by Aidan Meehan in his excellent book Celtic Design: Spiral Patterns (Thames & Hudson, 1993):

"Perhaps this inner spiral was intended to pacify the spirit of the deceased, to guide it out of this world. Or perhaps it held a secret of a sort the living soul should know. This spiral on stone C10 is a basic maze, called monocursal, meaning there is one pathway running throughout, with no dead ends. But there are three forks in the path, and two distinct circuits. There is one entrance that is also the exit. [...] It is possible to skirt around the outside and return to the exit without having traversed the inner circuit. [...] If we read this as a metaphor for human life, such a route would miss the core experience, and leave the unwary traveller none the wiser."

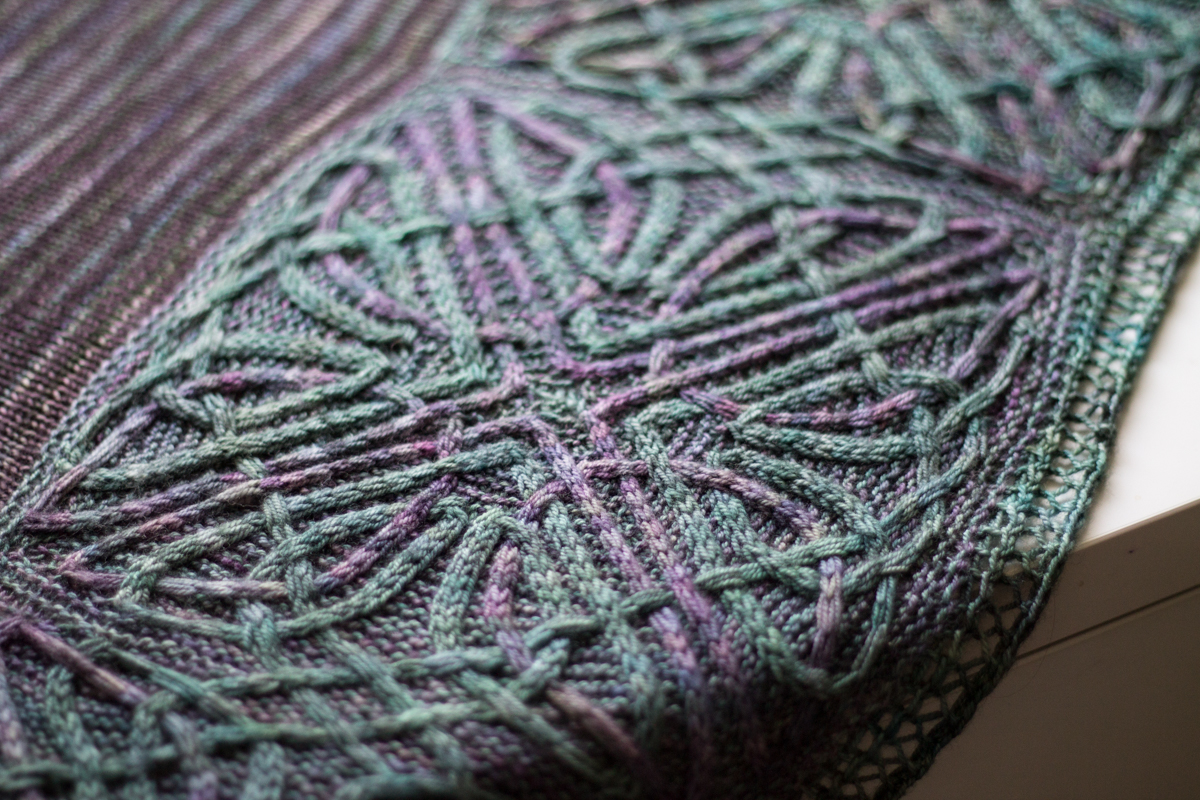
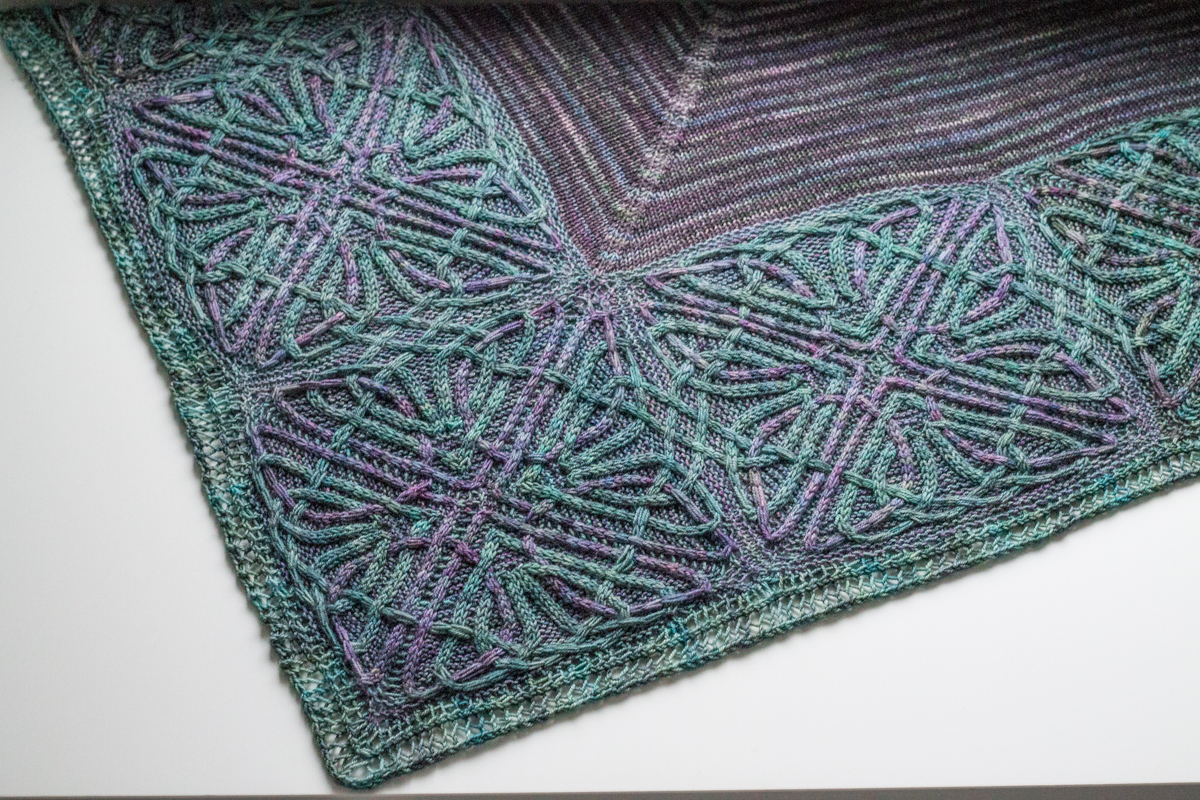
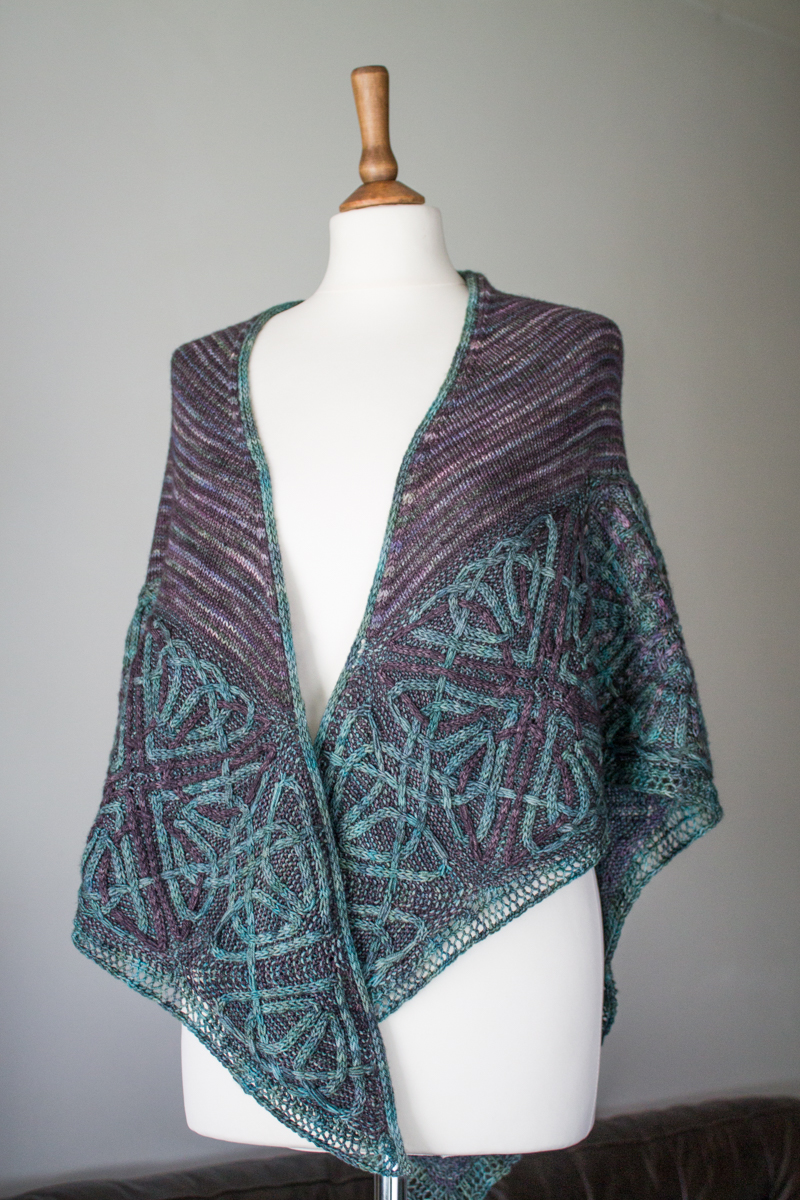
When I was asked by Carol to contribute a design to Echoes of Heather and Stone, I decided to take the opportunity to experiment with something a little different to my usual Celtic and Pictish designs, and so chose to attempt my own recreation of the spiral and lozenge motifs that decorate the kerbstones at Newgrange. Whilst I very much enjoy bending cables to my will and getting them to flow in all sorts of crazy directions across a section of flat knitting, I've recently become more interested in the possibilities provided by utilising the underlying geometry of the knitted fabric itself - for example, the centre-out and centre-in squares of my Durrow shawl (which make complex square Celtic knots possible, complete with some sections of cables that appear to flow horizontally, and with knot-work that flows seamlessly across the border), and the modular hexagons of my Pleione blanket and cowl, which are worked separately and create a tessellating effect when joined together. Modular knitting is a lot of fun to design, particularly if you try to make the whole piece knitted, without any seaming - it's rather like assembling a puzzle, and there are often multiple solutions to the same problem (some more elegant than others).

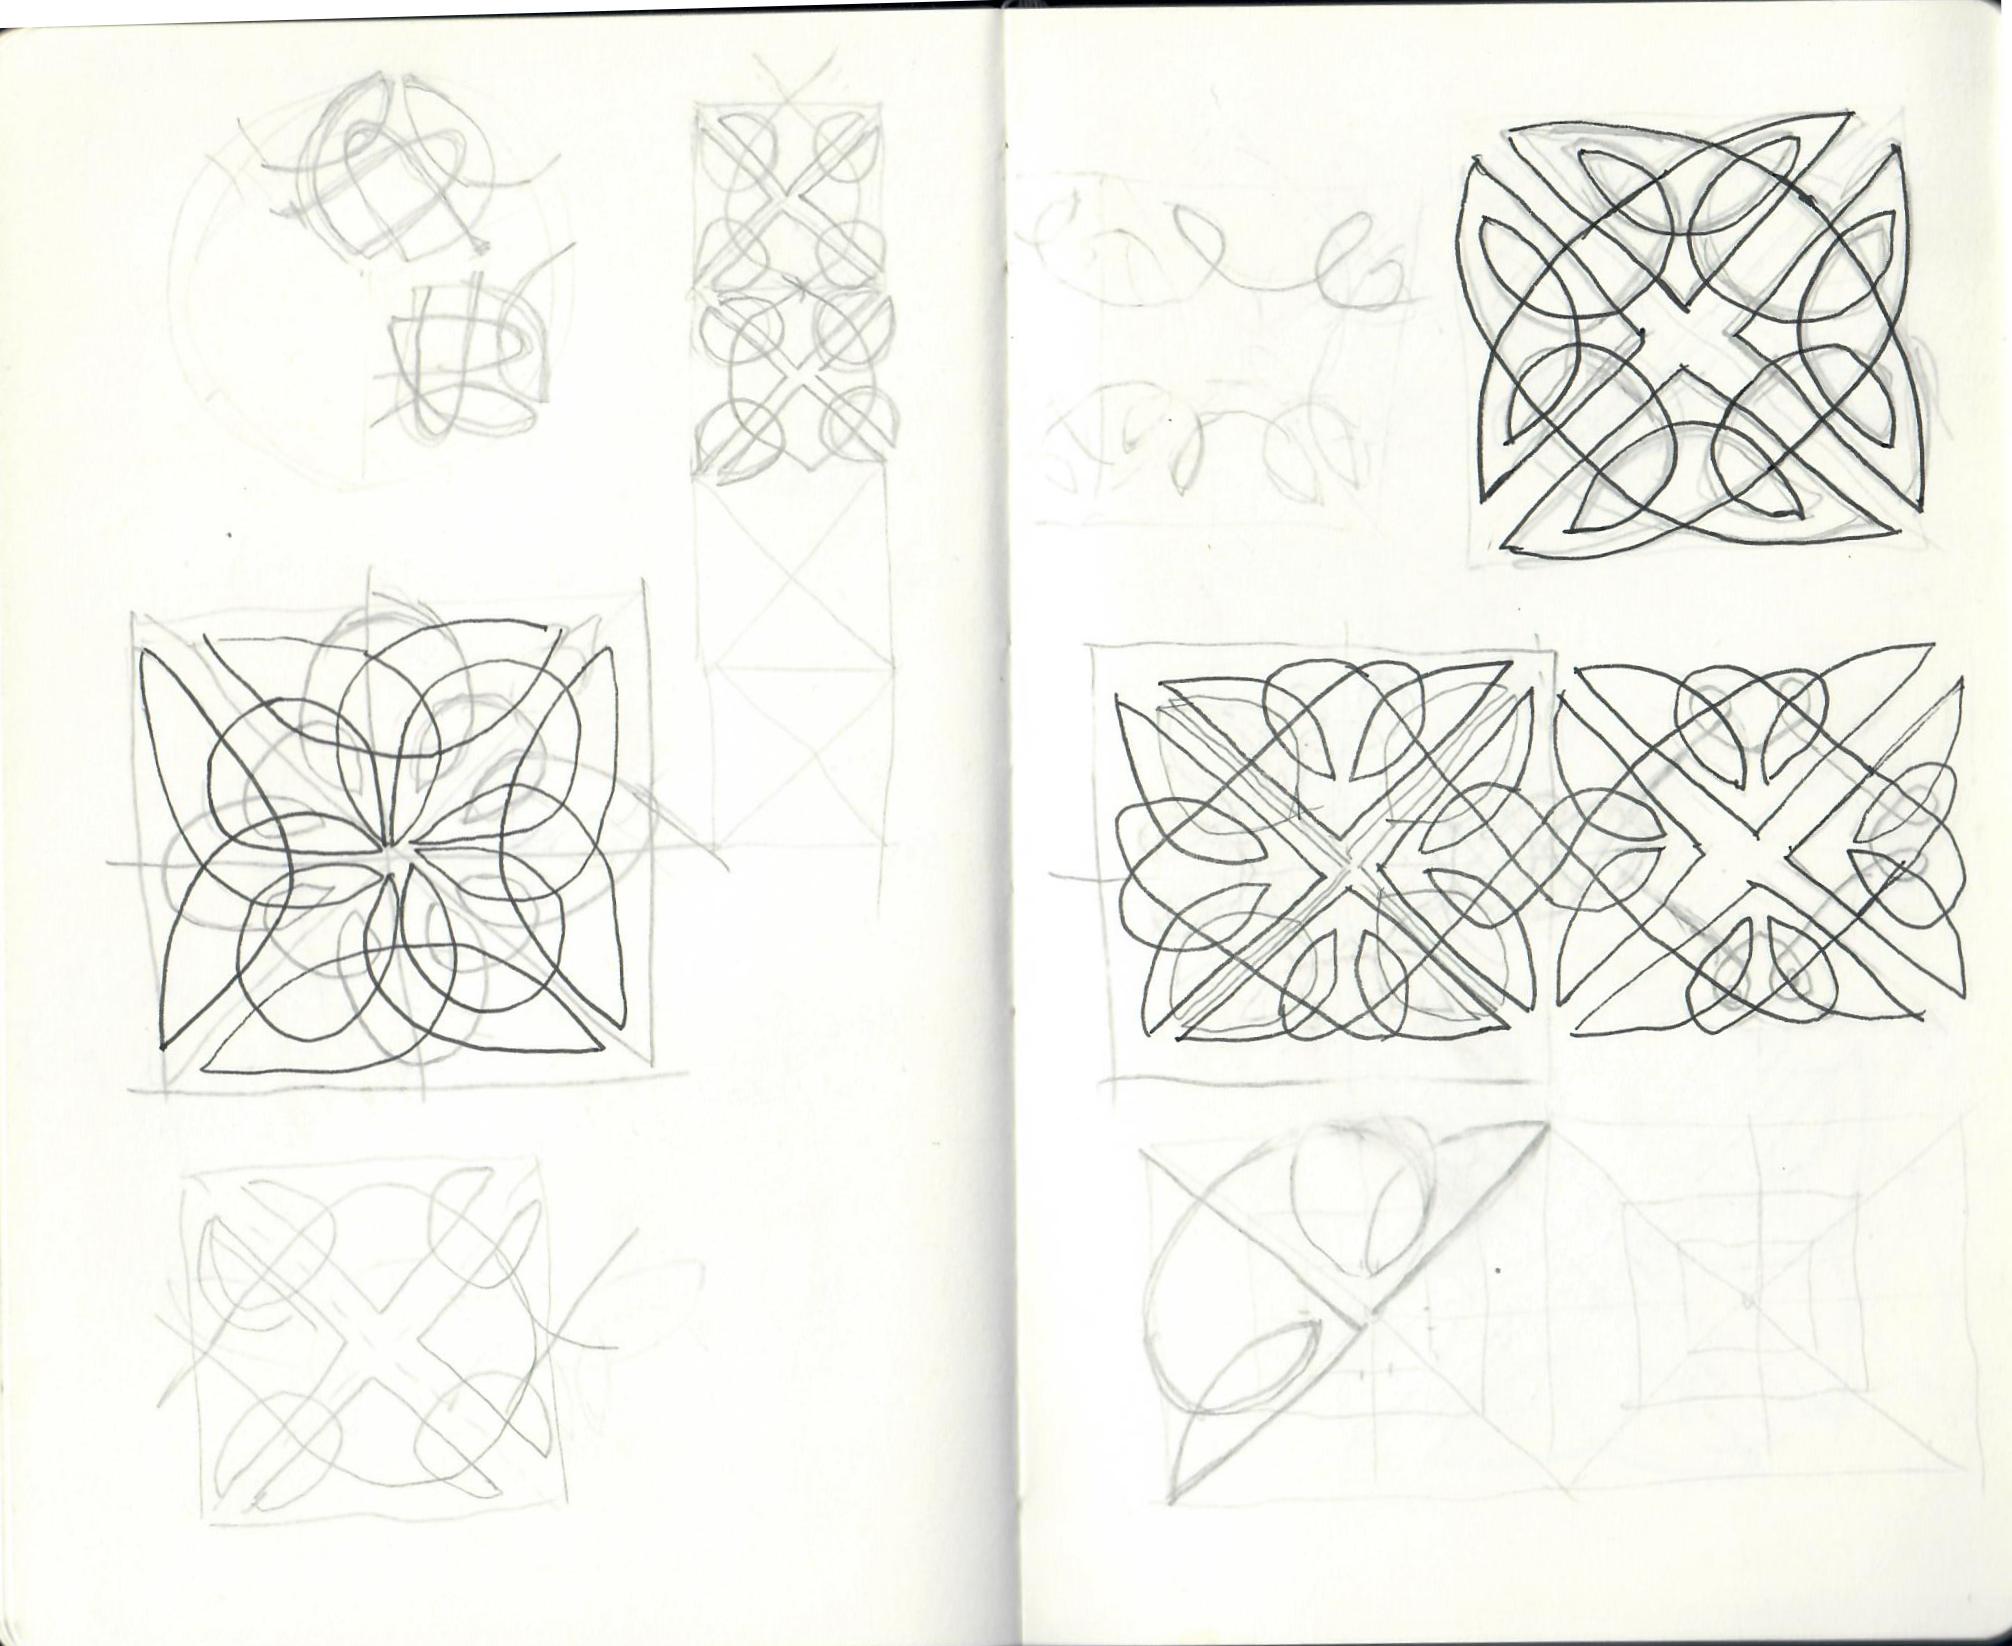
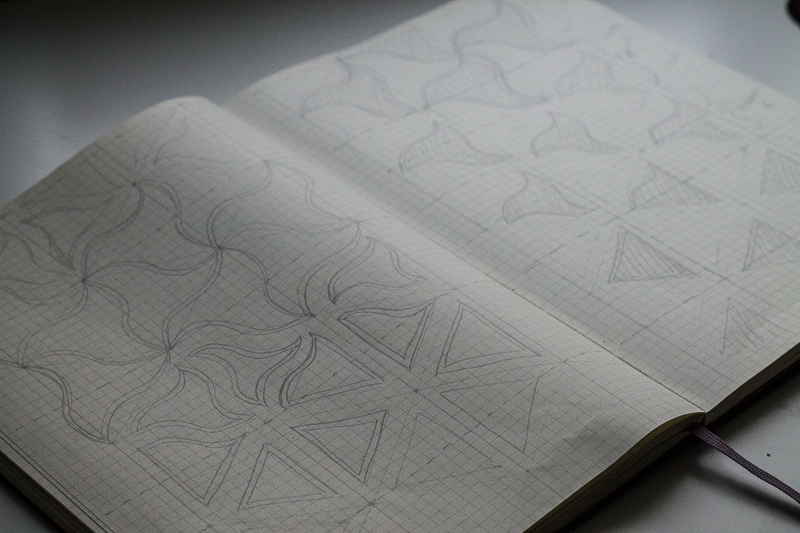
Newgrange shawl design notes

Newgrange shawl design notes

I initially tried to create the spirals for this shawl by working centre-out circles, with cables travelling at staggered intervals across the fabric. Interestingly, this worked very well to make logarithmic-type spirals but I soon realised that this couldn't possibly work to make the Neolithic-type double-spirals, where the gap between the spiral bands remains constant (like a path in a maze) rather than increasing as you move away from the centre. The logarithmic-type spiral is closer to the curves found in Celtic art - so that may be something I could incorporate into a design in the future. After learning how to draw the spirals seen in Neolithic art, and examining them closely, I realised that the best way to recreate them in knitting would be through the use of short row circles. The underlying geometry of the knitted fabric works very well with the cables, resulting in something that looks quite complex but is actually relatively straightforward to achieve. The trickier part was to figure out how to fill in the sections between the spirals, to create shapes that fit with the Neolithic inspiration and which would also result in straight edges to form the panels of the shawl. After much trial and error, I managed to chart something that worked nicely.

Newgrange spiral swatches

Newgrange spiral swatches

Incidentally, one of my initial ideas for this shawl was to have the whole thing made out of these cabled strips, without any plain knitted panels in-between the cabled sections. This would create an interesting all-over effect, and I think the shapes between the spirals would join up to create rectilinear diamond shapes very similar to those seen on the Newgrange entrance stone. I think this would be an interesting experiment, perhaps to make a blanket. In the end I decided to go with plain knitted panels in-between, partly to lessen the weight of the shawl (and the amount of yarn used), partly for aesthetic reasons, and partly to introduce a bit of 'mindless' knitting into this shawl. I find the most fun knitting projects (for me!) are the ones that strike a balance between complexity and simplicity, so I tried to include a bit of both in this pattern.

I hope that those of you who decide to have a go at this shawl enjoy making it! If you would like to learn more about Neolithic art, the website Megalithic Portal is a great resource and can help you to find local monuments and places of interest in your area.
Truly Reversible Travelling Cables

Edinburgh Yarn Festival 2018 was absolutely wonderful (if exhausting!) - thanks so much to everyone who visited my stall and came to say hi. This year for EYF I teamed up with Scottish hand-dyer DyeNinja to create a scarf design which we sold in kits containing pattern + yarn (I have some remaining available here on my website).

The Bain scarf is pretty special, because it's the first design I've made using what may (or may not!) be a new technique for reversible cables. This is a technique that I've had in development for a pretty long time - I wanted to talk a little bit about where the initial idea came from, and the long process of bringing it into reality.

I should begin by saying that, as far as I'm aware, I haven't invented anything radically new here - I think I've just taken existing techniques and put them together in a possibly new way. I think there's an element of double-knitting (the cable columns could be though of as double-knitted tubes - with the background fabric moving through the middle of each tube as the cable travels across it) - however the fabric itself is not double-knitted. The simplest way that I can think of it and describe it is as three layers - the double-knitted cable columns, and the single-knitted background fabric. Obviously the background fabric needs to be reversible for the pattern to be totally, truly reversible - I've used garter stitch in this design but any other reversible fabric like seed stitch or rib, for example, would work too.

I first had the idea for this technique whilst working on Illuminated Knits. All of the designs in Illuminated Knits make use of slipped-stitch cabling, with alternating single-round stripes; the slipped stitches make the colours in the cable contrast against the striped background (giving the effect of colourwork without having to use stranded knitting or intarsia).

Lindisfarne shawl, right side and wrong side

An additional benefit of slipped-stitch fabric is that the wrong-side of the work looks very neat - instead of the floated strands of yarn that you would see in stranded knitting, the wrong-side of slipped-stitch cable fabric simply shows the stripes of the two different colours of yarn, and a very slight impression of a ridge where the cables are travelling across the right-side of the fabric. The strands of yarn that run across the backs of the slipped stitches are somewhat visible on the wrong-side, but nowhere near as prominent as you might expect - the structure of the cabled fabric seems to pull together on either side of the cable, so that the strands close up and shorten to some extent.

Close-up of the wrong side of Lindisfarne

One day, as I was musing over the pleasing neatness of the wrong-side of this type of fabric, I had a light-bulb moment - if I were to place cables on the wrong-side of this fabric, running parallel to the ridges created by the cables on the right-side, the ridges might be hidden and become even more difficult to see, creating a completely reversible fabric.

Consider the following diagrams, which illustrate the basic arrangement underpinning this concept.

For RS (or Side 1) rows: p4, k2, sl2wyif, p4. For WS (or Side 2) rows: p4, k2, sl2wyif, p4.

Side 1 - p4, k2, sl2wyif, p4.

Side 2 - p4, k2, sl2wyif, p4.

The fabric is reverse garter st, with a column of 4 sts which appears as a 2 stitch wide column on each side (for illustrative purposes, I've highlighted each half of the column as different colours, but hopefully you can see that when knitted all in the same colour yarn, the fabric will look identical on each side). I've exaggerated the length of the strand running in front of the slipped stitches, however as noted before, in practise the cable column draws together and shortens this strand - making it almost completely invisible. As you work, and as the stitches increase in distance from their initial beginning on the needle, the cable columns helpfully shift from being side-by-side (as they are on the needle) to being perfectly in line with each other in the finished work.

(Incidentally, once you understand this concept, you should be able to see that this arrangement can be used for cables of other thicknesses too, for example the thinner, twisted stitch cables that run along the sides of Bain - which use columns of 2 sts, that appear as 1 st on each side).

I've drawn in some arrows to show where a couple of these slwyif strands are in the Bain scarf. I'm stretching out the fabric slightly with my fingers in an attempt to make these strands more visible... :

This was my first trial swatch of this technique (back in 2016!), when I was still trying to understand if it was possible (and if anyone else had done it before - this was less a case of wanting to be the first, and more a case of hoping someone else had already done the work of figuring out how to chart and write it!):

Having the initial light-bulb moment was one thing - working it out into something that I could knit (and, just as importantly, actually describe and chart so that others could knit it too) was another thing entirely! I realised early on that whilst this reversible effect is very easy to achieve with straight columns of stitches (as pictured in the diagram above), the problem of making those stitches travel as cables over a background fabric was much more complex. The crucial thing here is that the background fabric needs to travel in-between the cable columns.

The way that I managed to get this to work (after a lot of trial and error!) was to stagger the movement of the cables in such a way that the background fabric is only moving through one section of the double-knitted cable column on each row. On the next row the other half of the cable column moves, and the background fabric has completed its pass through the cable column. This is hard to expain in words but makes sense once knitted - it also has a pleasant symmetry to it, returning the stitches back to their original arrangement in the cable column. I decided to go with a basic 'resting' arrangement of k2, sl2 for each column - this is the configuration that the stitches return to after crossing over the background fabric. It should be noted that there are various configurations that would work - this was just the one that I chose and decided to stick to, for consistency.

The one remaining piece of the puzzle that I needed to work out was how to get closed-loop increases and decreases to function within this technique (these are the 1-into-5/5-into-1 stitches that I use heavily in my work, and which allow Celtic-style knotwork to be knitted). This actually ended up being easier than I had anticipated - I had already worked out that certain movements needed to be staggered across consecutive rows, so I tried this with the increases and decreases and found that it worked perfectly, as long as the stitches had already been rearranged into the correct position. Because this technique uses a lot of slipped-stitches, more 'rest' rows need to be built in between the cabling rows, to give the fabric enough vertical height (slipped-stitches pull fabric inwards vertically, so extra rows are required). These rest rows provide the perfect opportunity to manoeuvre stitches into the right position for things like increases/decreases and more complicated cable stitches.

Once I understood how the technique could be used, and had proved to myself that it was knittable, the final challenge was to get it into a format that other knitters could understand. The solution I eventually arrived at was to chart both sides of the pattern, and read the chart for each side from right-to-left. So, even though the work is knitted flat, each side is presented separately in the charts (and in the written versions of the charts). This seemed to be the most intuitive was to go about it, as there is no right or wrong side - just 2 different sides which are mirror images of each other. I did initially try to chart the whole thing in one - this actually makes more sense from the perspective of a designer, because I could clearly see how the cables lined up between each side. However, it would have involved showing the cables from only one side, so I would have needed to use different symbols for the second side, and the second side rows would have had to be read from left-to-right. I didn't want it to be too overwhelming for the knitter, so went with the option that seemed to be easier to knit from. It was a relief to send it out to my test-knitters and find that they could follow the charts and understand what was going on!

I'm really excited about this technique, and I'm looking forward to using it in further designs. I have a lot of ideas about possible applications. I think, perhaps most intriguingly, this could be used with single-rnd stripes (as I used in Illuminated Knits), to make reversible cables which are different colours on each side. It certainly opens up a lots of possibilities and I can't wait to explore them.

These short video clips show both sides of the scarf, and a close-up of the reversible cables:

Durrow shawl

durrow-mid-res-1 It's been a while in the making, but I'm pleased to announce the third design in the Illuminated Knits collection is finally here - the Durrow shawl!
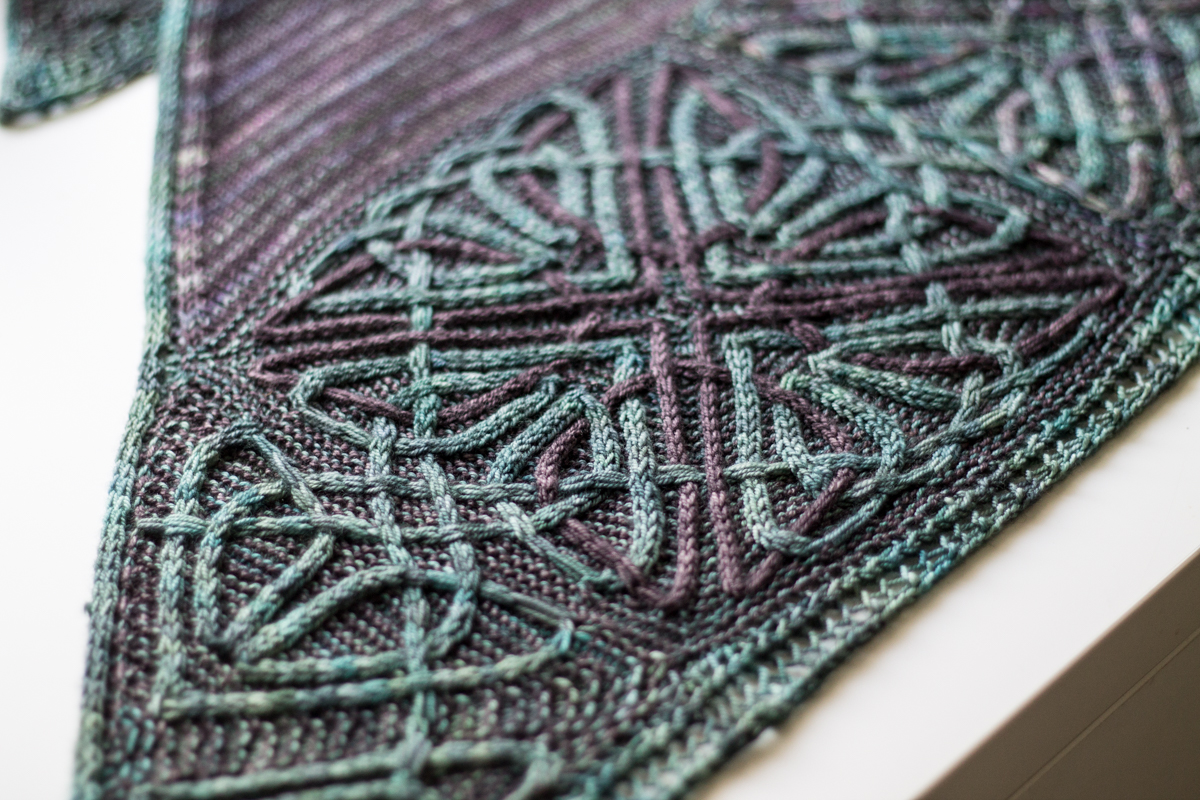
This design took several months to conceptualise and bring into reality. I think it might be fair to say that it's the most complex design I've ever created - both in terms of the cable pattern itself, and the knitting required to achieve it. I'm very happy with the end result though, and glad that I persevered even when it was completely refusing to make sense!

In keeping with the other designs in the Illuminated Knits collection, Durrow uses a technique of cables mixed with slip stitches to create a contrast colour design - I love this technique, because it gives you the chance to play around with different colours without actually having to use stranded knitting or intarsia. The colour-work is as simple as striping the colours on each round, and remembering to slip stitches when necessary (like mosaic knitting). This is the technique that I also used in the Iona blanket and Lindisfarne shawl.

One slightly finicky thing about this technique is that it does draw the fabric in a little bit (vertically, because of the slipped stitches), and so the fabric becomes much denser as a result. Because cable knitting also a tendency to do this (particularly the type of complex cables I use, where the rate of horizontal travel can be quite extreme), I decided to only use this technique when working in the round. Why? Because when you work in the round, you can change colours on every round, so the contrasting stitches only need to be slipped over one round. When you use this technique whilst knitting flat, you can only really change colours every 2 rows (so that your yarn ends up in the right place to strand up the side), so the contrasting stitches have to be slipped over 2 rows instead - creating even more pull-in and a denser fabric (there are ways of getting around this, so that you can knit flat whilst changing colours on every row, instead of every other row - however this is a bit complicated to describe and not something I wanted to do throughout an entire design; I have used it a little bit in this pattern though... more on that in a bit!).

So, with these constraints in mind, I began to think about how I could use this slipped stitch colour technique in a triangular shawl. It is possible to knit a triangle shape entirely in the round (if from the centre out, for example. by concentrating increases at three evenly spaced points on each round); however, this will produce something more like an equilateral triangle, not the right-angled shape more commonly made (and worn!) by knitters. After a lot of head-scratching, I realised that this problem could be solved by making a border out of modular squares (which can be knitted in the round), with picked up stitches for the body (which can be knitted flat, and shaped like a traditional right-angled triangular shawl).

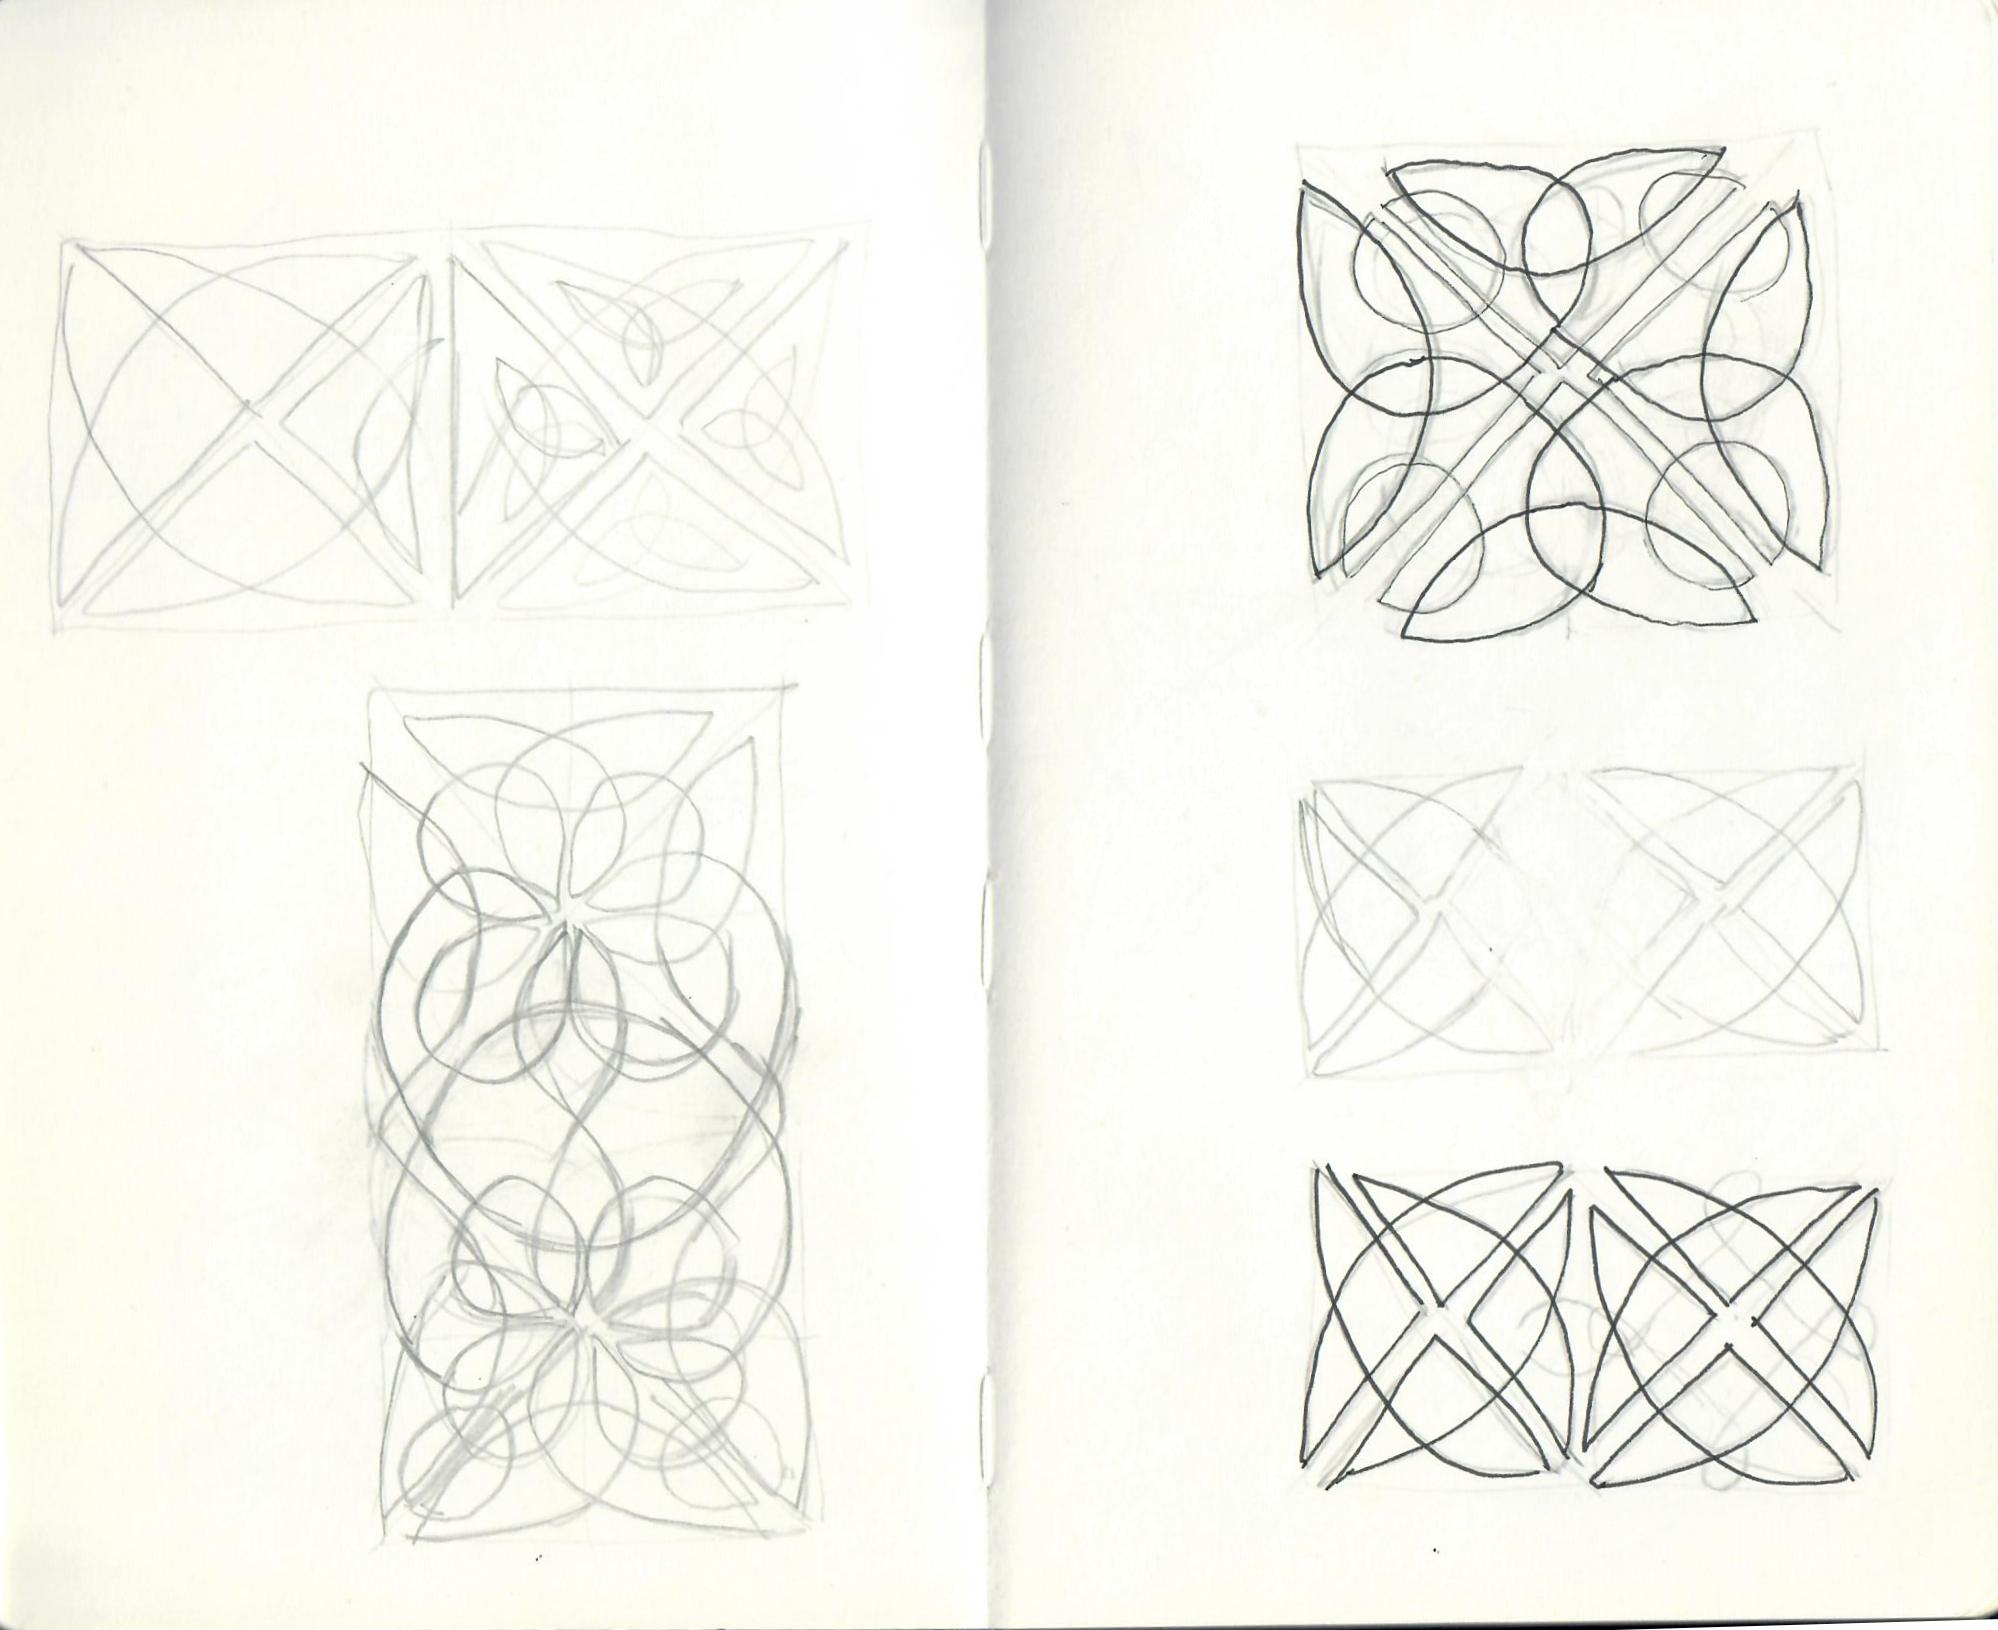
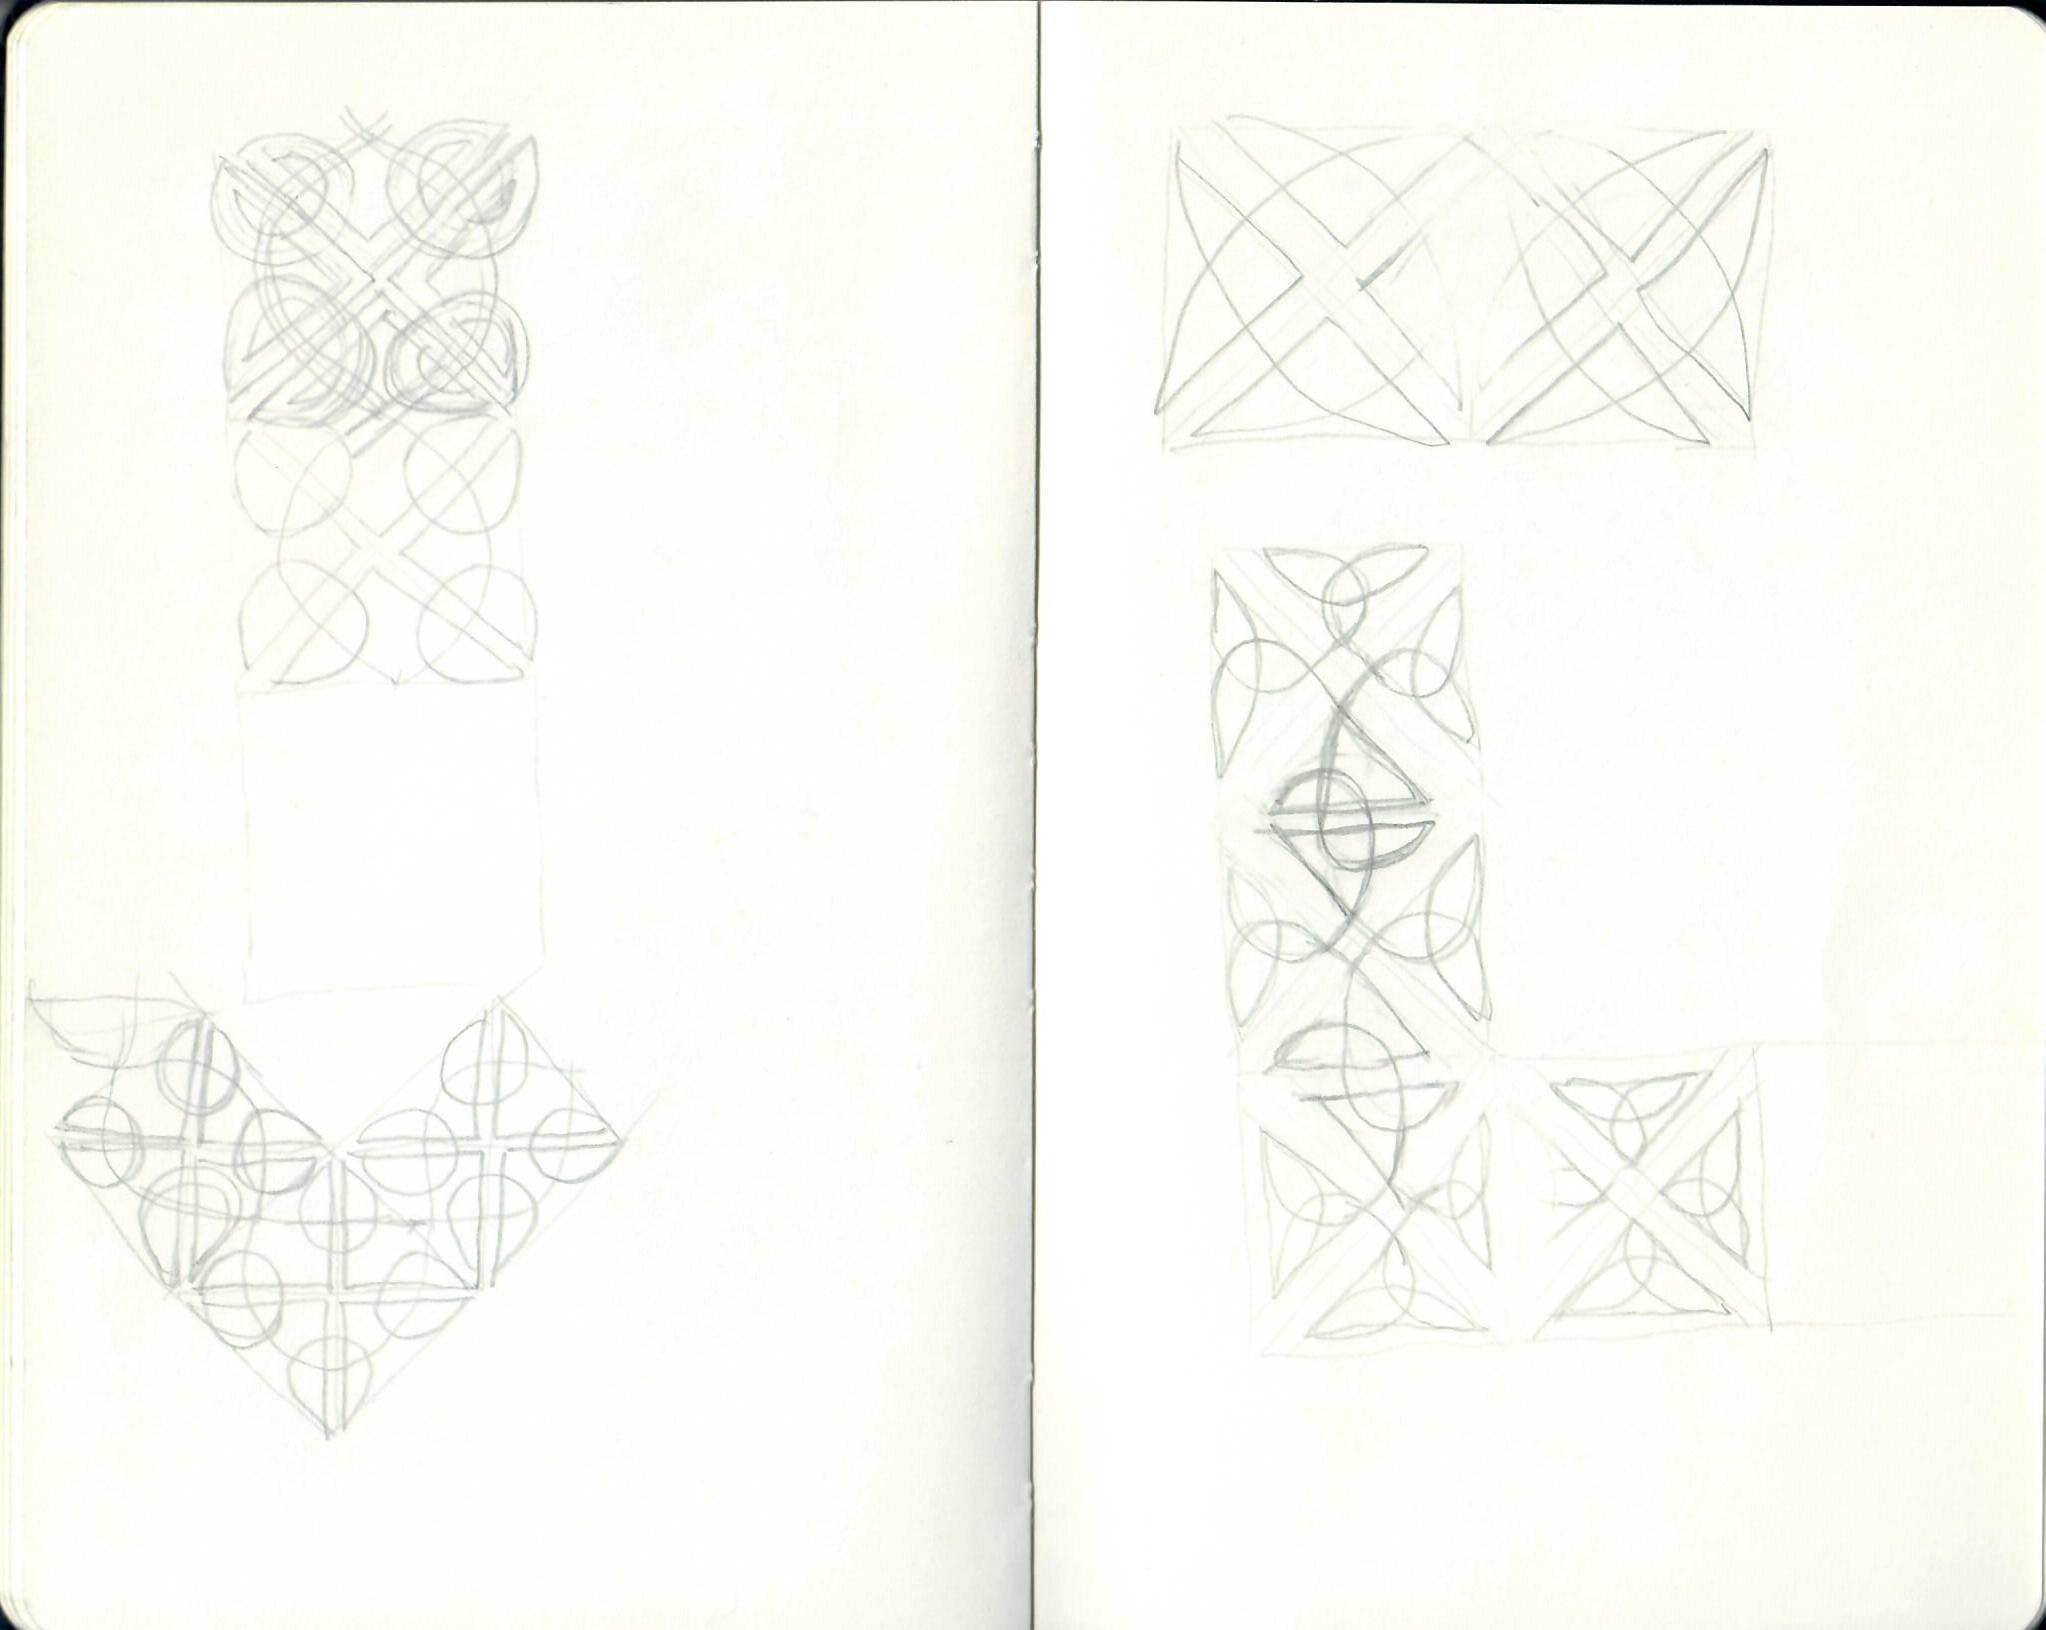
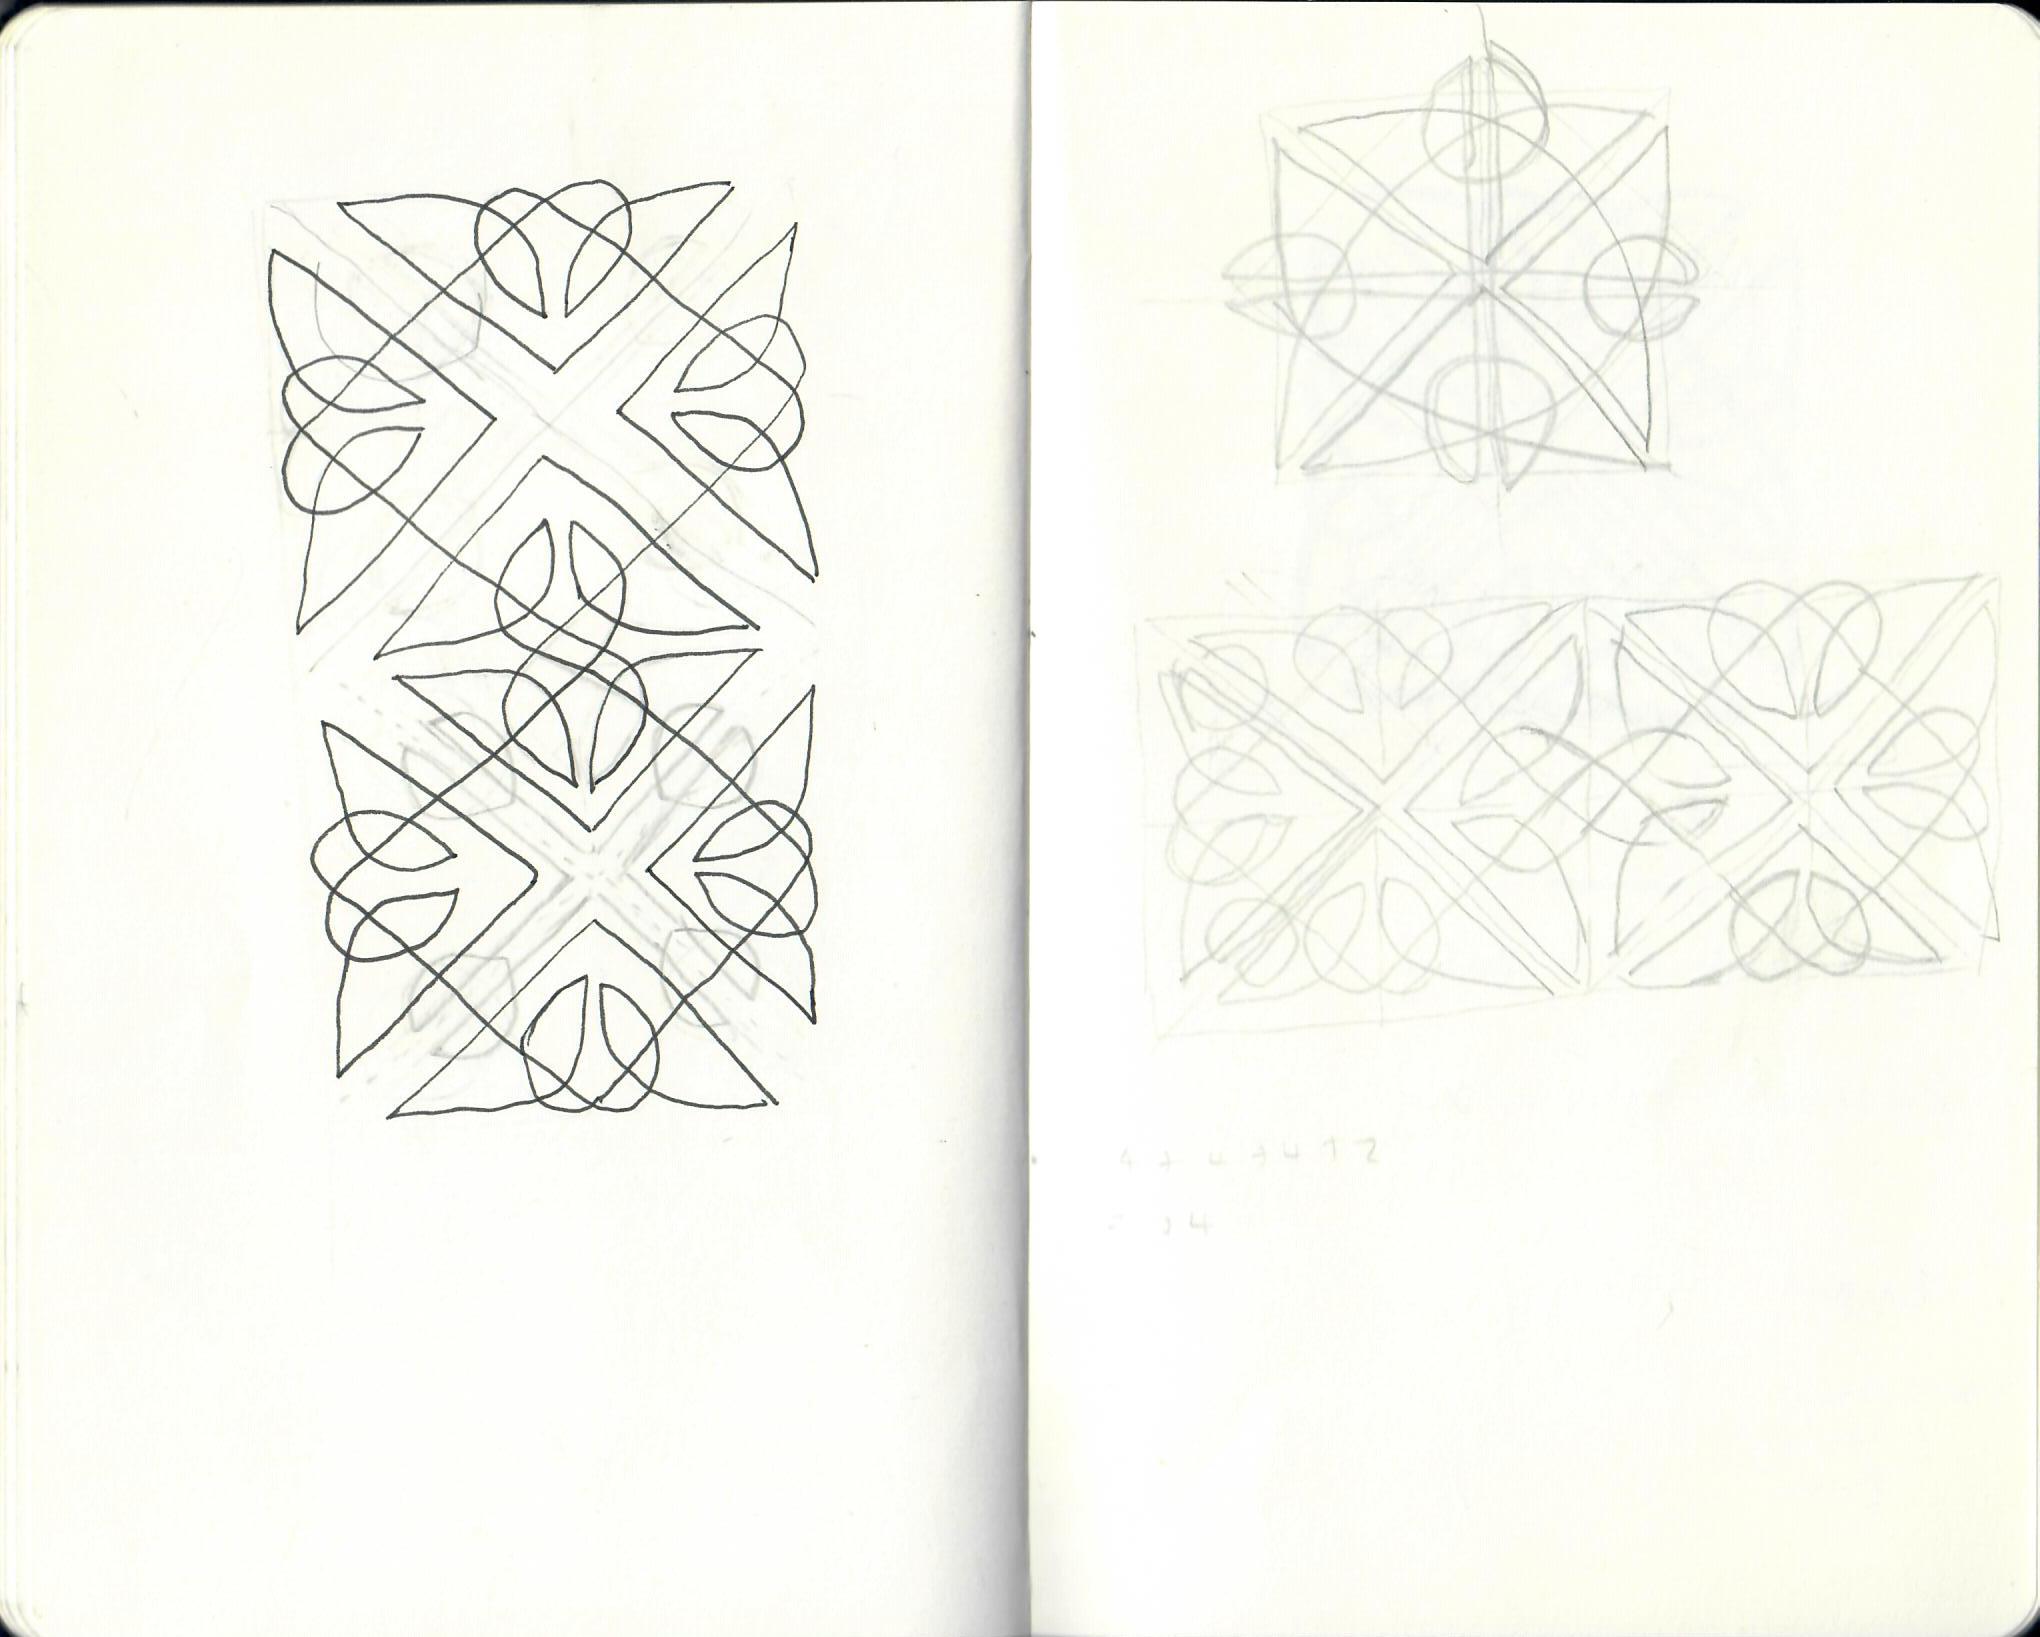
Here are some of my notebook sketches that show my efforts to work out a suitable square knot for the border (I wanted to use two different coloured cable strands, so I was trying to figure out one knot that could flow across the entire border, and then another self-contained background knot that only occurs once in each square):

I realised that I could make the cable pattern flow all the way across the border if I alternated centre-out and centre-in squares. This helps to avoid the half-stitch jog (illustrated by Joni Coniglio) that will occur if you try to graft/pick up and knit stitches from pieces of knitting where the direction of knitting is opposite. Alternating centre-out and centre-in means that the direction of knitting across the squares, at the edges, is always maintained and so the cable flow perfectly. This picture probably shows it more clearly than I can describe:

durrow-mid-res-13

The squares on the far left and far right are both knitted centre-out; then the live stitches at the edges have been used, along with 2 provisional cast-ons, to start the middle square which is knitted from the outside to the centre. If you look closely at the edges of the middle square, you should be able to see how the main cable (in turquoise) flows seamlessly across all of the squares.

Also, you can see in the above photo how I've used slightly different colours for the background yarn of each square; this creates a nice gradient-type effect, and is one of the fun possibilities that arises from working the border in a series of modular squares. However, I think the border would also look lovely with only one background colour (the main reason I used three was simply because I couldn't choose between them!).

This construction schematic shows the order of centre-out and centre-in squares, with the arrows showing the direction of knitting:

durrow-construction

You may remember earlier, when I was describing the problem with using this slipped stitch technique whilst knitting flat... well, I ran into this problem when trying to design knots for the corners (the corners are the bits at either end of the border, shown in both the above and the following schematics):

durrow-schematic

I decided to only continue the main cable pattern to the corners, and drop the self-contained background cable (a sacrifice to try to keep the level of complexity down! It would have been possible to include the background cable too, but I tried knitting it myself and nearly tore my hair out, so I figured other knitters might also find it a bit frustrating). The difficulty arises because these corners need to be knitted flat (you start from the outside and work decreases inwards to make the right-angle triangle shape, rather like the body of the shawl but in miniature). So, to get the working yarn to end up in the right place so that you can change colour every row (instead of every 2 rows), you need to work 2 RS rows followed by 2 WS rows. This makes some WS cables necessary, but I was able to write the pattern in such a way that these are kept to a minimum.

durrow-mid-res-15

After the border has been knitted, and the body picked up along the edges and worked upwards with decreases towards the neck edge, the top edge is finished with an i-cord cast-off and the outer border edge is finished with a lace edging (both visible in the above photo).

durrow-mid-res-5

After spending so long on perfecting the design of this shawl, I felt a sense of melancholy (mixed with a bit of relief!) when I cast off the last stitch. It always feels a bit strange to finish such a large and complex project, but I'm looking forward to diving into my next (and final) Illuminated Knits design.

I will be exhibiting the sample of Durrow (along with most of my other knitted samples!) at the upcoming Edinburgh Yarn Festival (March 10th and 11th). I'll be at stand J1 in the marketplace, so please come and say hi if you see me!

Save

All about Escher - Metamorphose Cowl


When I was approached by Miss Babs to contribute a design to her 2016 Knitting Tour, and given the Netherlands as my country of inspiration, I knew instantly where to look for ideas: the work of the Dutch graphic artist Maurits Cornelis Escher.

I've loved M. C. Escher's work for as long as I can remember; possibly for longer than I was aware of his name, as he is one of those artists whose work is so distinctly unique (so much so that Escheresque exists as an adjective to describe artistic works derivative of his own) that its presence is still felt in popular culture (see, for example, the end scene of the 1986 film Labyrinth, inspired by Escher's Relativity); to the extent that, even if you've never heard of Escher, you would likely recognise one of his prints.

Escher is known for his artistic explorations of mathematical concepts such as impossible objects, infinity, perspective, and hyperbolic geometry, which he executed in finely detailed wood-cuts, lithographs and mezzotints.

I find Escher fascinating as an artist, and as a person, mainly because of his astonishing mathematical intuition (and his humble attitude towards it). He always played down his mathematical abilities, pointing out that he had never excelled in it as a subject at school, and had no love of algebra, yet somehow he frequently gravitated towards exploring mathematical subjects through visual means.(see this lecture from Oxford University for a fascinating look at Escher's intuitive grasp of these subjects).

Escher became obsessed with tessellations (which he referred to as 'regular divisions of the plane') after visiting the Alhambra and sketching the decorations there. When asked in 1951 about the symbolism in his print Day and Night, Escher replied:

"I think I have never yet done any work with the aim of symbolising a particular idea, but the fact that a symbol is sometimes discovered or remarked upon is valuable for me, because it makes it easier to accept the inexplicable nature of my hobbies, which constantly preoccupy me.

The regular division of the plane into congruent figures evoking an association in the observer with a familiar natural object is one of these hobbies or problems. This is really all there is to say about Day and Night. I have embarked on this geometric problem again and again over the years, trying to throw light on different aspects each time. I cannot imagine what my life would be like if this problem had never occurred to me; one might say that I am head over heels in love with it, and I still don't know why."

It's worth noting that Escher specifies here 'the regular division of the plane into congruent figures evoking an association in the observer with a familiar natural object', i.e. his obsession was not merely regular tessellation but involved finding tessellating shapes ('jigsaw pieces', as he referred to them sometimes) that evoked the shapes of familiar creatures or objects. Most often he played around with the shapes of birds, fish and reptiles, morphing in and out of negative space in increasingly complex ways, sometimes approaching infinity.

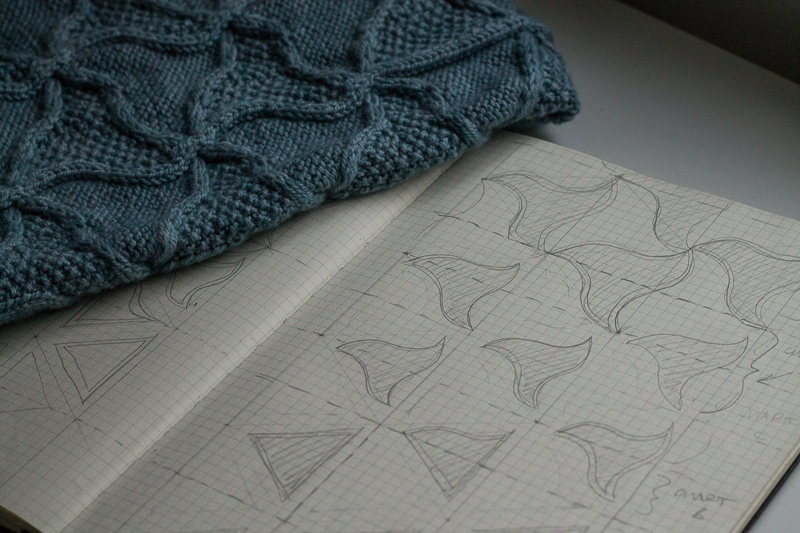
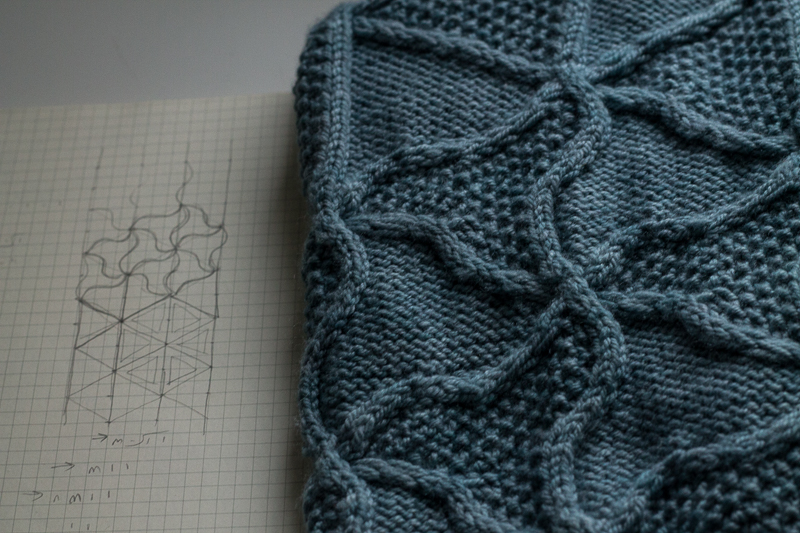
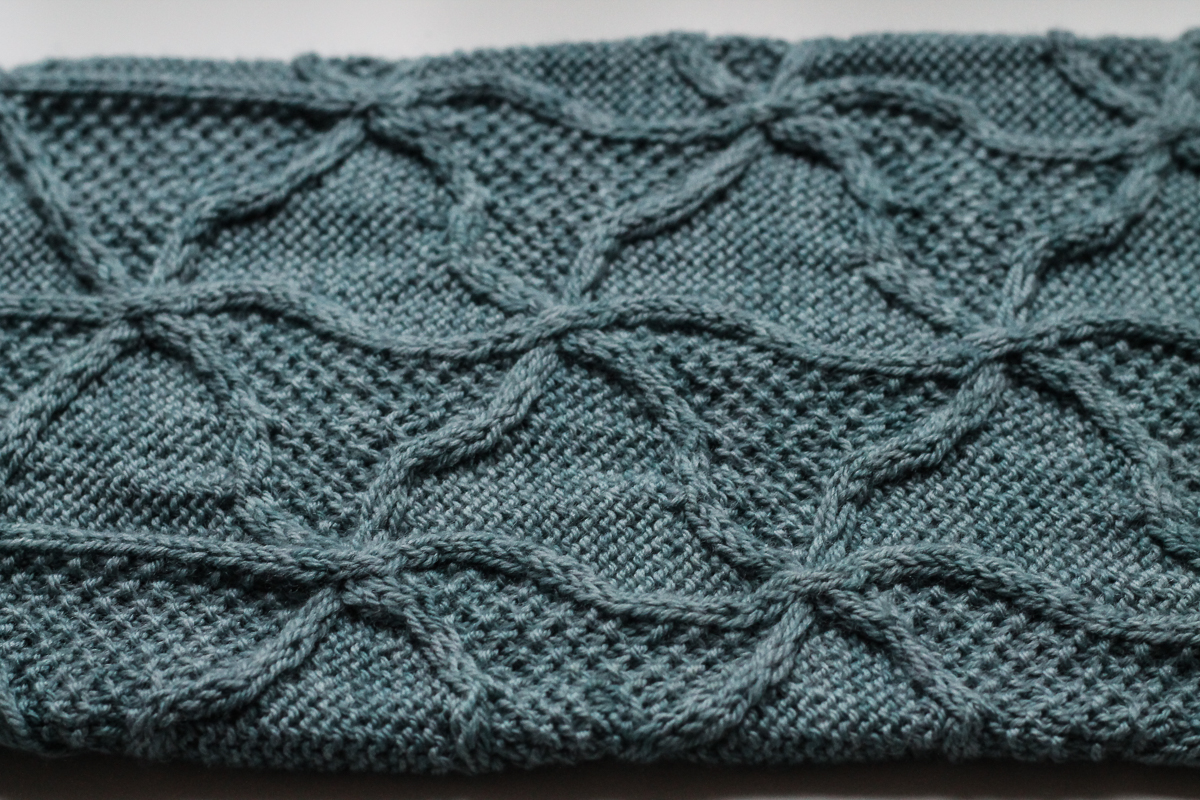
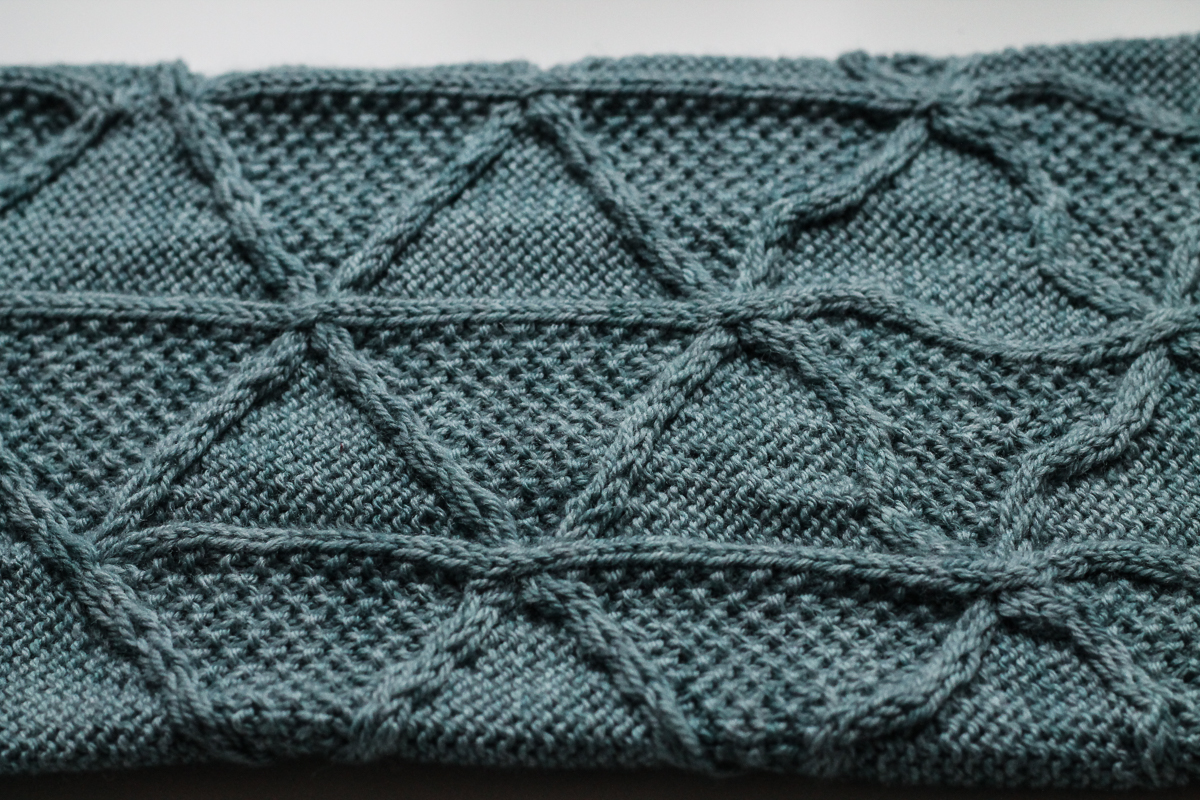
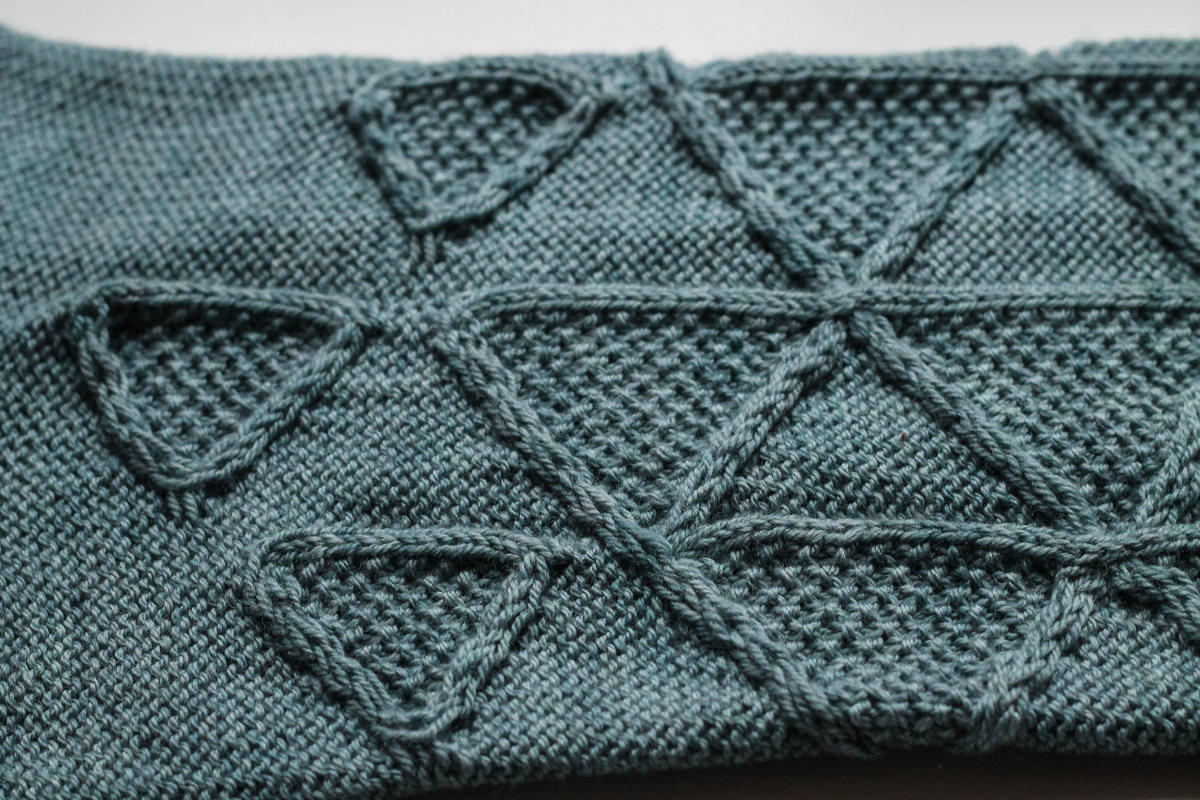
The sort of repeating patterns that are used to decorate fabric are, by their very nature, tessellations; indeed, all knitting stitch patterns are tessellations! When I began designing Metamorphose, I knew that I wanted to evoke that gradual morphing of shapes, emerging from negative space and almost becoming recognisable objects. I stopped short of trying to evoke an actual recognisable object, due to the complexity of knitting that this would involve! As always, when designing I'm trying to strike a balance between something that matches the idea in my mind, and is yet still enjoyable to knit without being too complicated. In this case, I sketched a basic morphing tessellation based on a triangle shape; reverse stocking stitch and seed stitch provide an alternating pattern (like the black and whites in Escher's prints).

metamorphose-lucy-hague-4metamorphose-lucy-hague-5metamorphose-lucy-hague-6

The cowl/infinity scarf is worked as a seamless tube, with the ends grafted together with a twist, to form a Mobius-like loop. I feel like Escher would have been quite intrigued by the potential of knitted fabric to explore concepts like Mobius loops, tessellation and infinity. The way that the tessellating shapes repeat around the tube is very satisfying (albeit, a little tricky - some beginning-of-round marker shifts are necessary at points where the cables cross from one round to the next).

Delving into the world of Escher for inspiration for this design was great fun, and something I hope to return to in the future. I feel like there are a lot of possibilities for complex tessellating cable knitting, and I'd like to explore them.

Thanks to Miss Babs for inviting me on her Knitting Tour (and for the beautiful Killington yarn that she dyed in a special colourway for this design - fittingly named 'Escher').

Edited to add: if you're interested in learning more about M. C. Escher, this documentary is a great starting point.


Save