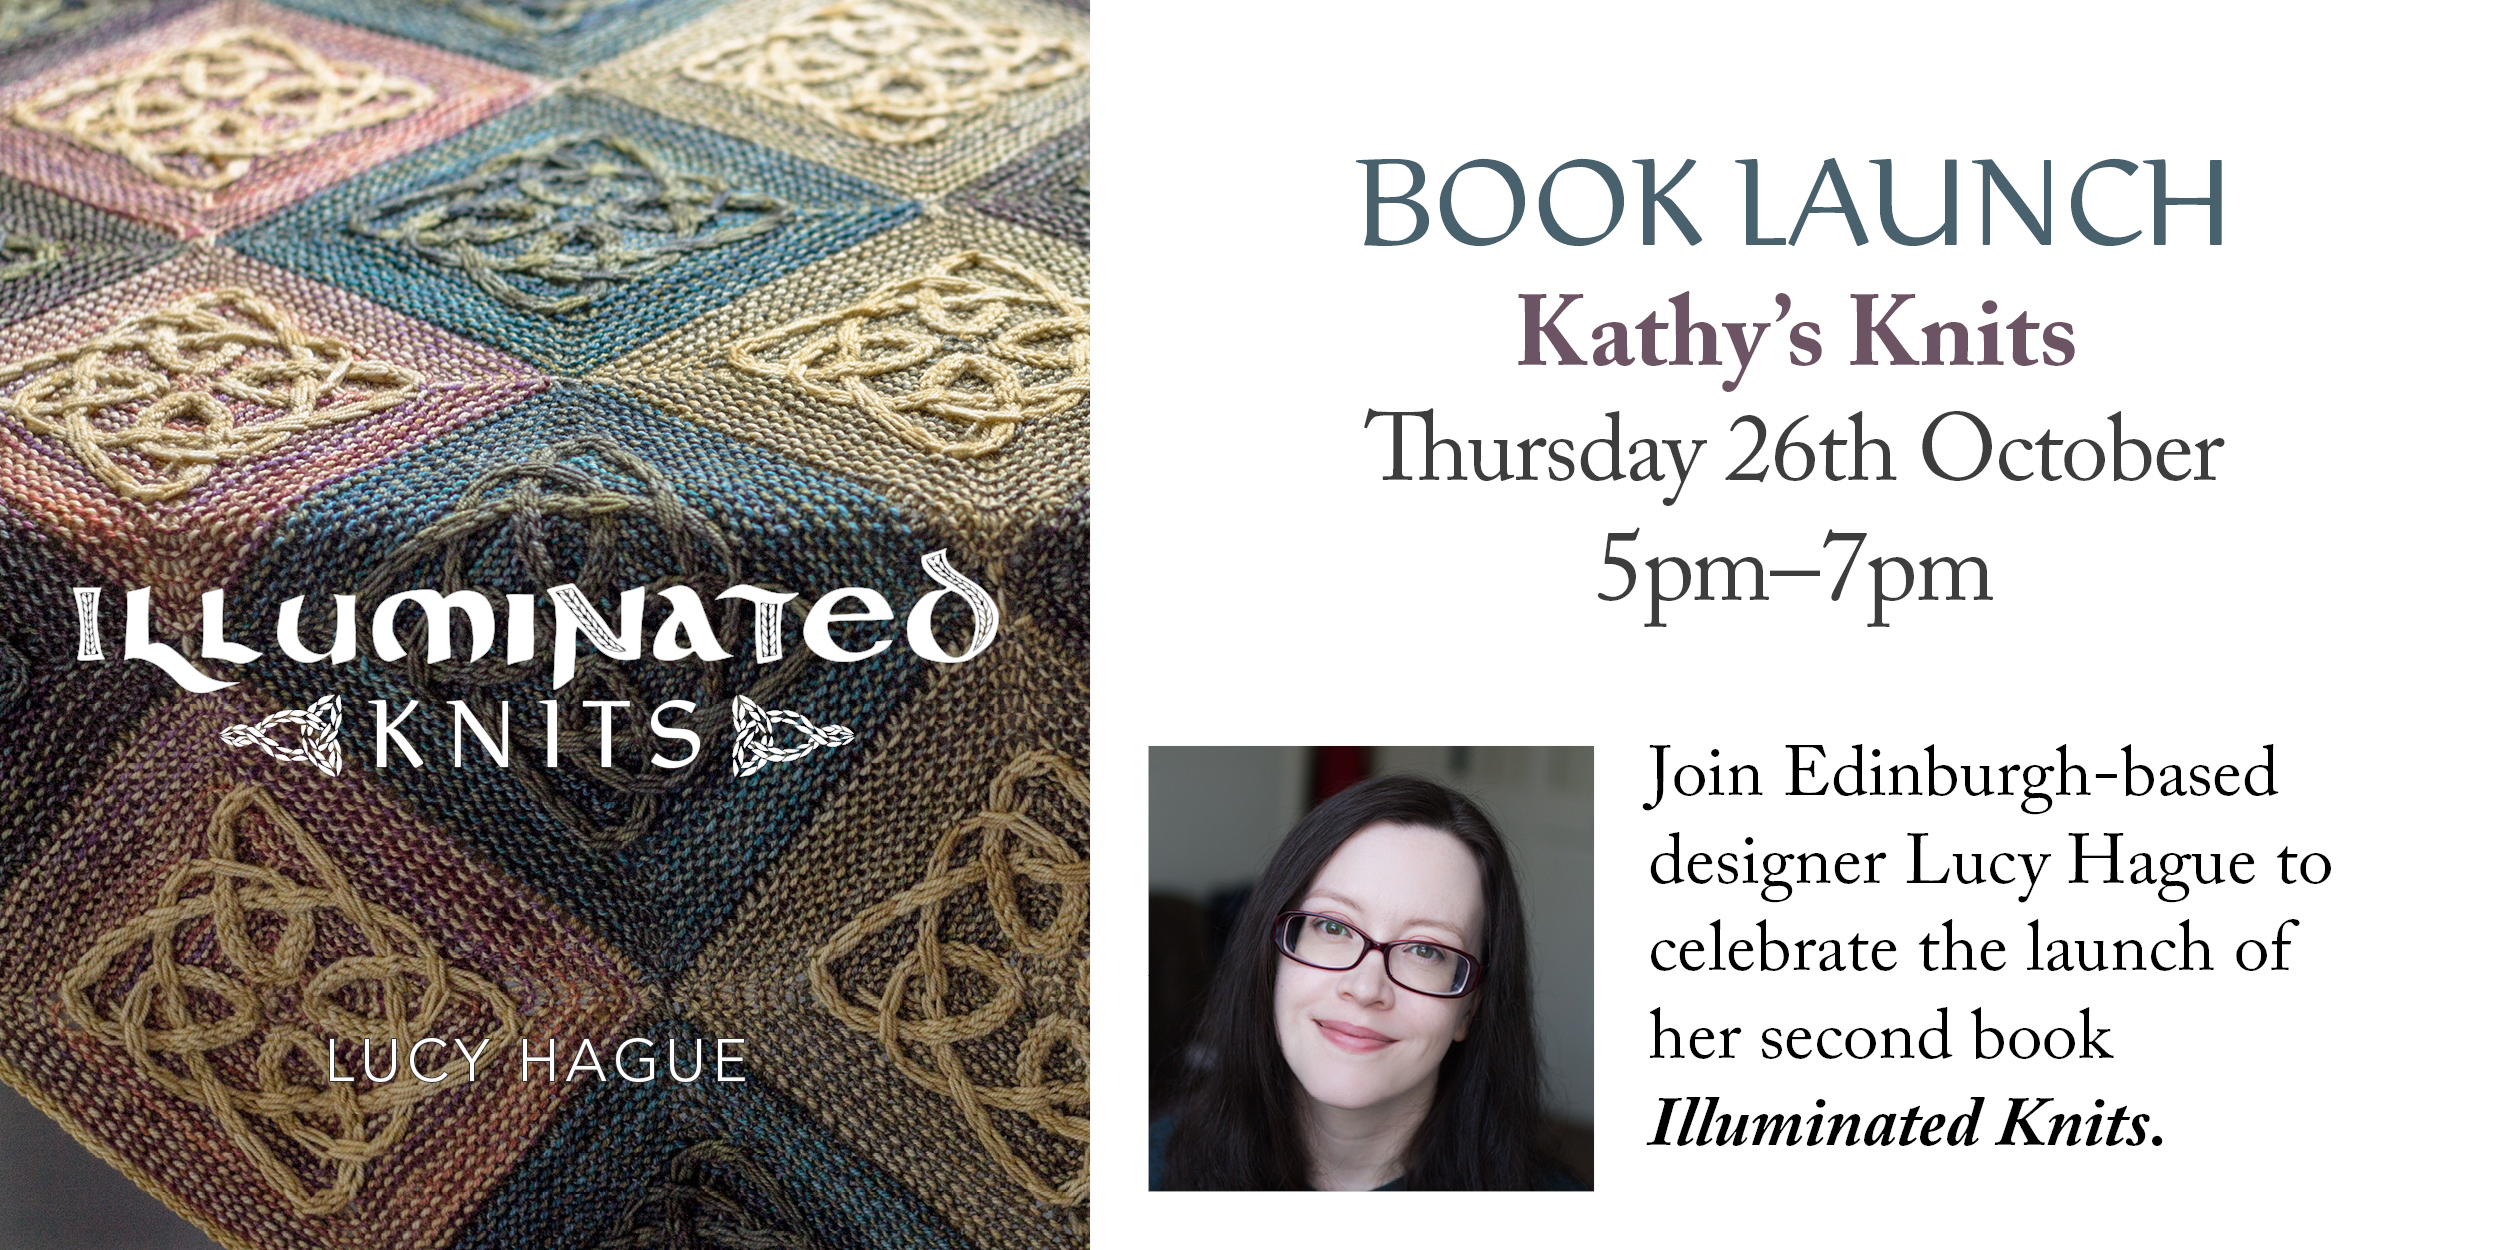
This post was originally featured on Carol Feller’s blog in the run-up to the launch of Echoes of Heather and Stone; I have reproduced it here to mark the release today of Newgrange as a single-download pattern.

As a designer, I've spent a lot of time creating knitting patterns that reflect my interest in Celtic and Pictish art, particularly interlacing knot-work (I find the process of translating knot-work into cable-knitting to be fascinating and absorbing). This is a style of art that dates from around 500-800 AD and is represented most visibly in Scotland by the enigmatic Pictish symbol stones, and in Ireland by the high crosses. The links between Scottish and Irish art run deep, and stretch far back into history - even further back than the Early Medieval period, to the Neolithic, thousands of years ago.
The Neolithic era (commonly known as the stone age, which occurred in the British isles around 4000 to 2500 BC) saw the construction of standing stones, stone circles and large chambered tombs situated like hills in the landscape, often with a meaningful and deliberate orientation towards a particular celestial event such as the setting of of the sun at the winter solstice; these monuments can be found all across the British Isles, and also in neighbouring Brittanny (in the north-west of France). They sometimes bear decorative carvings: cup-and-ring marks (concave scooped-out hollows, often accompanied with concentric rings), spirals and rectilinear inter-filling, zig-zags and other abstract geometric shapes. This style of rock art is seen all across the British Isles and Brittany, and whilst there is no way of knowing what was intended to be communicated (there is no surviving written language from this period), the visual similarities are difficult to ignore, even when taking into account certain regional variations. For example, when you compare the rock art in the chambered tomb at Gavrinis, Brittany, to the magnificent kerbstones of the chambered tomb at Newgrange, Ireland, and then also to the Westray stone, from Orkney [4], you get the sense of different artists communicating the same sort of idea, in a similar style, with individual flourishes. There are also some structural similarities shared between Maeshowe, a chambered tomb in Orkney, and Newgrange; both have a winter solstice alignment (sunset and sunrise, respectively), so that the rays of the sun shine down the central passageway to illuminate the back wall (at Newgrange, this alignment is further emphasised with a carving of an intricate triple-spiral maze motif, positioned to catch the sun's light). It's interesting to note that these are areas that are all quite distant from each other, geographically speaking (Orkney to Newgrange is about 400 miles, as the crow flies, and Newgrange to Gavrinis is another 450).

Newgrange Spiral Art. Photo Origin: https://www.newgrange.com/tri-spiral.htm
Neolithic rock art is also found in the landscape, for example at Achnabreck in Scotland, where a large rocky expanse in the ground is covered in cup-and-ring marks, with beautiful concentric circles radiating out like ripples in water. These markings are found all across the British Isles, on natural rock formations, hiding in plain sight, and are more common than you may expect - if you're out hiking, it's worth examining Ordnance Survey maps, which will often indicate the locations of even very minor examples of cup-and-ring marks (although finding them can be a challenge, if you don't know exactly where to look!). Those who lived in these lands thousands of years ago left enduring marks upon the world around them, which can still be seen to this day. Examples of Neolithic structures and art are still being discovered - there has been a very recent discovery in Ireland of a chambered tomb similar to Newgrange.
There are many interpretations of the meaning and intent behind Neolithic rock art - of course, with no written records from this era, these can only be educated guesswork without any definite certainty. One idea that I find particularly intriguing is the concept of entoptic phenomena. These are the geometric shapes and patterns that we 'see' without really seeing, for example when rubbing our eyes, or when in a drowsy half-awake half-asleep state. They are not hallucinations, exactly, but rather seem to emanate directly from the structures of the nervous system, visual cortex and the inner workings of the eye. They are consistent globally across all cultures (unlike hallucinations) and the shapes that they take are reflected in rock art across the world - spirals, concentric circles, grids, dots, zig-zags, lattices. They can be deliberately induced by invoking 'threshold consciousness' - through meditation, sleep deprivation, light deprivation, certain psychoactive substances, hyperventilation and various other means. There are theories that the great chambered tombs, including Newgrange and Maeshowe, may have been used for ritual activities, in addition to housing the bones of the dead. Perhaps it's not too much of a stretch to imagine that entoptic phenomena could have been a side-effect (or even a goal?) of these rituals (performed in dark, cave-like places, with flickering light) and that the accompanying rock art could be a depiction of these strange shapes, that seem to arise from within the very structures of our minds.

Standing Stones of Stenness, Orkney
I grew up in Orkney, where Neolithic structures are everywhere, and are a dominating feature of the landscape. I took all of this for granted as a child, assuming that it was normal for there to be several-thousand-year-old structures dotted around everywhere - it was only as I got older that I began to realise the significance of these monuments. In Orkney, there is also an intriguing blurring-together of history, perhaps most famously seen at Maeshowe, which was broken into by Norse intruders sometime in the 12th century. These Norsemen left a huge collection of runic graffiti (mostly quite humorous) inscribed on the walls of the ancient tomb. Maeshowe is possibly as famous for this graffiti as it is for being 'a masterpiece of Neolithic engineering' (as described by Historic Environment Scotland). Orkney also has some examples of Pictish art: some symbol stones (a new one was discovered recently) and jewellery; although, what happened to the Orkney Picts when the Vikings arrived is something of a mystery - they may have all been killed, or enslaved, or subsumed into the Norse culture. My interest in the Pictish history of Orkney led me to seek out further examples of Pictish art once I moved to mainland Scotland. I also retained an interest in the Neolithic period, and was particularly fascinated to find other areas with high concentrations of Neolithic monuments. I have personally visited many of these sites, as a pilgrimage of sorts: Kilmartin, Callanish, Achnabreck and many more in Scotland, Avebury and Stonehenge in England, Newgrange in Ireland, and many of the sites in Brittany, including Gavrinis and Carnac (one of the largest collections of grouped standing stones in the world).

Decorated kerbstone at Newgrange, Ireland
Out of all of the symbols found in Neolithic rock art, spirals are particularly interesting because they suggest a link between this ancient art and the more recent (indeed, practically modern by comparison) Celtic Insular art. An older style of Celtic art (the La Tene style, approx. 500 to 100 BC) is characterised by heavy use of spiral motifs and curvilinear forms - these are used extensively, much more so than interlacing knot-work (which is what most people think of when they hear the words 'Celtic art'). The Celtic triskele (triple-spiral) symbol bears an initial visual similarity to the (much older) triple-spiral at Newgrange, however it could be argued that, whilst the Celtic version has a pleasing balance, elegance and harmony, the Newgrange triple-spiral is more geometrically complex and also poses an interesting maze-problem, according to the interpretation by Aidan Meehan in his excellent book Celtic Design: Spiral Patterns (Thames & Hudson, 1993):
"Perhaps this inner spiral was intended to pacify the spirit of the deceased, to guide it out of this world. Or perhaps it held a secret of a sort the living soul should know. This spiral on stone C10 is a basic maze, called monocursal, meaning there is one pathway running throughout, with no dead ends. But there are three forks in the path, and two distinct circuits. There is one entrance that is also the exit. [...] It is possible to skirt around the outside and return to the exit without having traversed the inner circuit. [...] If we read this as a metaphor for human life, such a route would miss the core experience, and leave the unwary traveller none the wiser."
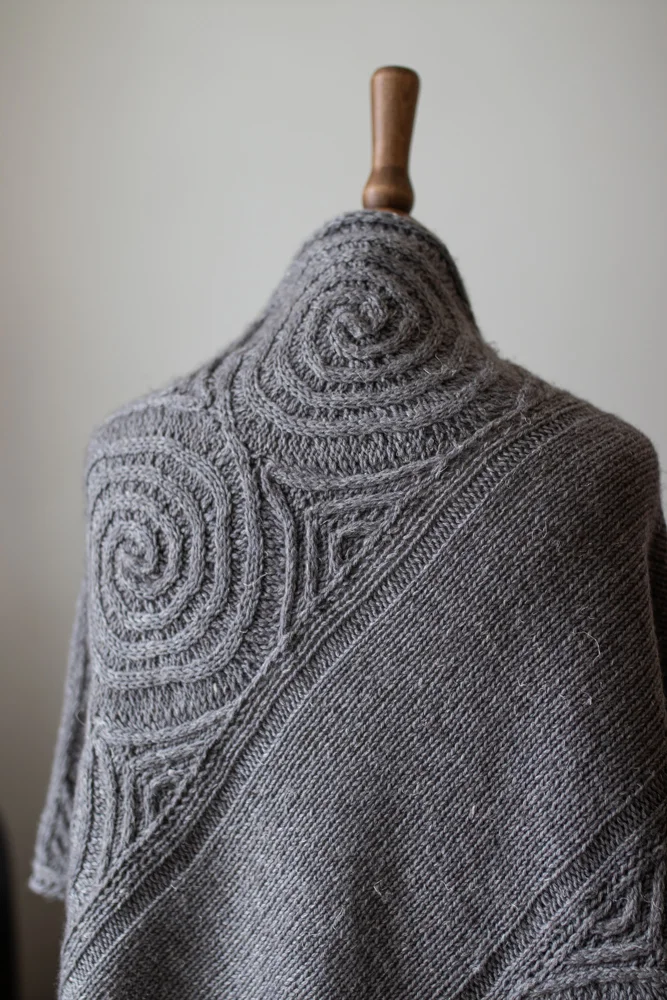
When I was asked by Carol to contribute a design to Echoes of Heather and Stone, I decided to take the opportunity to experiment with something a little different to my usual Celtic and Pictish designs, and so chose to attempt my own recreation of the spiral and lozenge motifs that decorate the kerbstones at Newgrange. Whilst I very much enjoy bending cables to my will and getting them to flow in all sorts of crazy directions across a section of flat knitting, I've recently become more interested in the possibilities provided by utilising the underlying geometry of the knitted fabric itself - for example, the centre-out and centre-in squares of my Durrow shawl (which make complex square Celtic knots possible, complete with some sections of cables that appear to flow horizontally, and with knot-work that flows seamlessly across the border), and the modular hexagons of my Pleione blanket and cowl, which are worked separately and create a tessellating effect when joined together. Modular knitting is a lot of fun to design, particularly if you try to make the whole piece knitted, without any seaming - it's rather like assembling a puzzle, and there are often multiple solutions to the same problem (some more elegant than others).

Newgrange shawl design notes
I initially tried to create the spirals for this shawl by working centre-out circles, with cables travelling at staggered intervals across the fabric. Interestingly, this worked very well to make logarithmic-type spirals but I soon realised that this couldn't possibly work to make the Neolithic-type double-spirals, where the gap between the spiral bands remains constant (like a path in a maze) rather than increasing as you move away from the centre. The logarithmic-type spiral is closer to the curves found in Celtic art - so that may be something I could incorporate into a design in the future. After learning how to draw the spirals seen in Neolithic art, and examining them closely, I realised that the best way to recreate them in knitting would be through the use of short row circles. The underlying geometry of the knitted fabric works very well with the cables, resulting in something that looks quite complex but is actually relatively straightforward to achieve. The trickier part was to figure out how to fill in the sections between the spirals, to create shapes that fit with the Neolithic inspiration and which would also result in straight edges to form the panels of the shawl. After much trial and error, I managed to chart something that worked nicely.

Newgrange spiral swatches
Incidentally, one of my initial ideas for this shawl was to have the whole thing made out of these cabled strips, without any plain knitted panels in-between the cabled sections. This would create an interesting all-over effect, and I think the shapes between the spirals would join up to create rectilinear diamond shapes very similar to those seen on the Newgrange entrance stone. I think this would be an interesting experiment, perhaps to make a blanket. In the end I decided to go with plain knitted panels in-between, partly to lessen the weight of the shawl (and the amount of yarn used), partly for aesthetic reasons, and partly to introduce a bit of 'mindless' knitting into this shawl. I find the most fun knitting projects (for me!) are the ones that strike a balance between complexity and simplicity, so I tried to include a bit of both in this pattern.
I hope that those of you who decide to have a go at this shawl enjoy making it! If you would like to learn more about Neolithic art, the website Megalithic Portal is a great resource and can help you to find local monuments and places of interest in your area.